


BYB Computers
AMD Gaming PC | RYZEN 7 7700X | RTX 4070 Super 12GB | 32GB DDR5 | 2TB SSD | Deepcool CH560 Digital
AMD Gaming PC | RYZEN 7 7700X | RTX 4070 Super 12GB | 32GB DDR5 | 2TB SSD | Deepcool CH560 Digital
Couldn't load pickup availability
Key Specifications:
✅ Processor: AMD Ryzen 7 7700X 8 Cores/16 Threads AM5 5.4GHz
✅ Motherboard: Gigabyte B650 Aorus Pro AX AM5
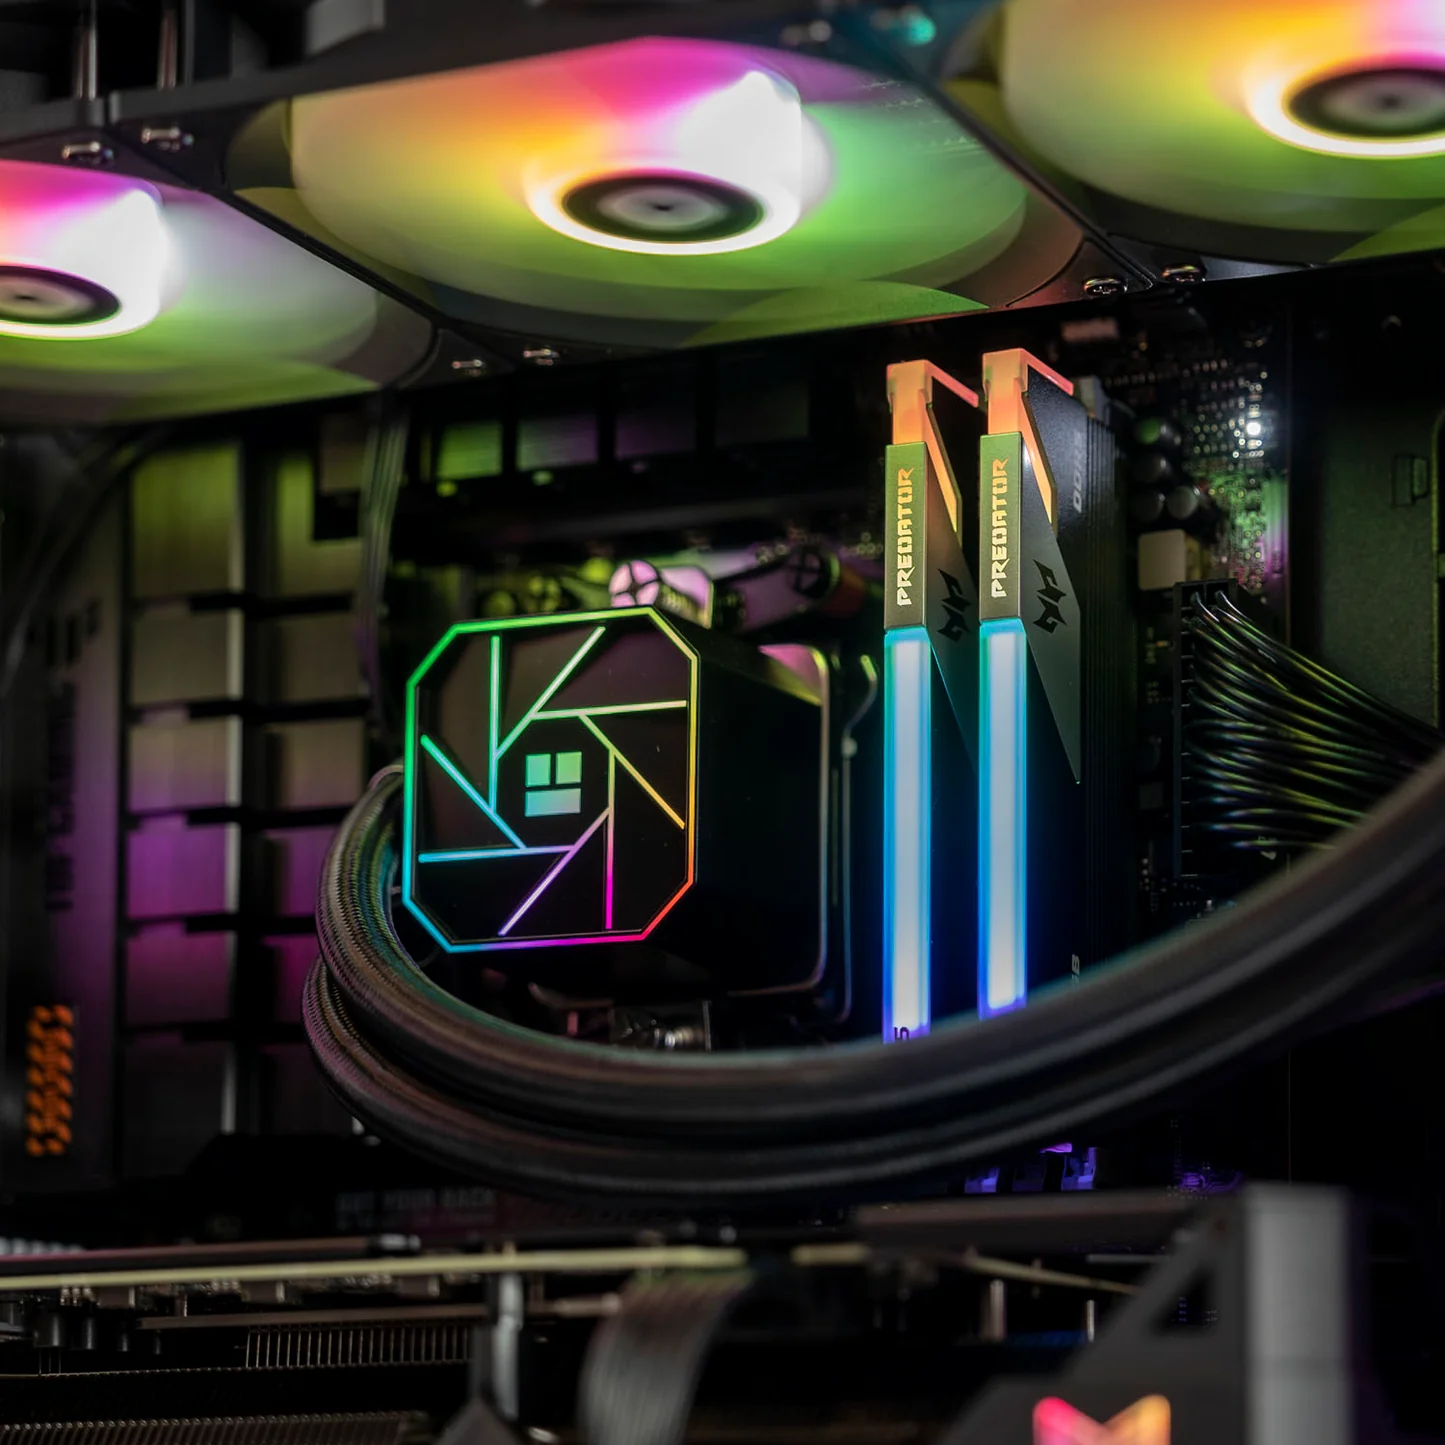
✅ RAM: Lexar Ares RGB 32GB DDR5 6400MT/s CL34
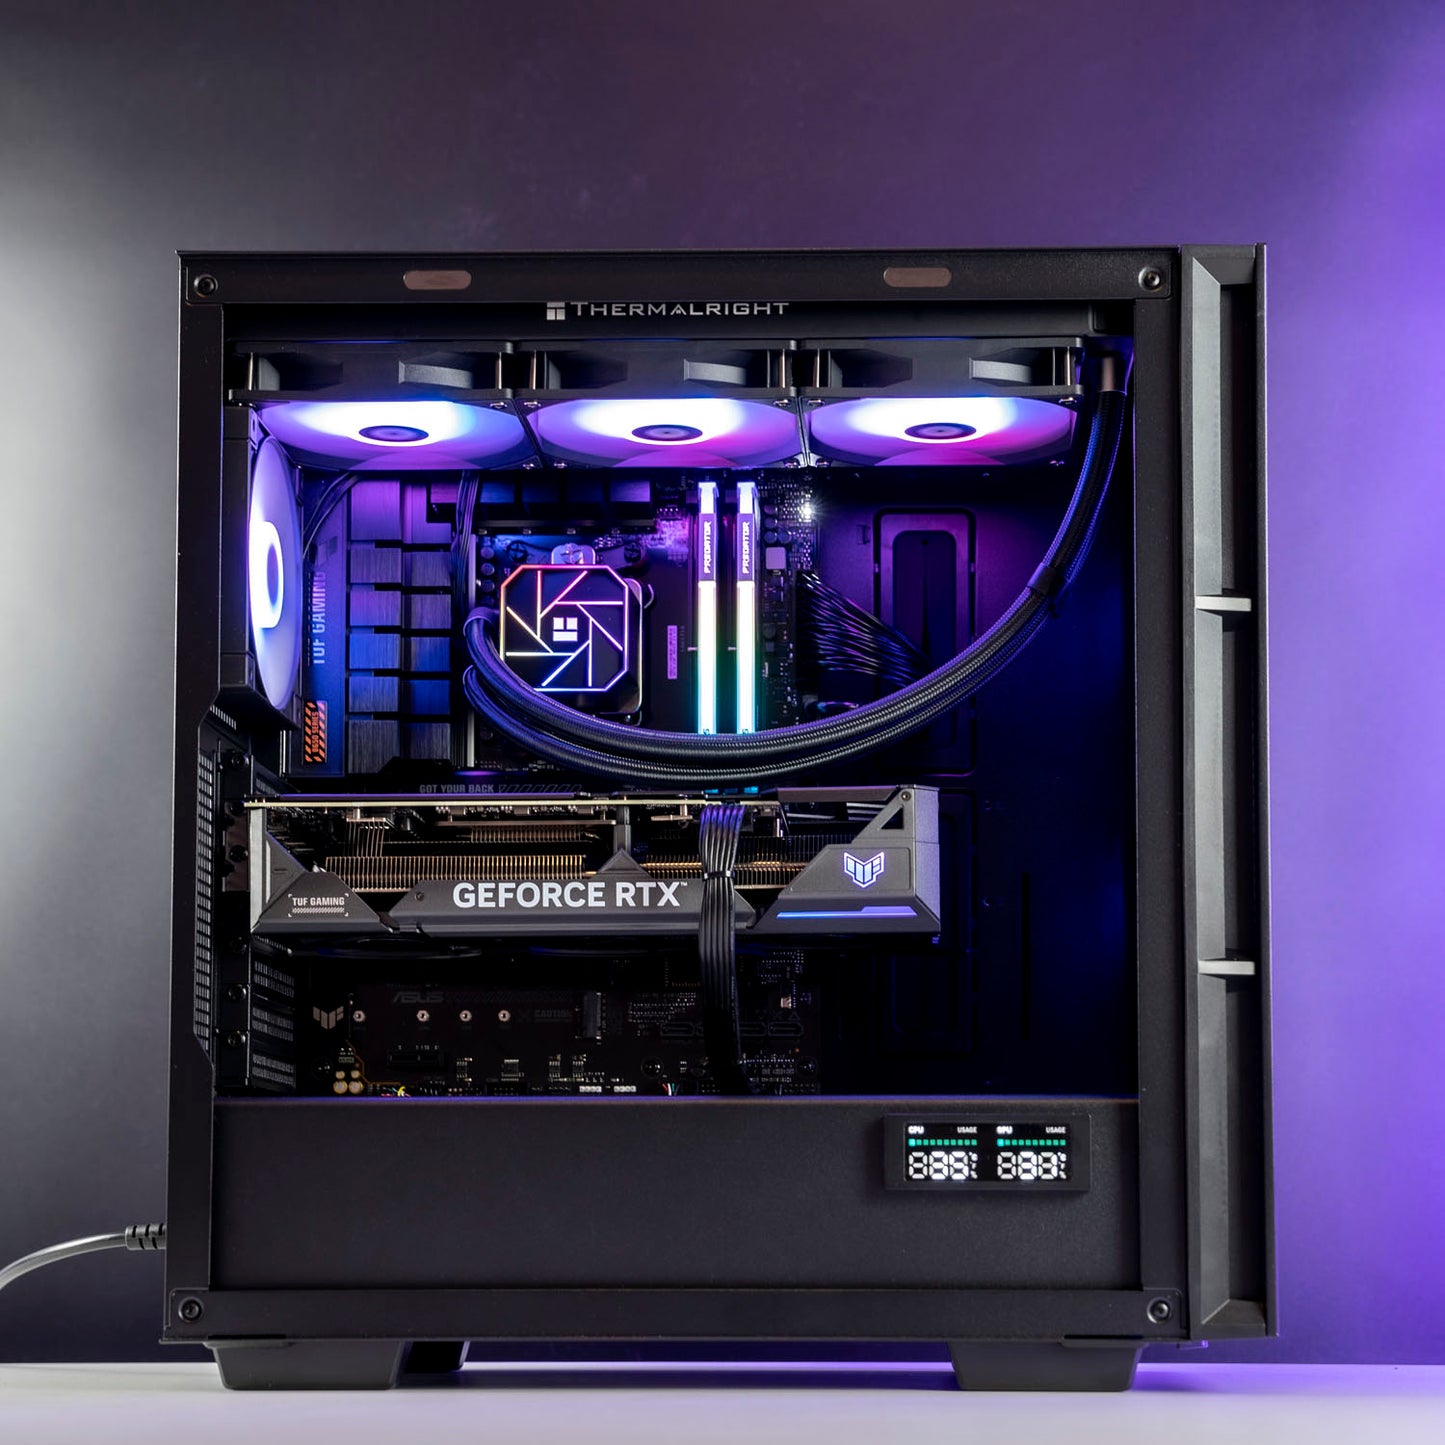
✅ Graphics Card: ASUS TuF RTX 4070 Super OC 12GB GDDR6x
✅ SSD: Kingston Renegade 2TB Gen4 NVMe SSD
✅ Power Supply: InWin 850W Gold ATX 3.0 Certified PSU
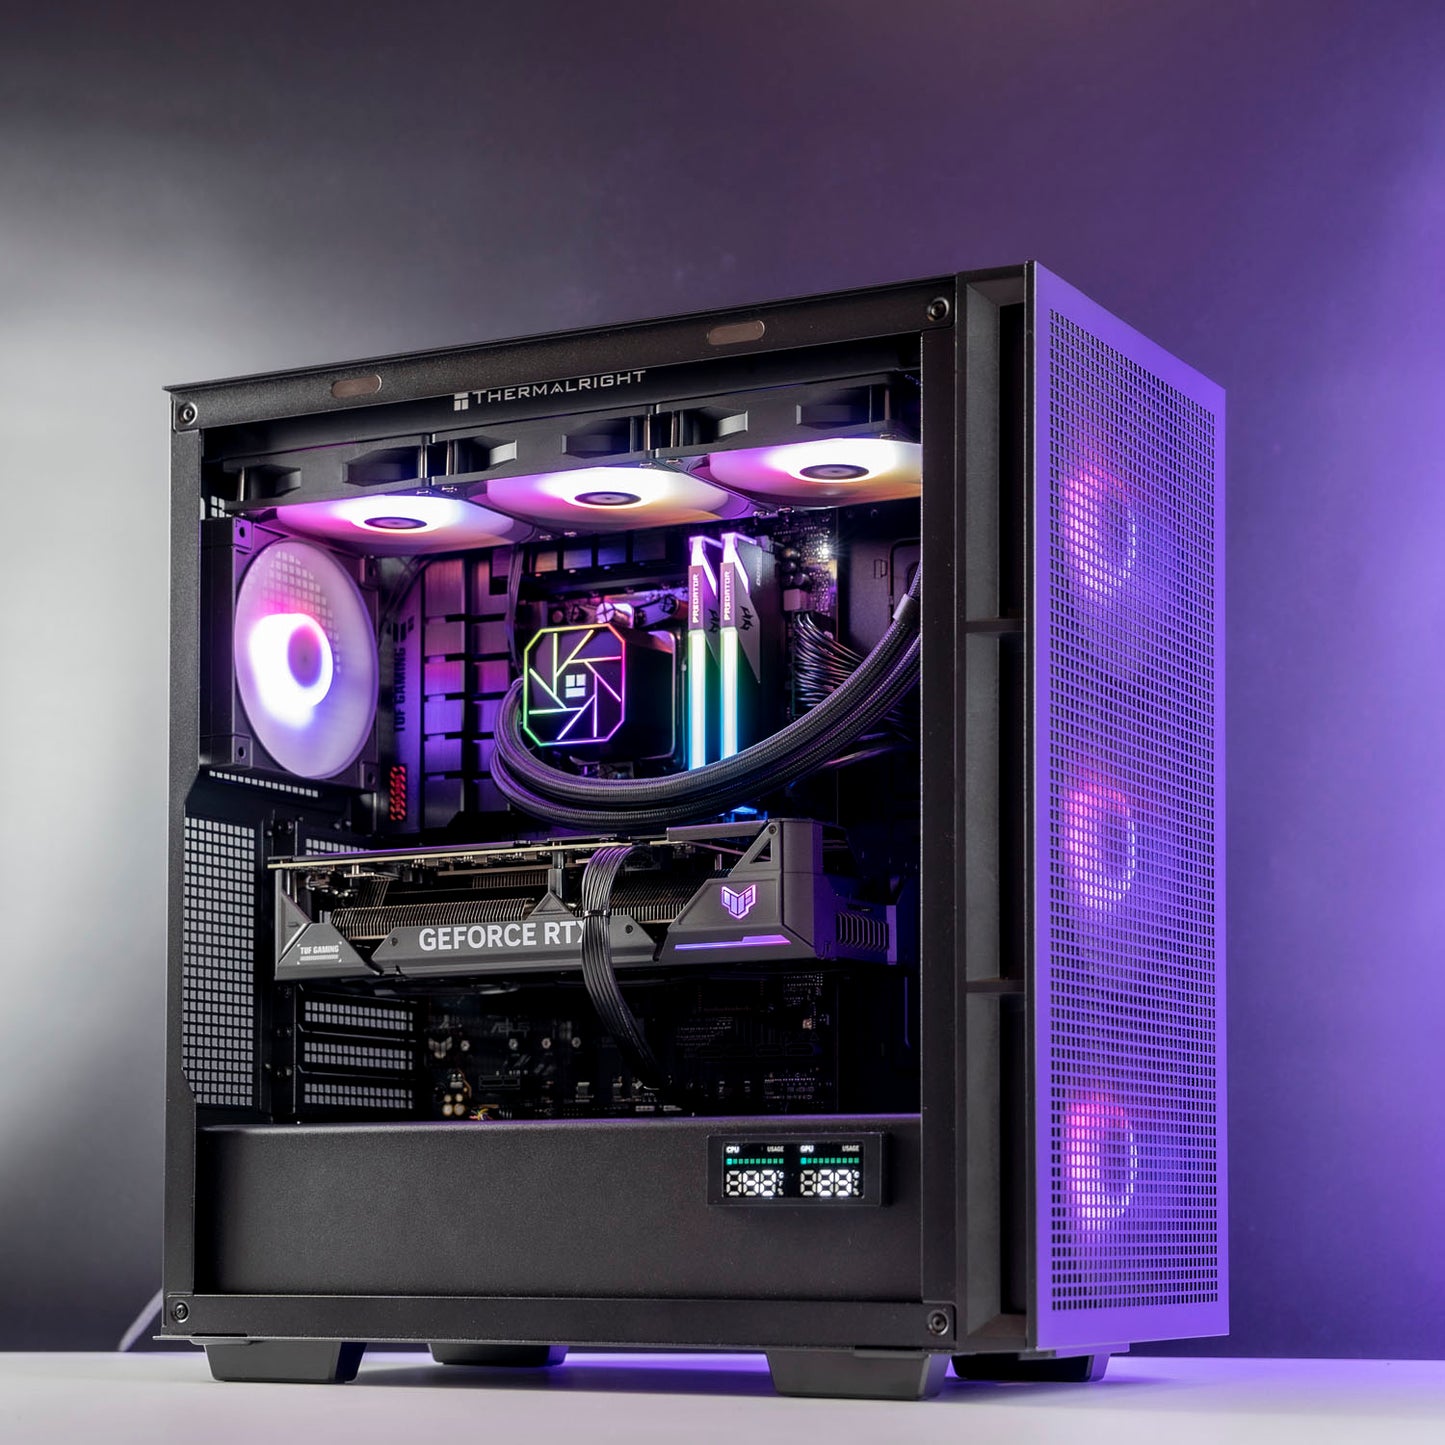
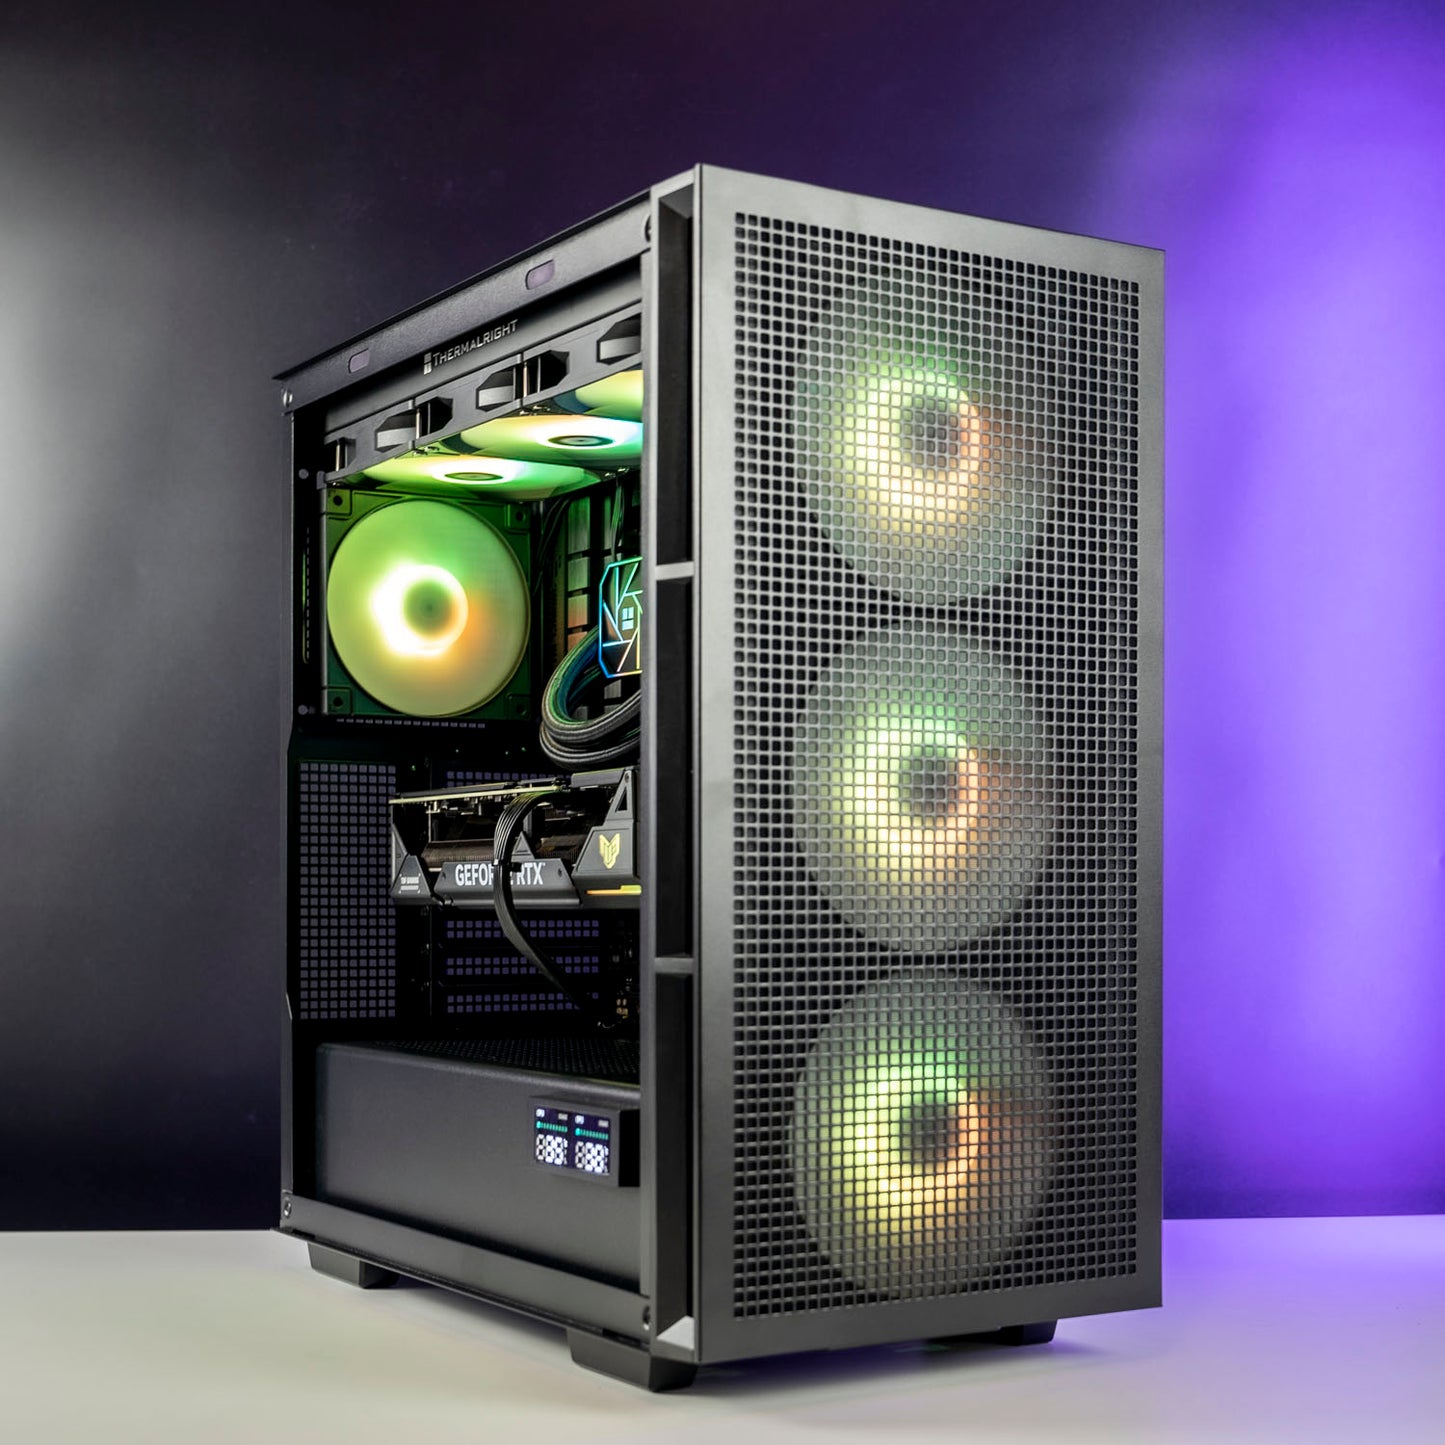
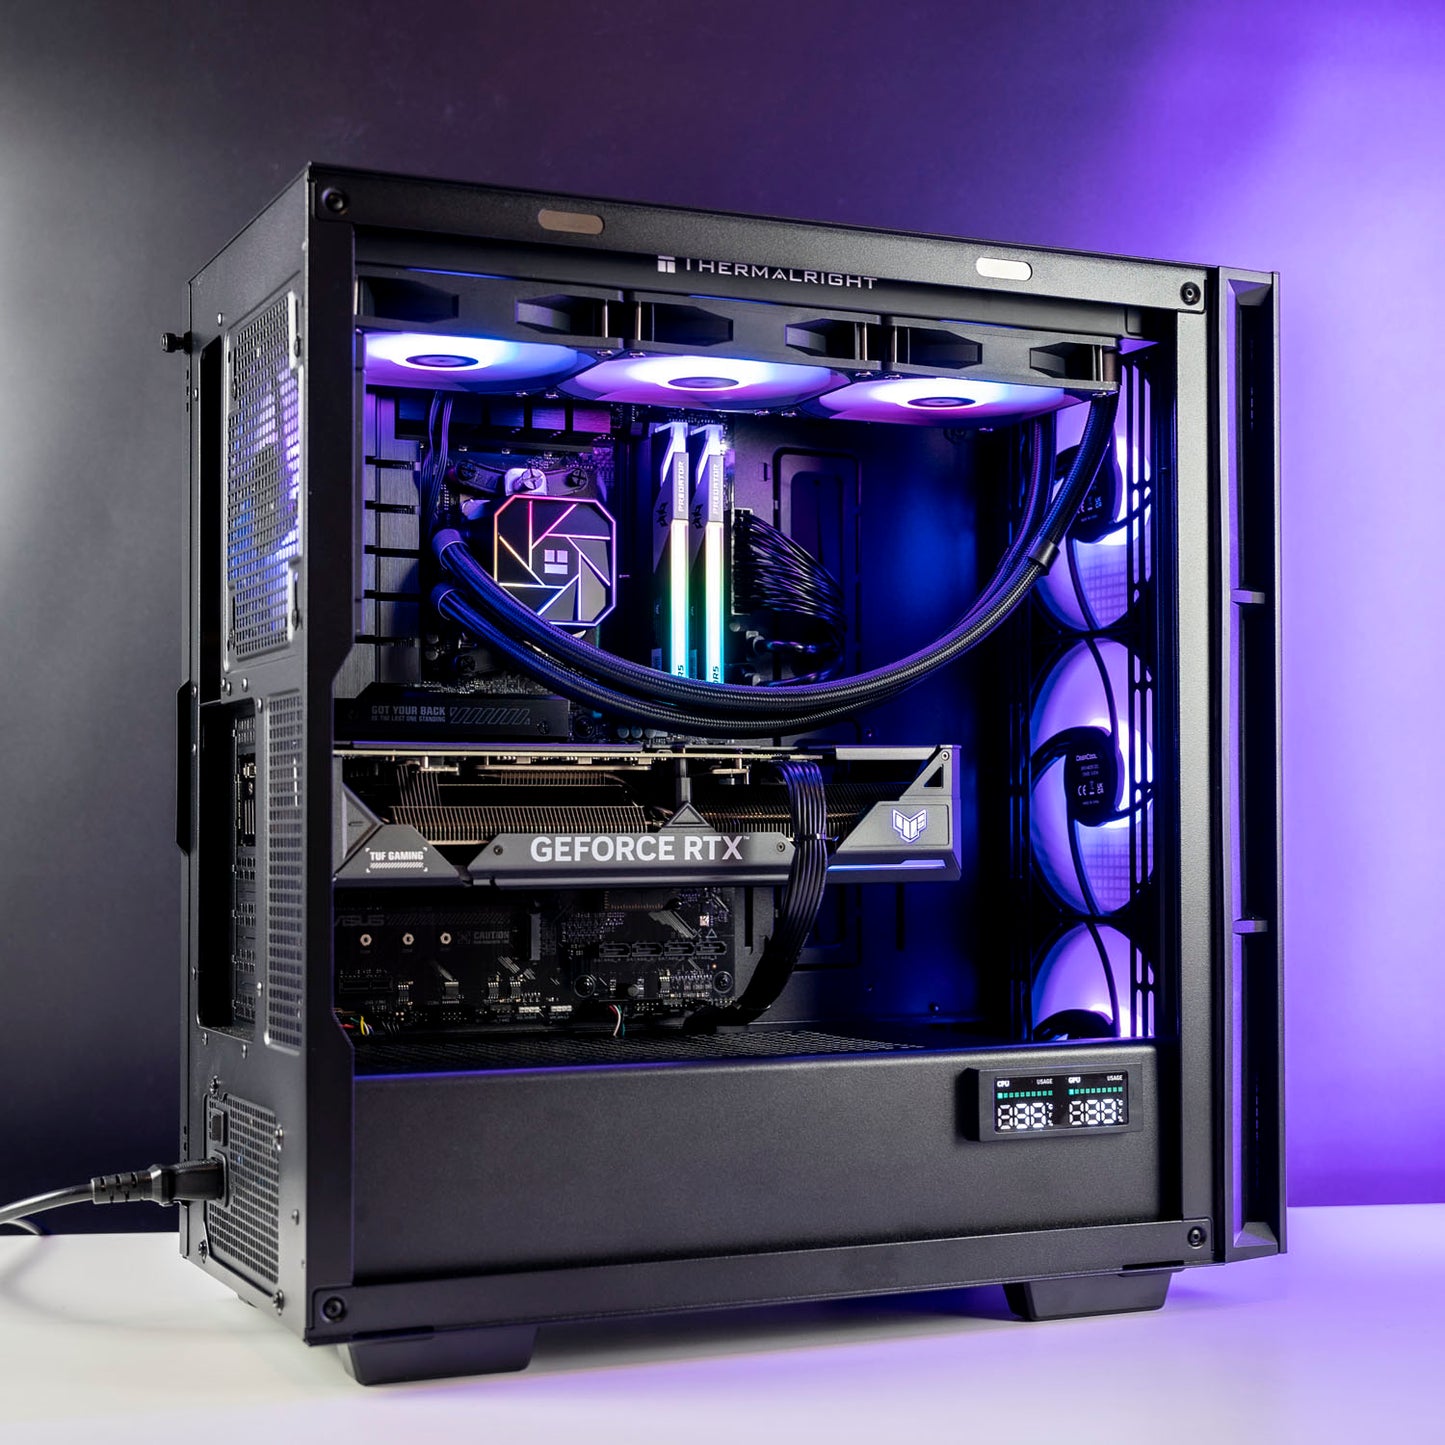
✅ Case: Deepcool CH560 Digital ATX Case – 4 aRGB Fans
✅ CPU Cooler: Thermalright Frozen Warframe 360mm Liquid CPU Cooler
✅ Connectivity: WiFi 6E and Bluetooth 5.3
✅ OS: Windows 11 Professional
✅ Monitor Support: Up to 4 Monitors (1 x HDMI 2.1, 3 x DisplayPort 1.4a)
Embark on a journey of gaming and rendering excellence with our extraordinary setup! 🚀 Driven by the AMD Ryzen 7 7700X 8 Cores processor and the mighty Nvidia RTX 4070 Super 12GB from ASUS, this powerhouse is primed to elevate your gaming adventure!
Designed to deliver dominating performance in games like Fortnite, COD Warzone, and Valorant, enjoy silky-smooth FPS even at 1440P/4K resolutions.


Before you place the order
-
Choose your gaming rig
Not sure which gaming PC is right for you?
Give us a buzz and our team will help you out.
-
Place your order
In-stock ready-to-go PCs will be despatched within 24 hours.
Custom PCs will be despatched in 3-4 business days.
-
Packaging
We securely package your gaming PC to ensure it arrives without any damage.
-

Shipping
Your PC Order will arrive in a few business days (Longer transit time for regional areas)
-
Plug-And-Play
Carefully unpack your new PC, connect everything properly and enjoy!
-
Have any Questions?
We're here to help!
Contact us anytime for assistance. With 2 Years warranty support.


HOW TO UNBOX YOUR RIG?
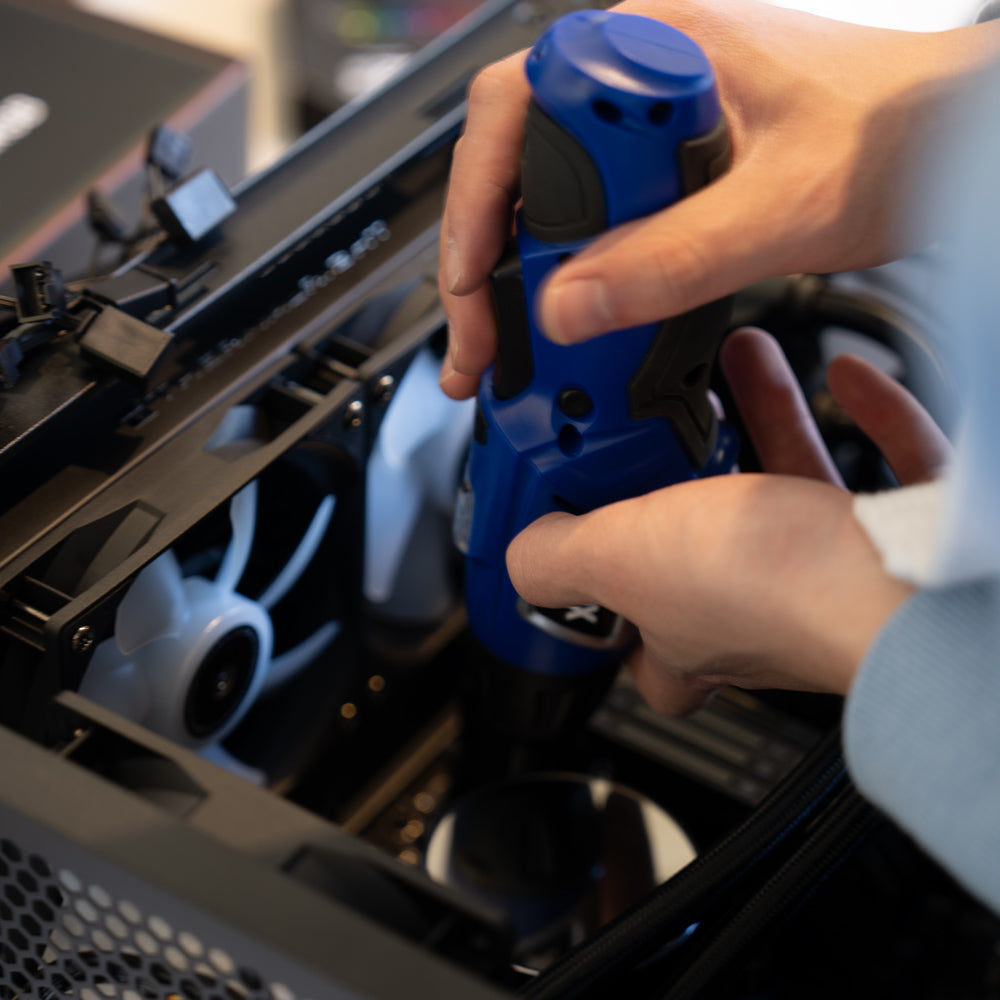
Step 1: Unscrew the Glass Panel
After receiving the computer, unpack the box, place the computer on a flat surface, and unscrew the glass panel screws.
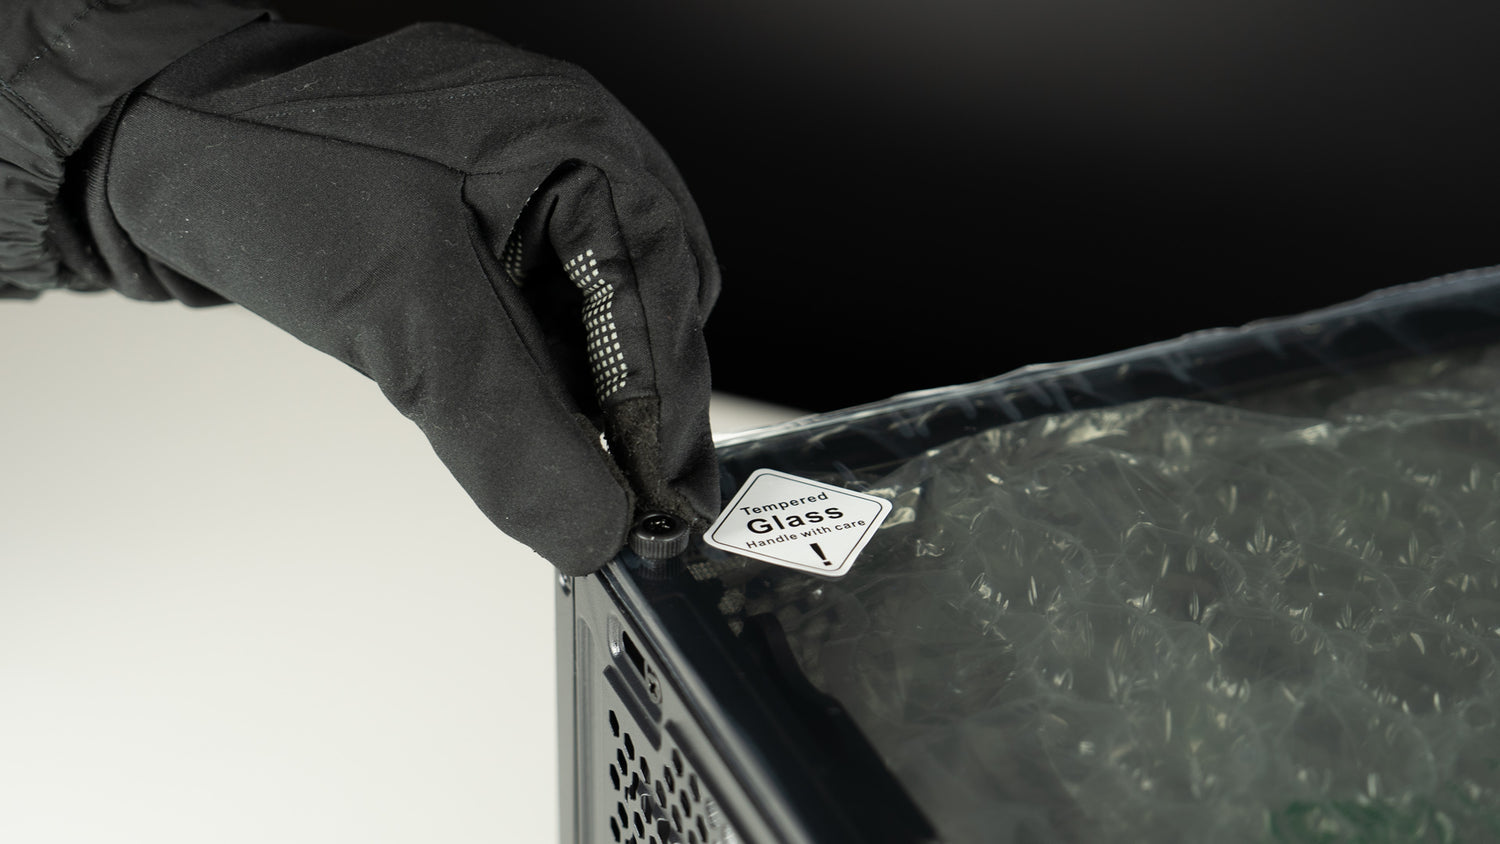
Step 2: Carefully Remove the Glass Panel
Gently lift the glass panel away from the computer case. Hold the panel securely with both hands to avoid any slips or falls.
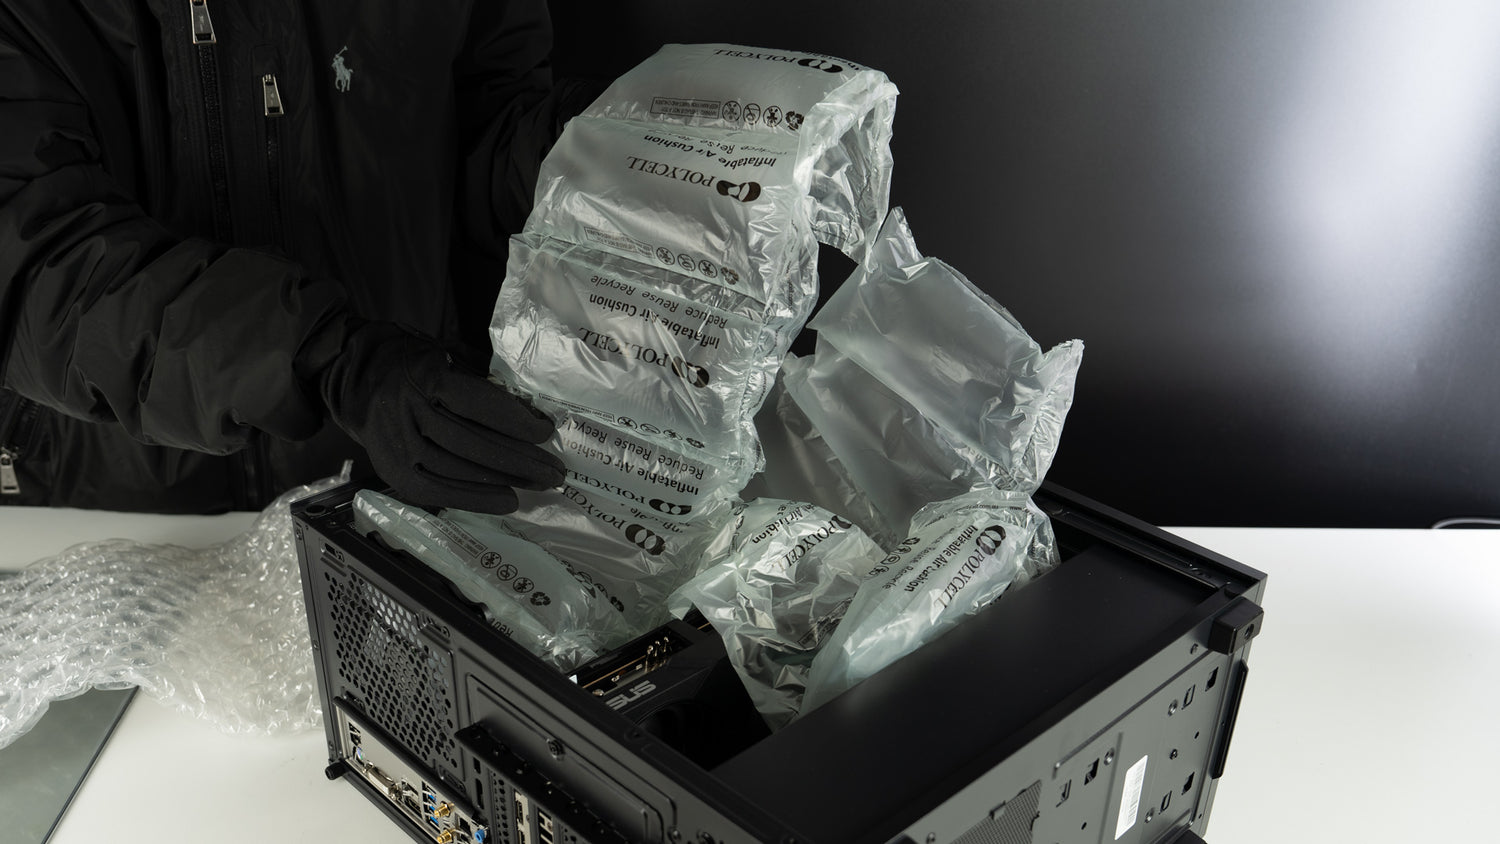
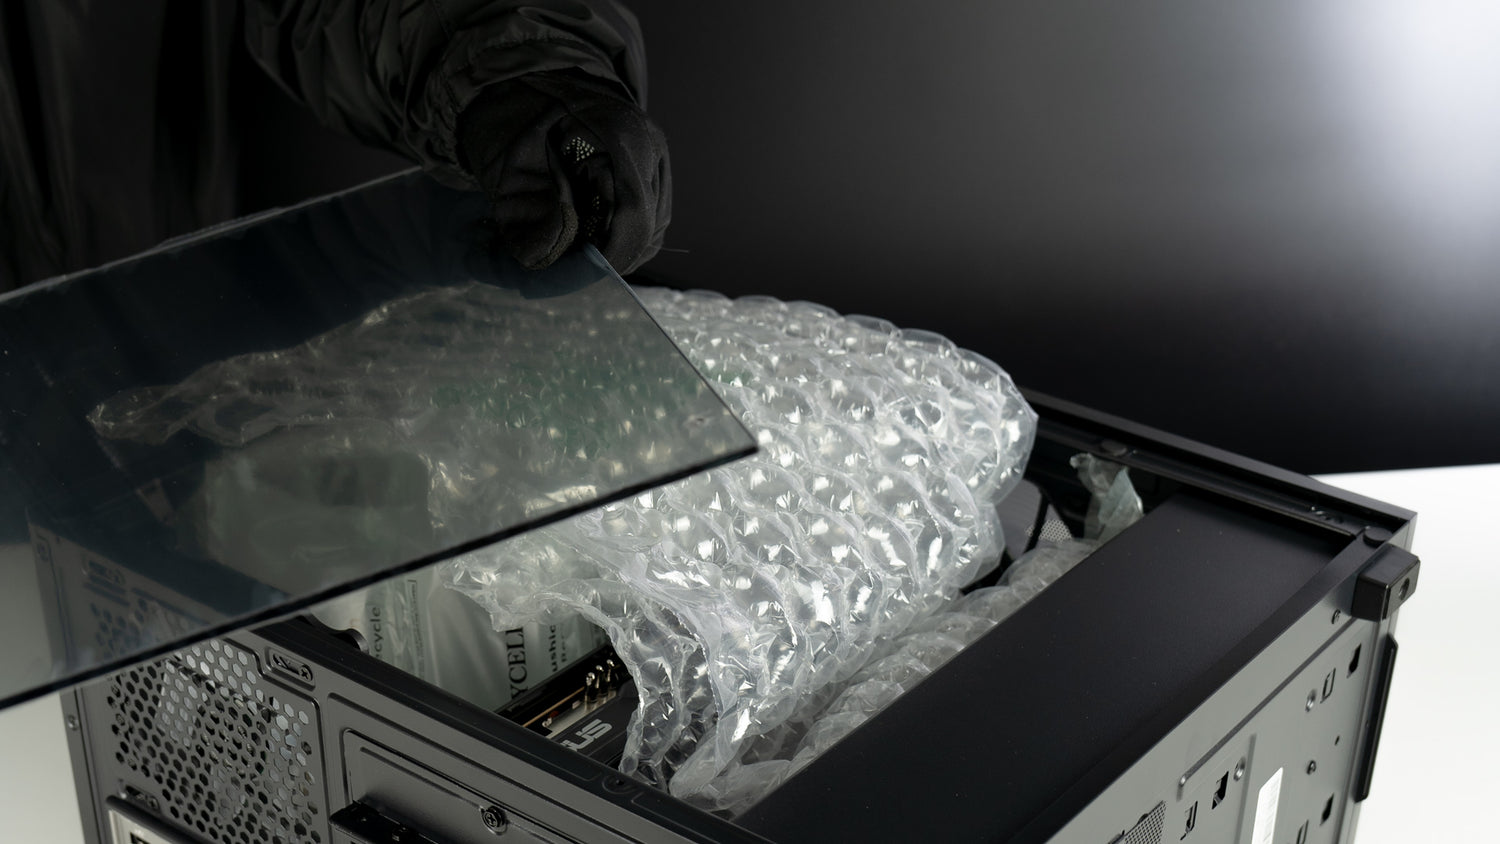
Step 3: Remove the Packing Materials Inside the Case
Carefully take out any foam, plastic, or other packing materials from inside the computer case.
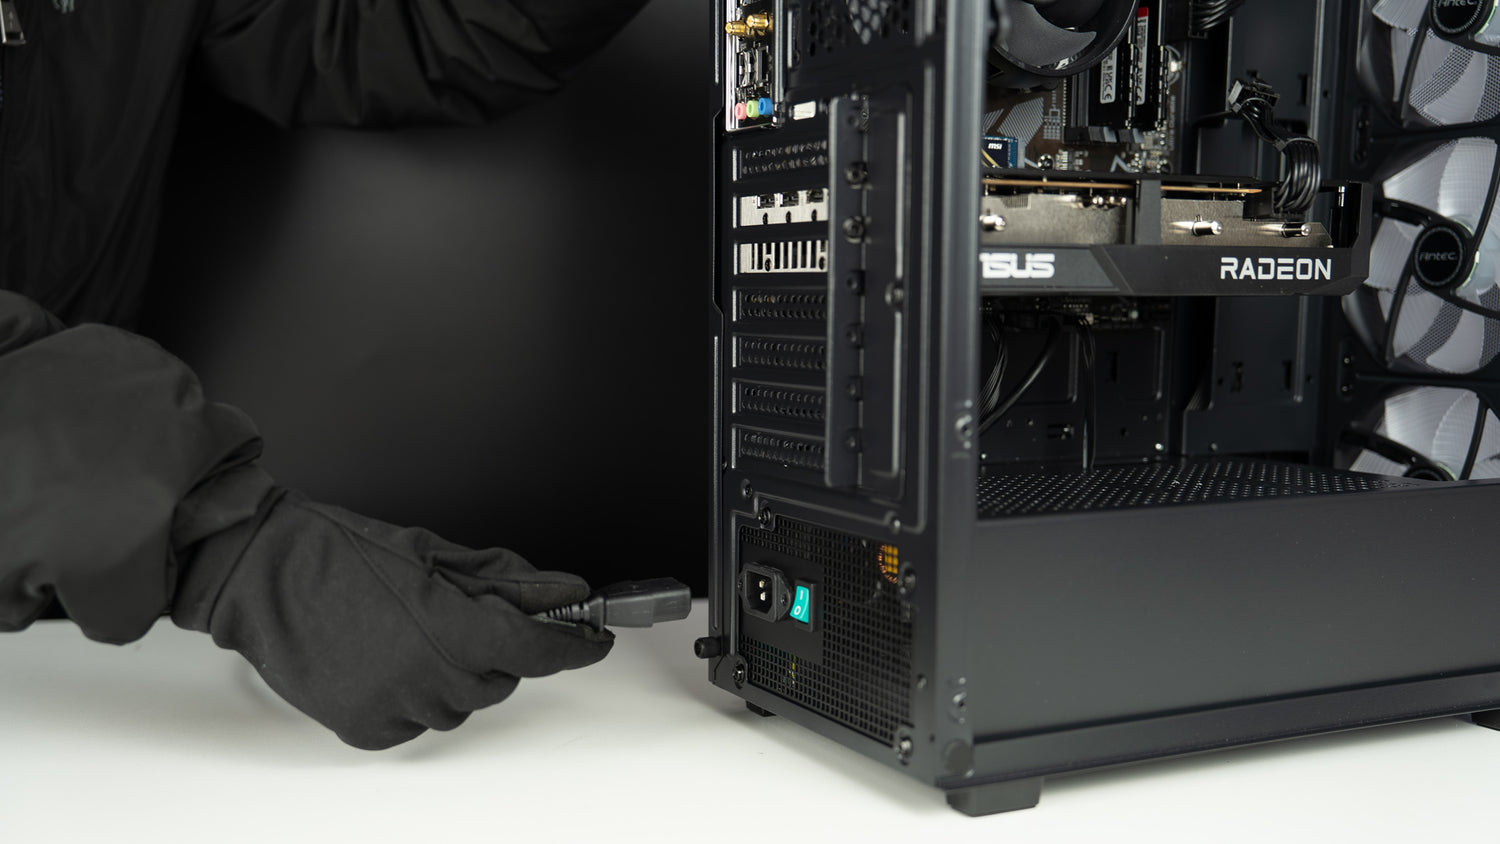
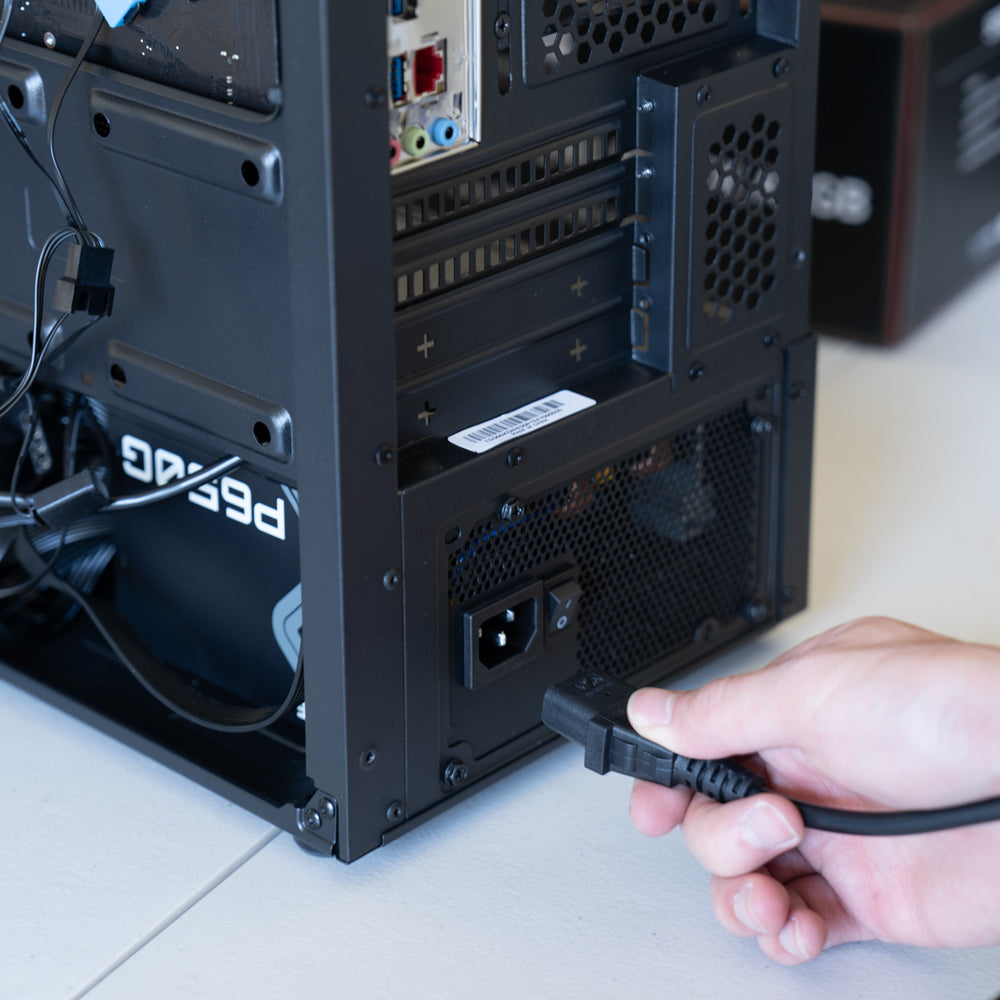
Step 4 : Plug and Play
Connect the power cable to the computer and plug it into a power outlet. Attach any necessary peripherals such as the monitor, keyboard, and mouse.