

AMD Gaming PC | Ryzen 7 7800X3D | RTX 5070 Ti | 32GB DDR5 | 2TB SSD | Montech XR
AMD Gaming PC | Ryzen 7 7800X3D | RTX 5070 Ti | 32GB DDR5 | 2TB SSD | Montech XR
Sydney Workshop
Kulgoa Avenue
Ryde NSW 2112
Australia
Sydney Workshop - Ready-To-Go Prebuild PCs
Kulgoa Avenue
Ryde NSW 2112
Australia
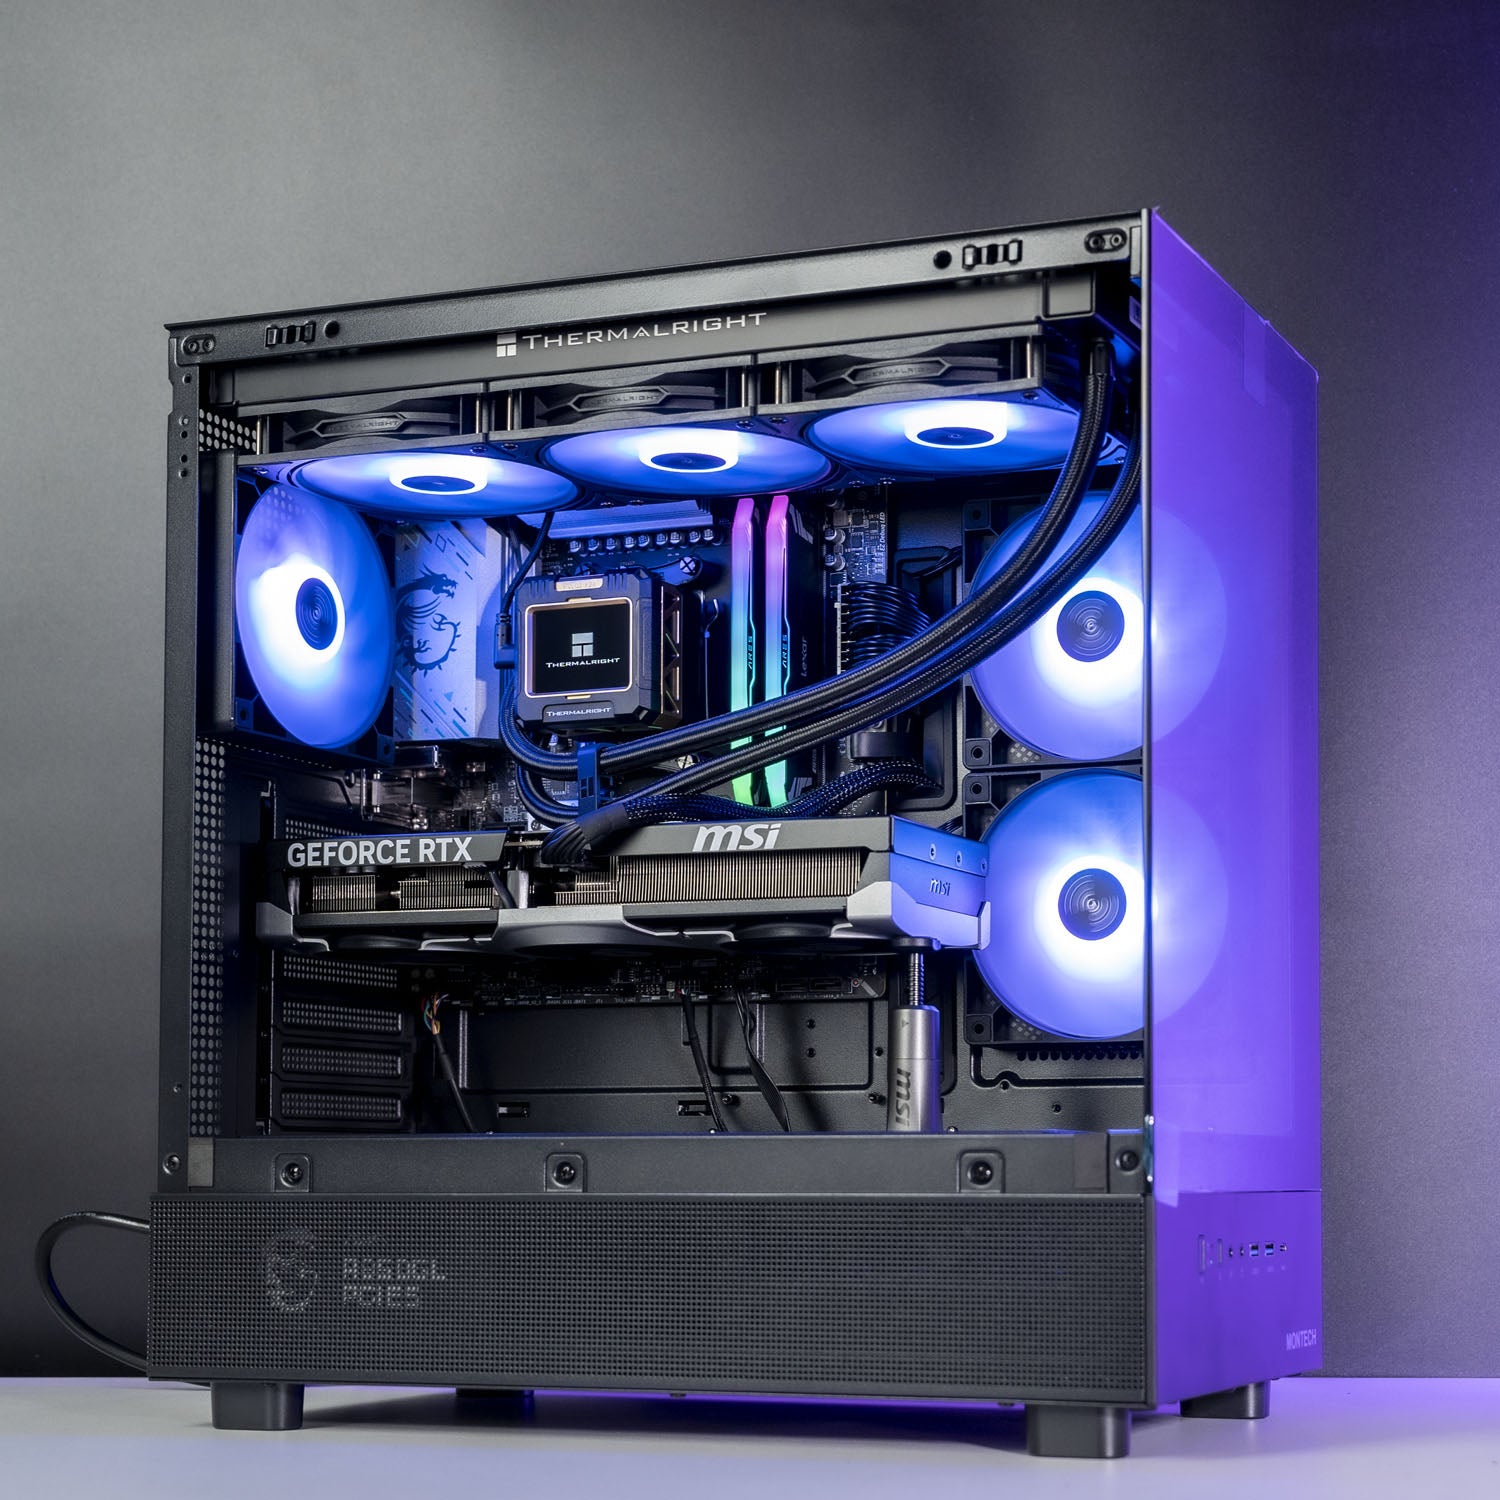
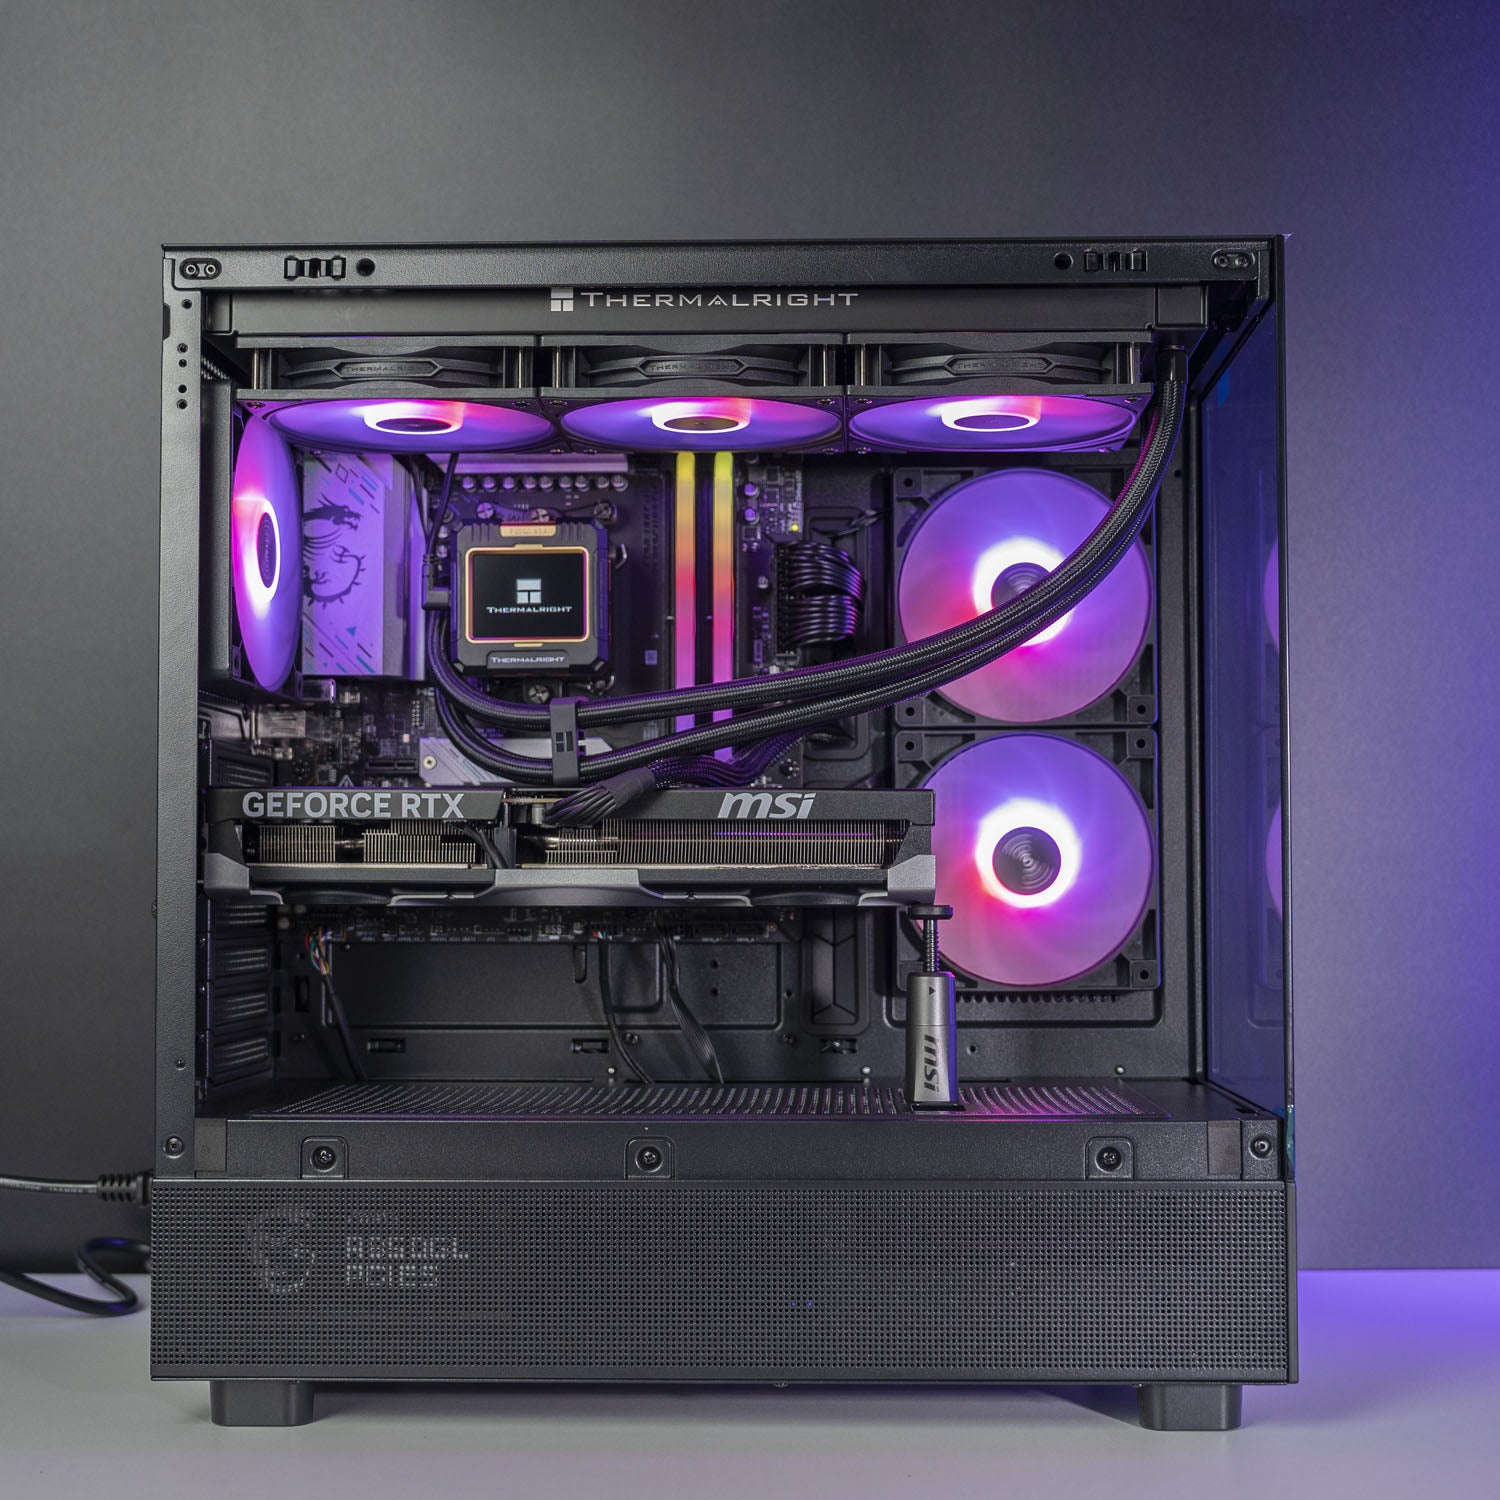
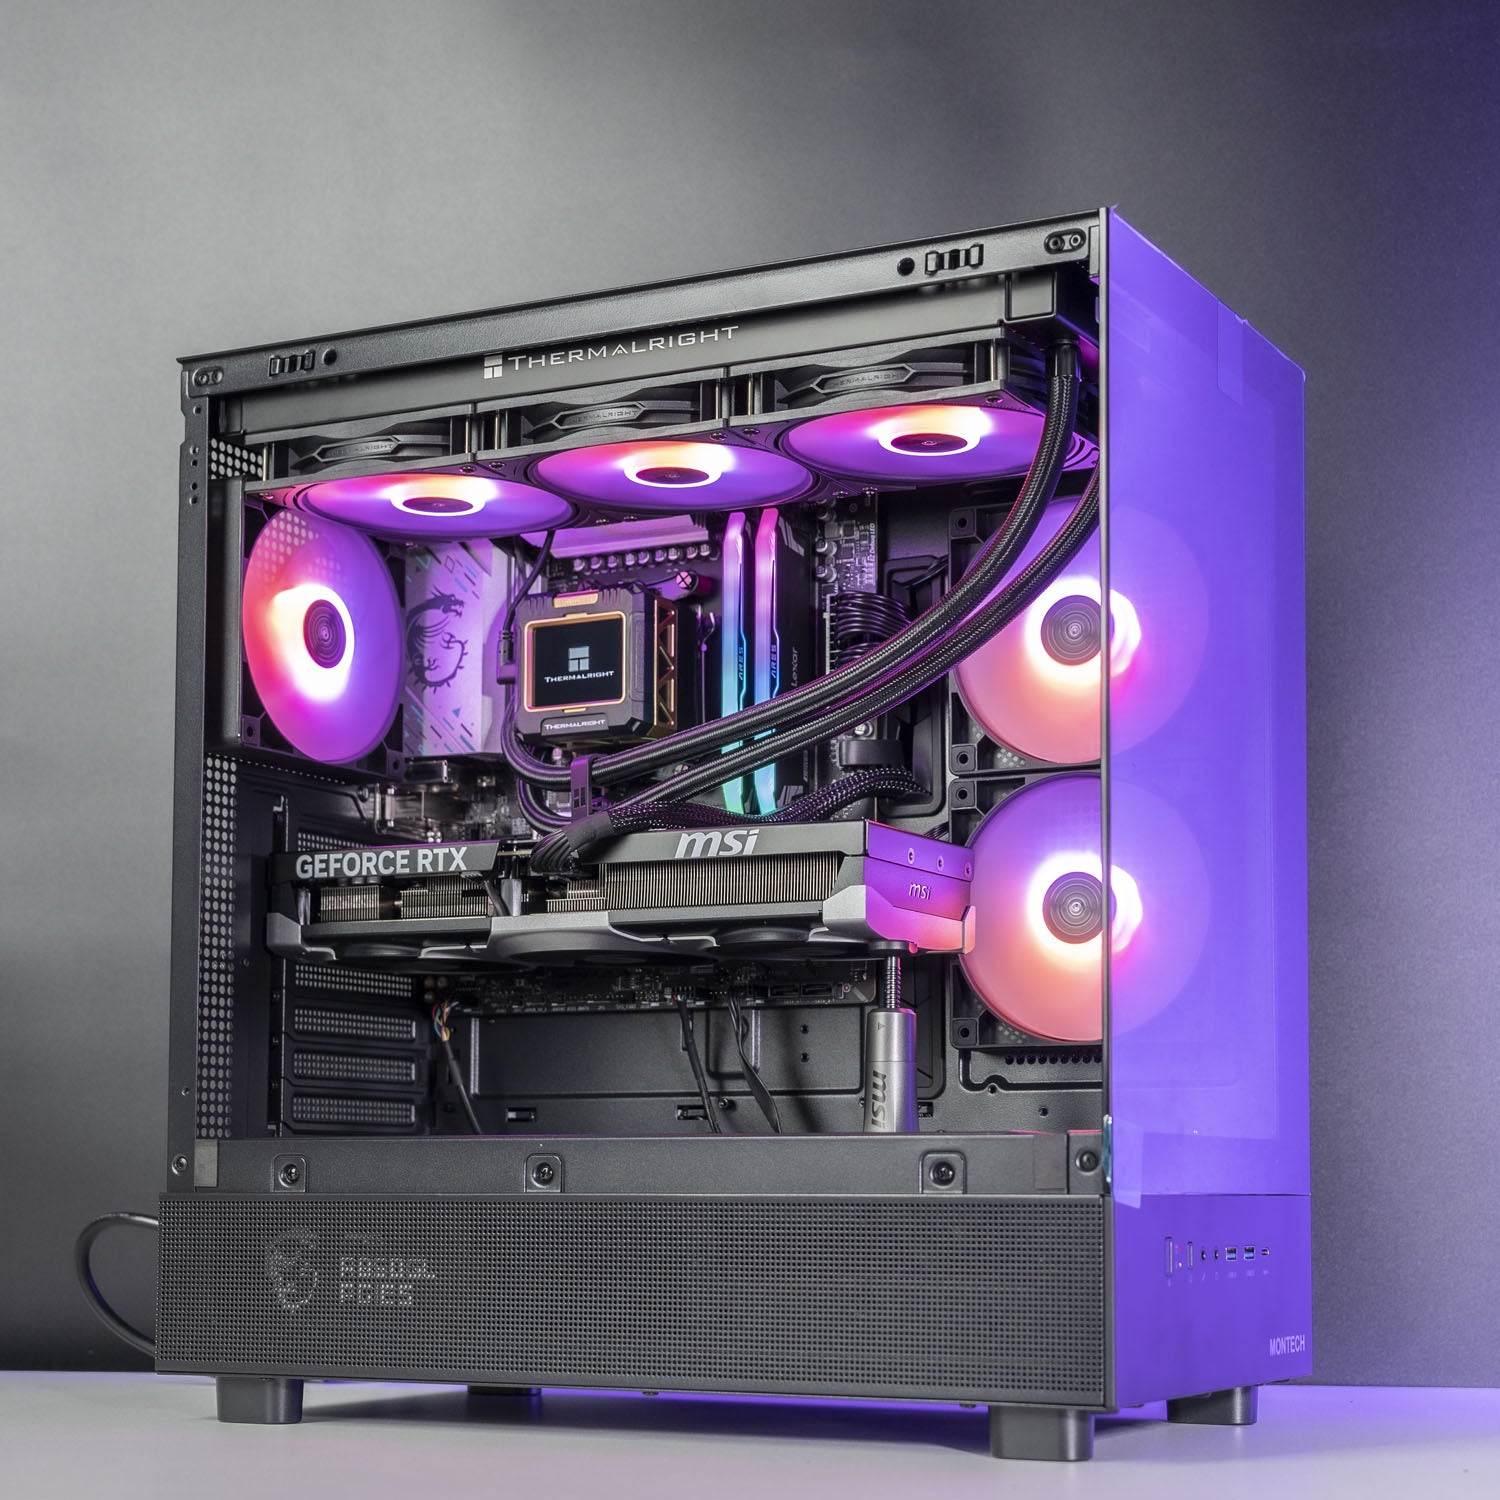
✅ Processor: AMD Ryzen 7 7800X3D – 8 Cores / 16 Threads
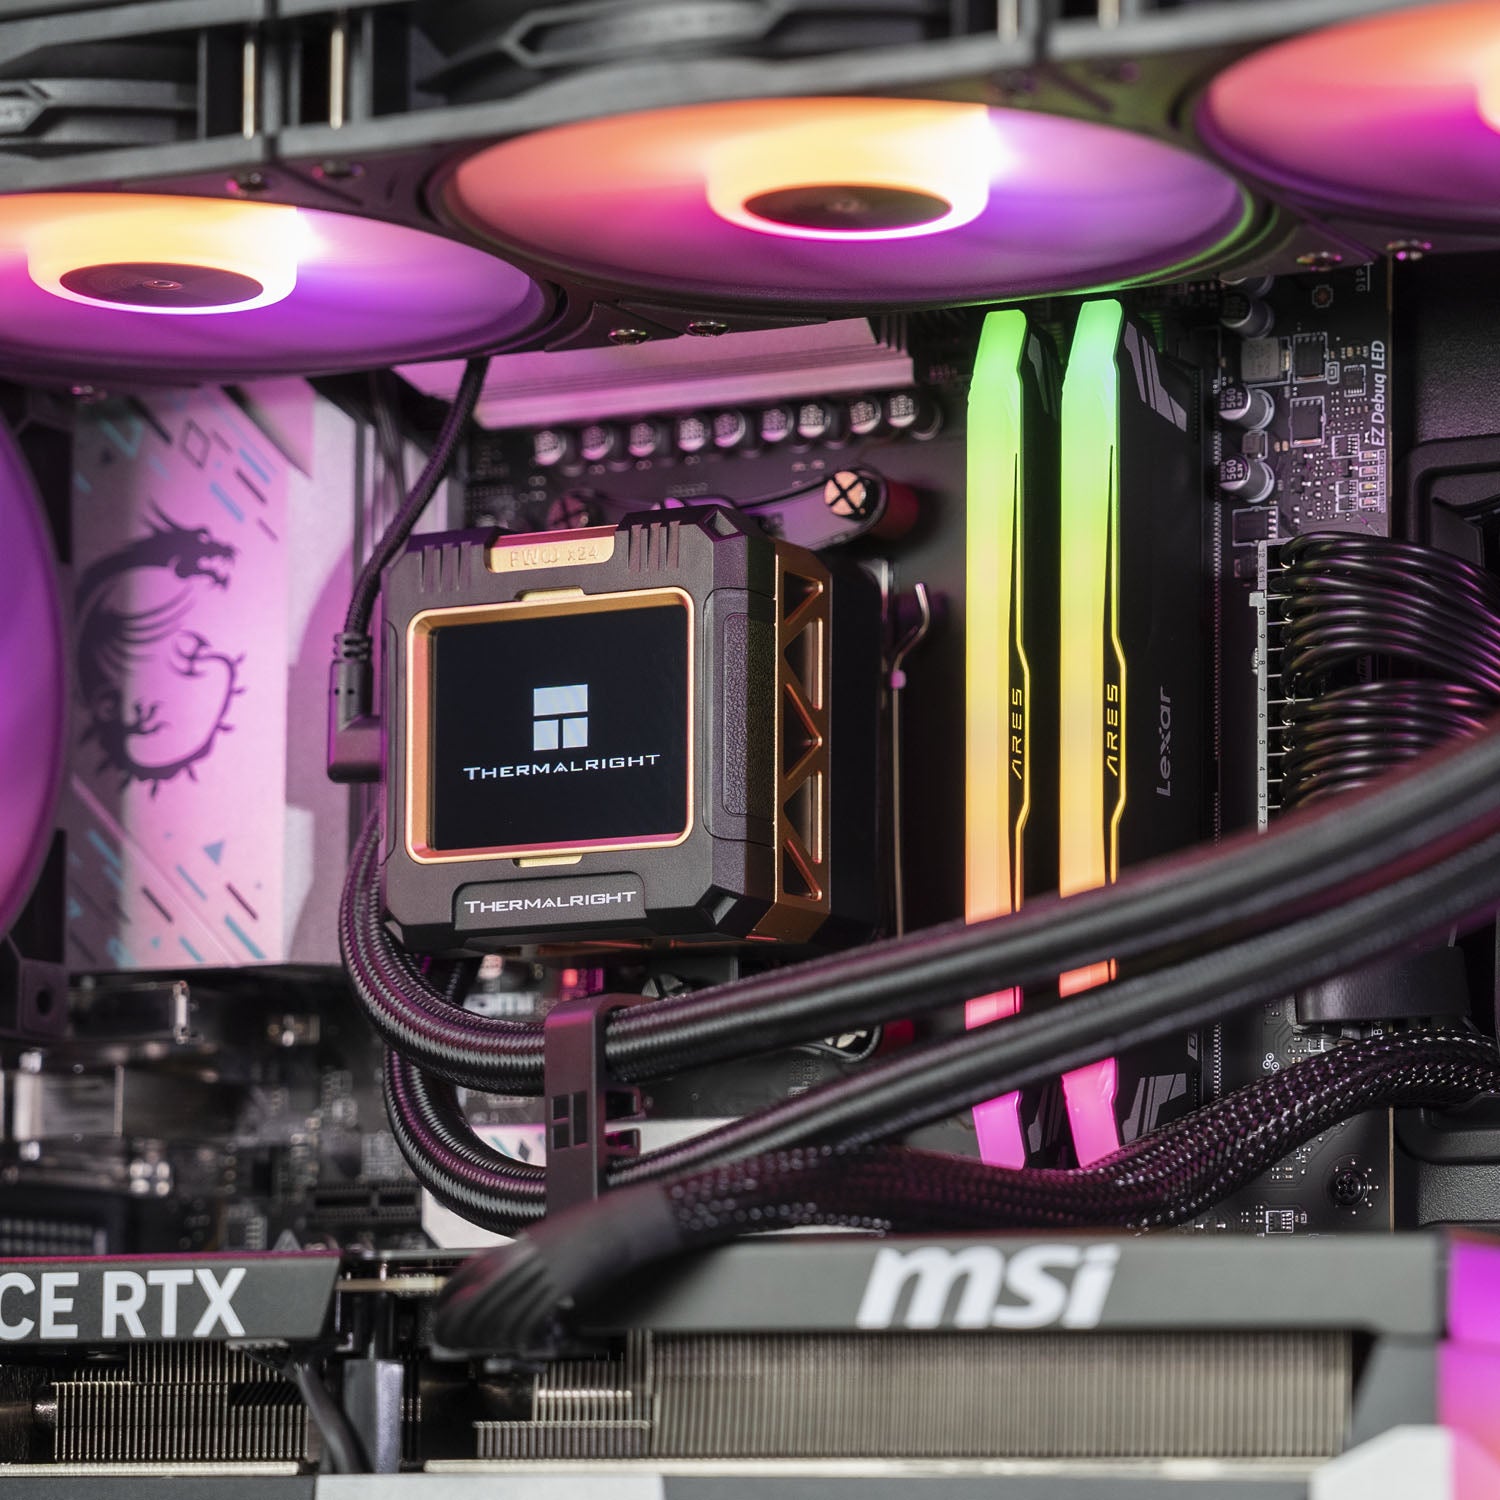
✅ Memory: Biwin DW100 RGB 32GB (2x16GB) DDR5 6000MT/s CL30 - Black
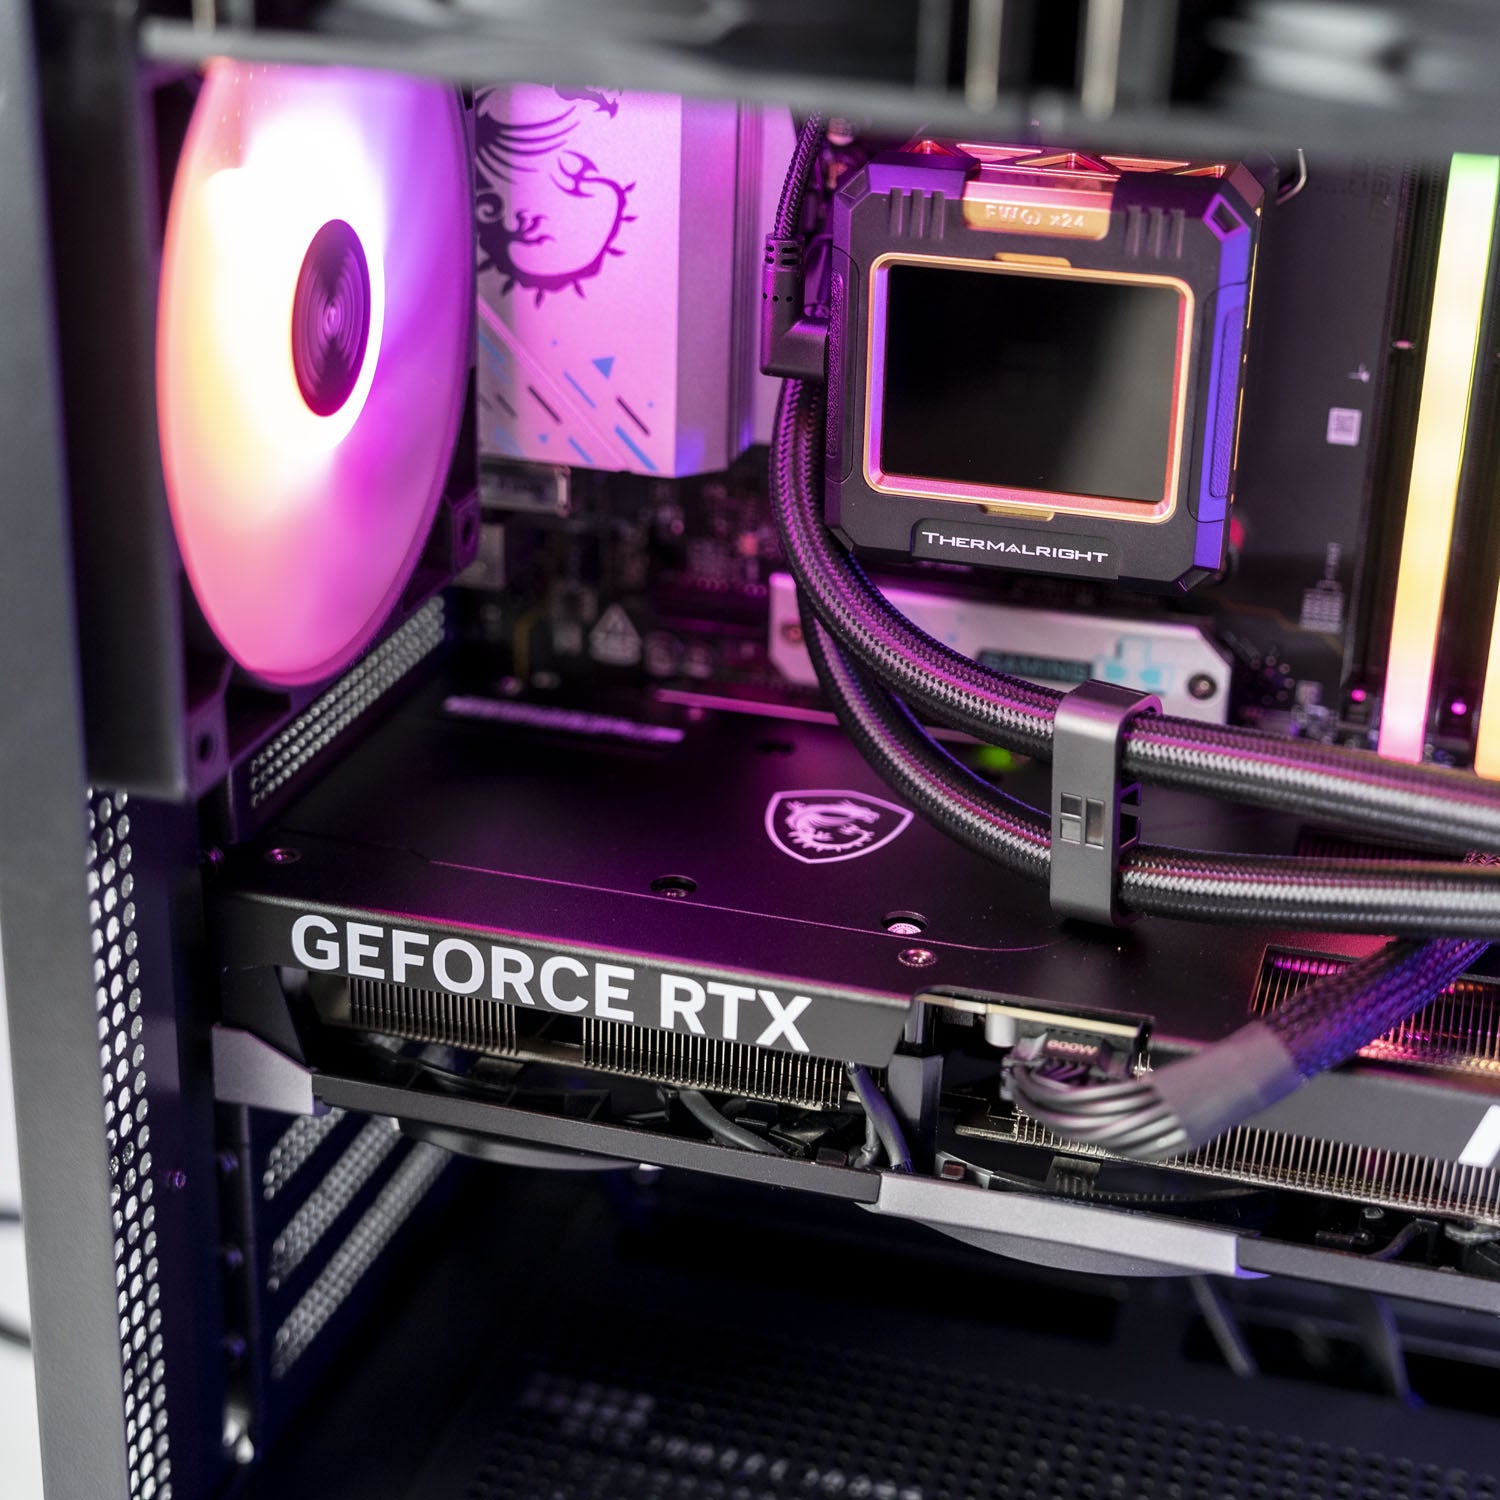
✅ Graphics Card: Gigabyte RTX 5070 Ti 16GB Windforce OC
✅ Motherboard: MSI B850 Tomahawk WiFi 7
✅ Storage: Western Digital SN7100 2TB Gen4 NVMe SSD (R: 7250MB/s W: 6900MB/s)
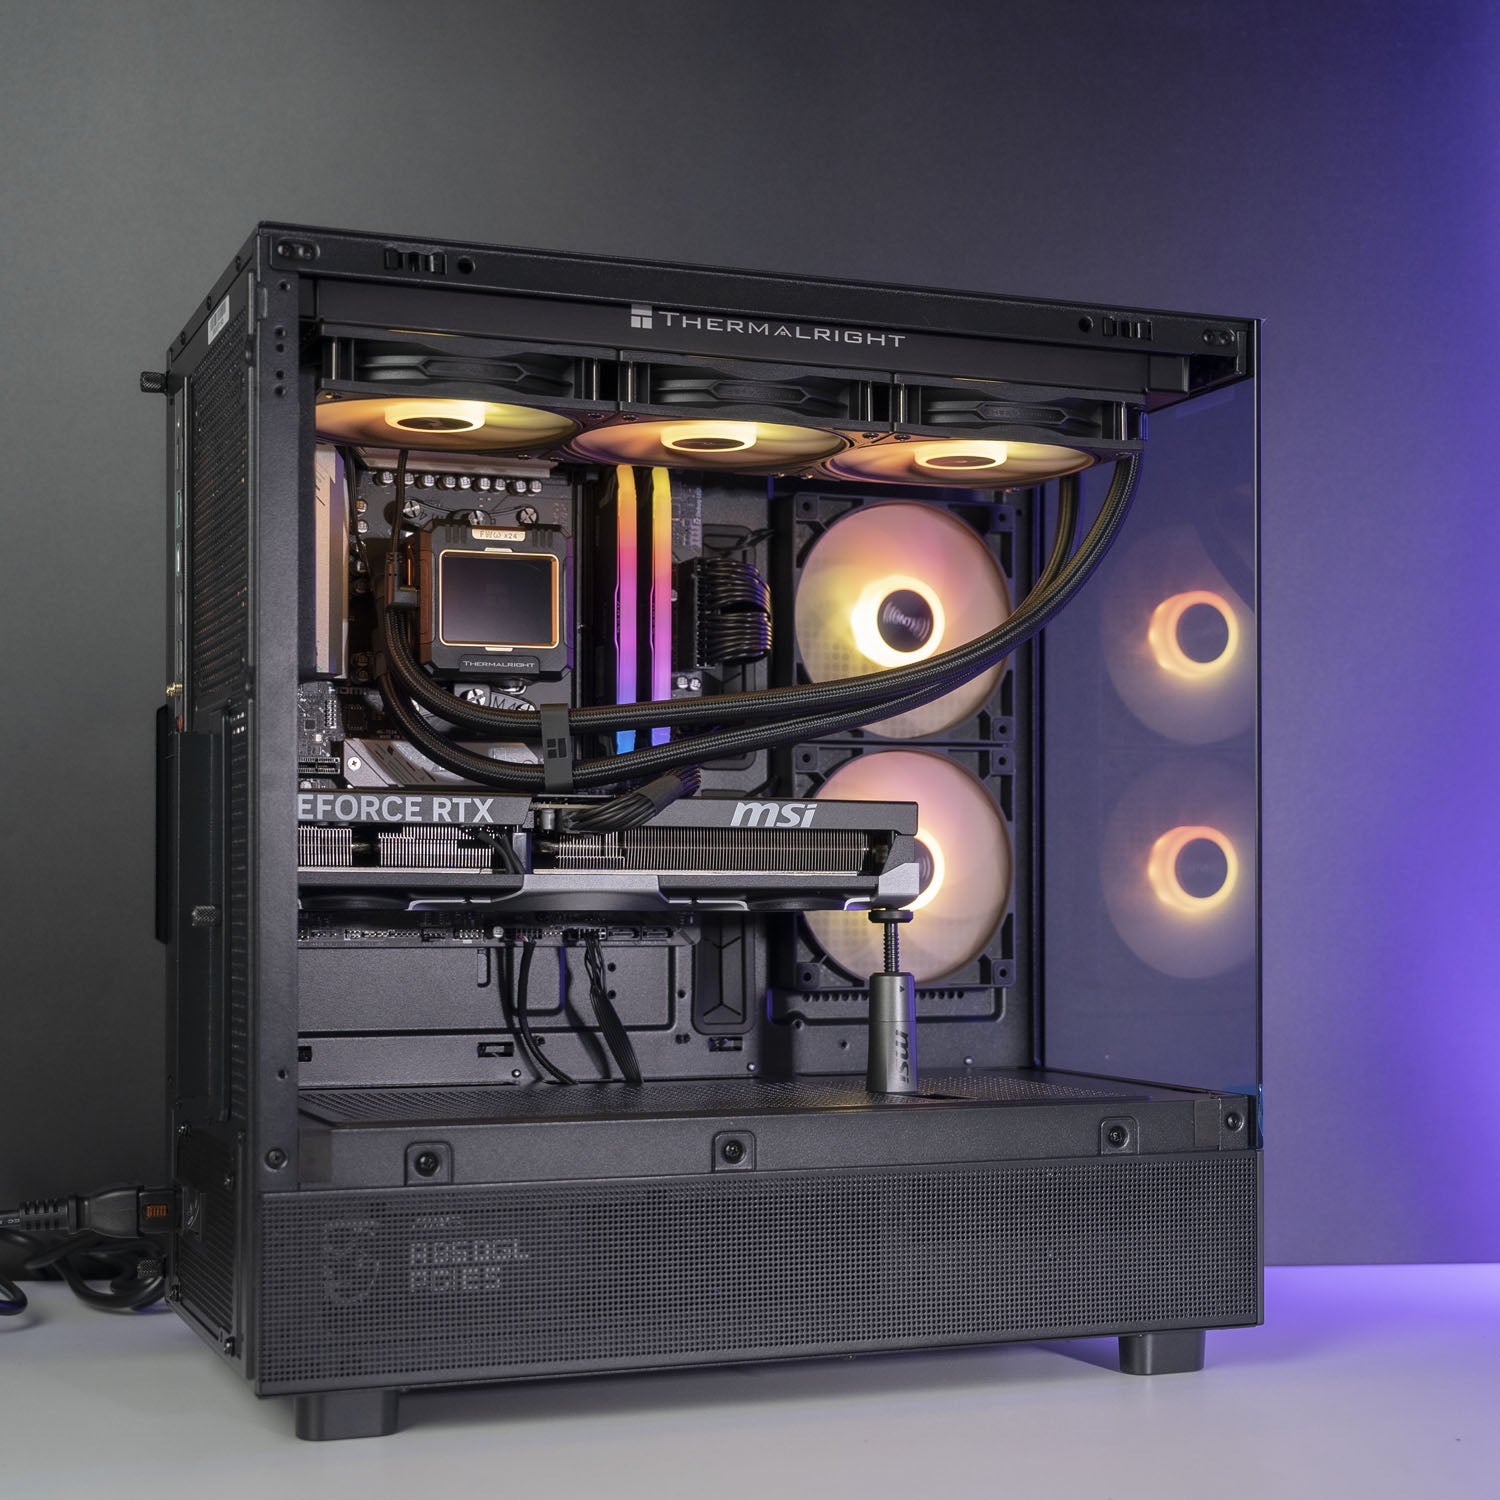
✅ Case: Montech XR ATX Case – Black
✅ Power Supply: MSI MAG A850GL PCIe 5.1 850W 80+ Gold ATX 3.1
✅ Cooler: Thermalright Frozen Warframe RGB 360mm Liquid Cooler
✅ Operating System: Windows 11 Professional
This build pairs the Ryzen 7 7800X3D with the RTX 5070 Ti 16GB for high-FPS 1440p and smooth 4K gaming, plus the power for streaming and creative work.
The fast Western Digital SN7100 2TB SSD reaches 7,250 MB/s for quick load times. The Montech XR Case offers bold styling and excellent airflow, while the Thermalright Frozen Warframe 360mm Liquid Cooler with LCD display keeps temperatures stable under load.
Experience top-tier gaming and productivity with a professionally built custom PC, backed by 24-month warranty and Australia-wide shipping.
FPS Performance

Results based on High settings — performance may vary depending on game version, map, or resolution.
BEFORE YOU PLACE THE ORDER
1. Choose your gaming rig
Not sure which gaming PC is right for you?
Give us a buzz and our team will help you out.
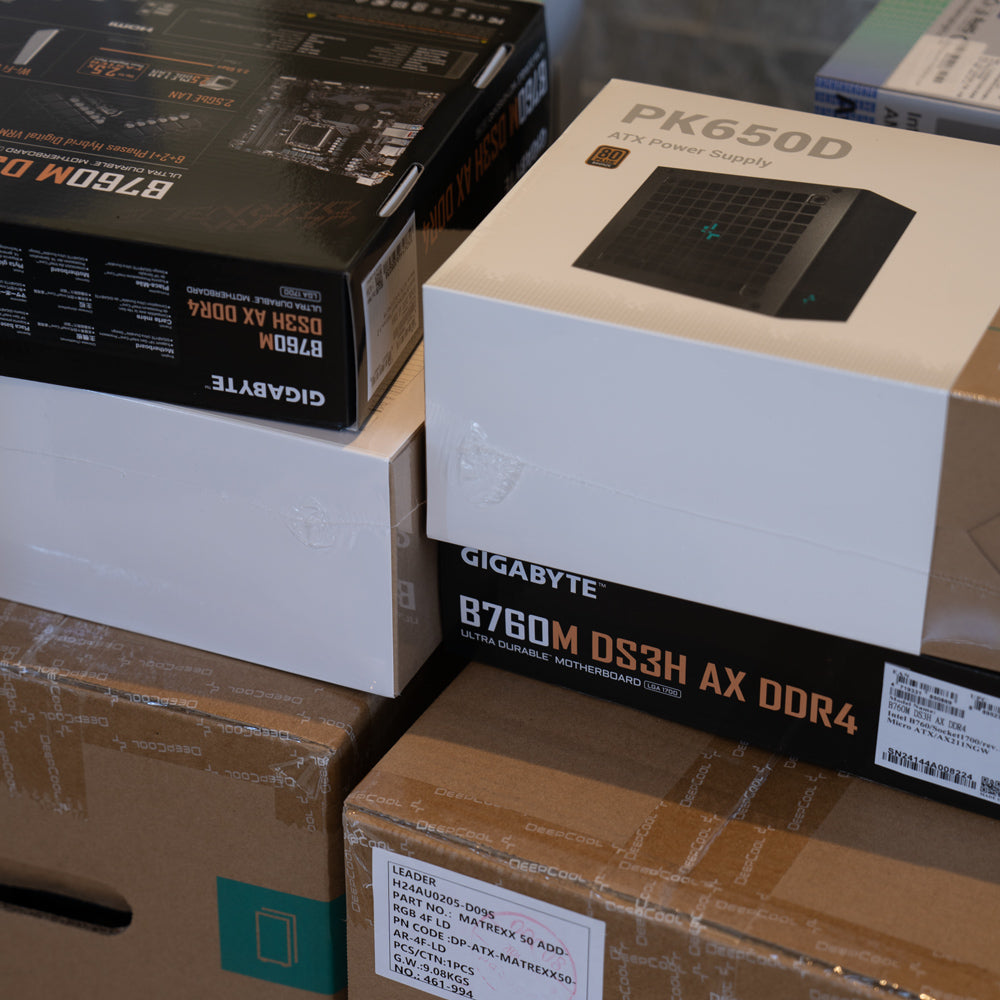
2. Place your order
In-stock ready-to-go PCs will be despatched within 24 hours.
Custom PCs will be despatched in 3-4 business days.
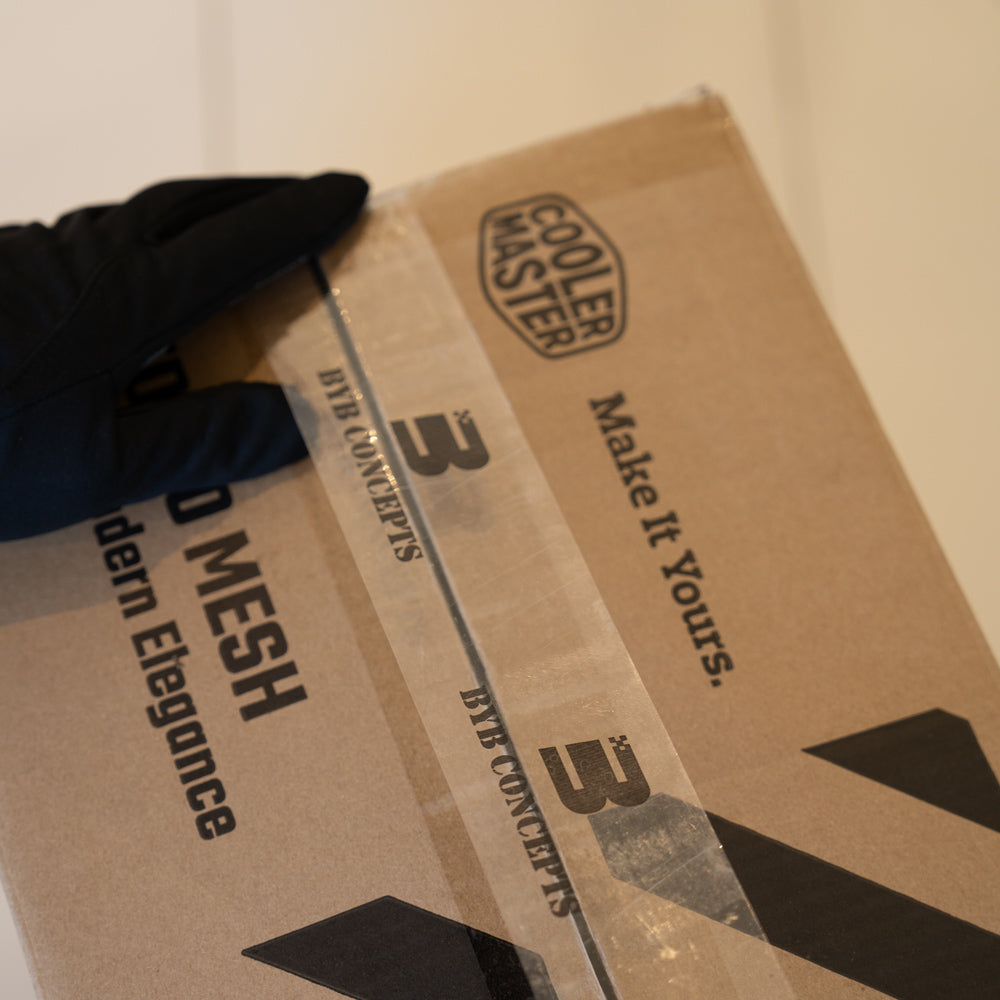
3. Packaging
We securely package your gaming PC to ensure it arrives without any damage.
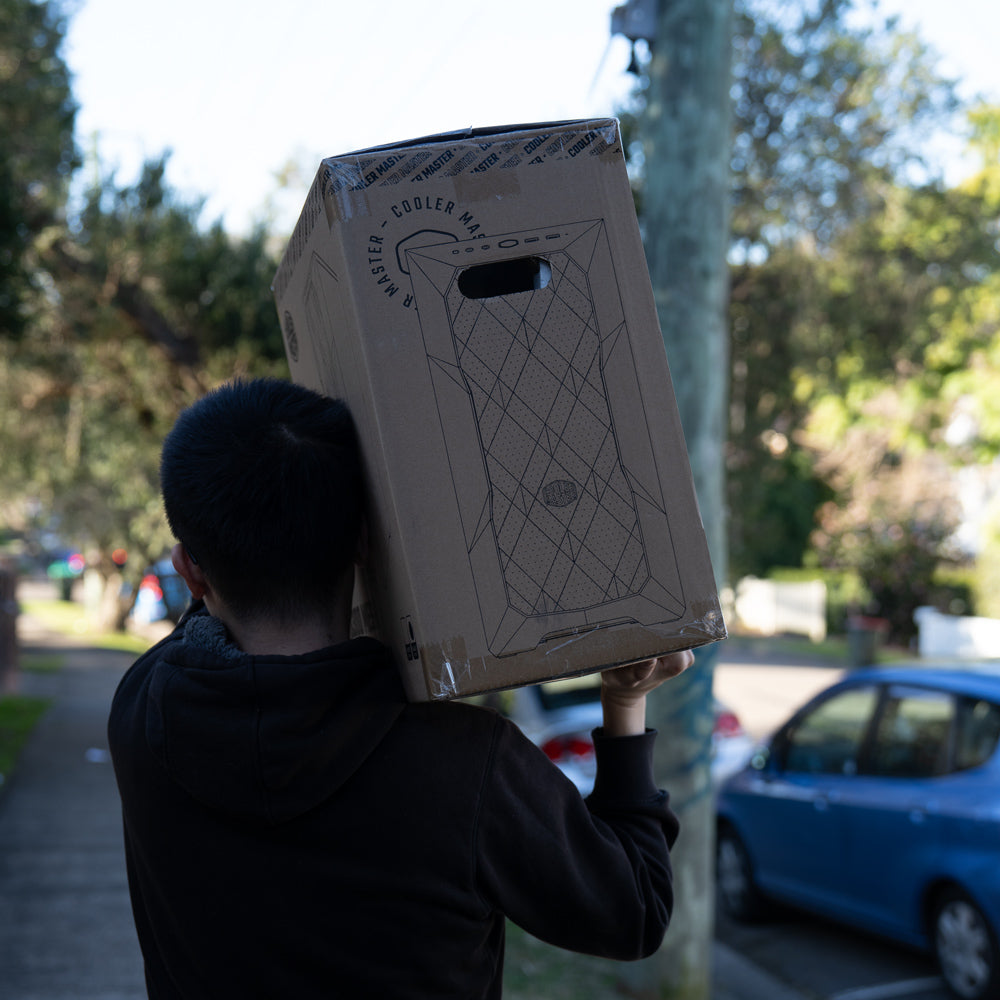
4. Shipping
Your PC Order will arrive in a few business days (Longer transit time for regional areas)
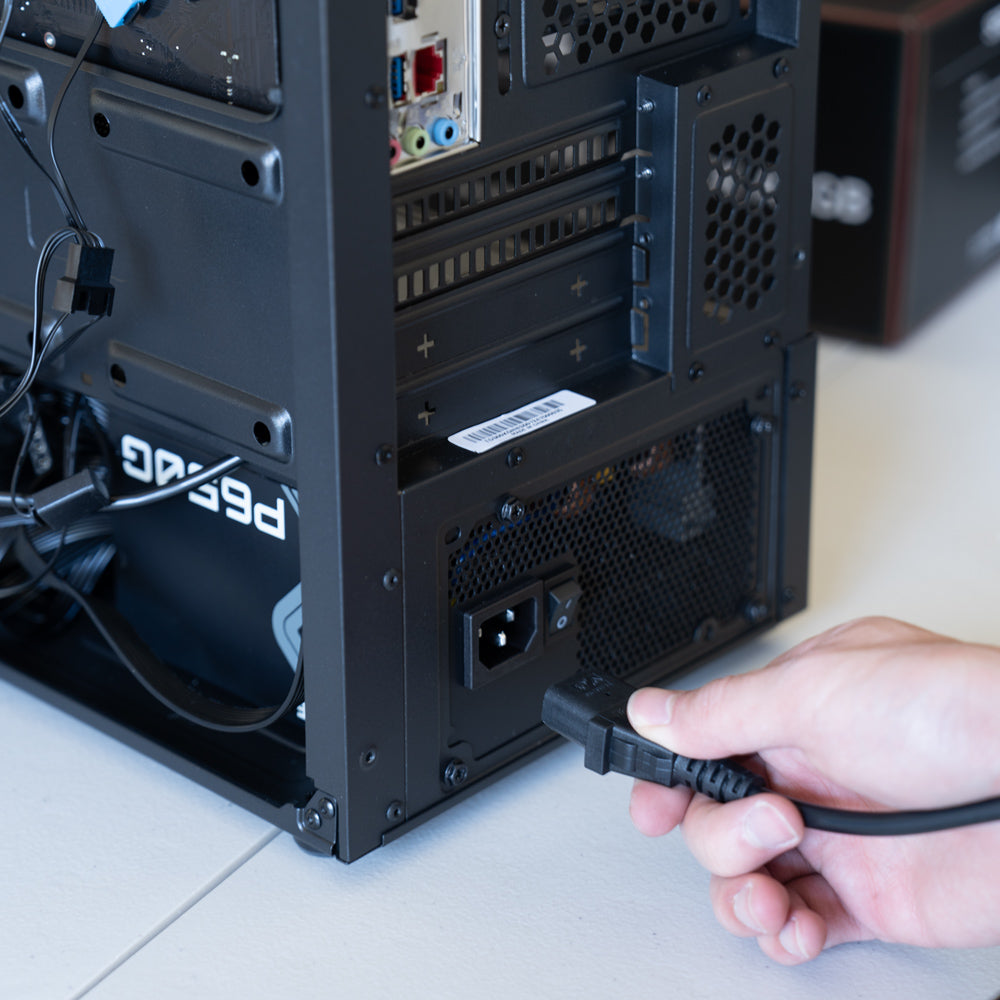
5. Plug-And-Play
Carefully unpack your new PC, connect everything properly and enjoy!
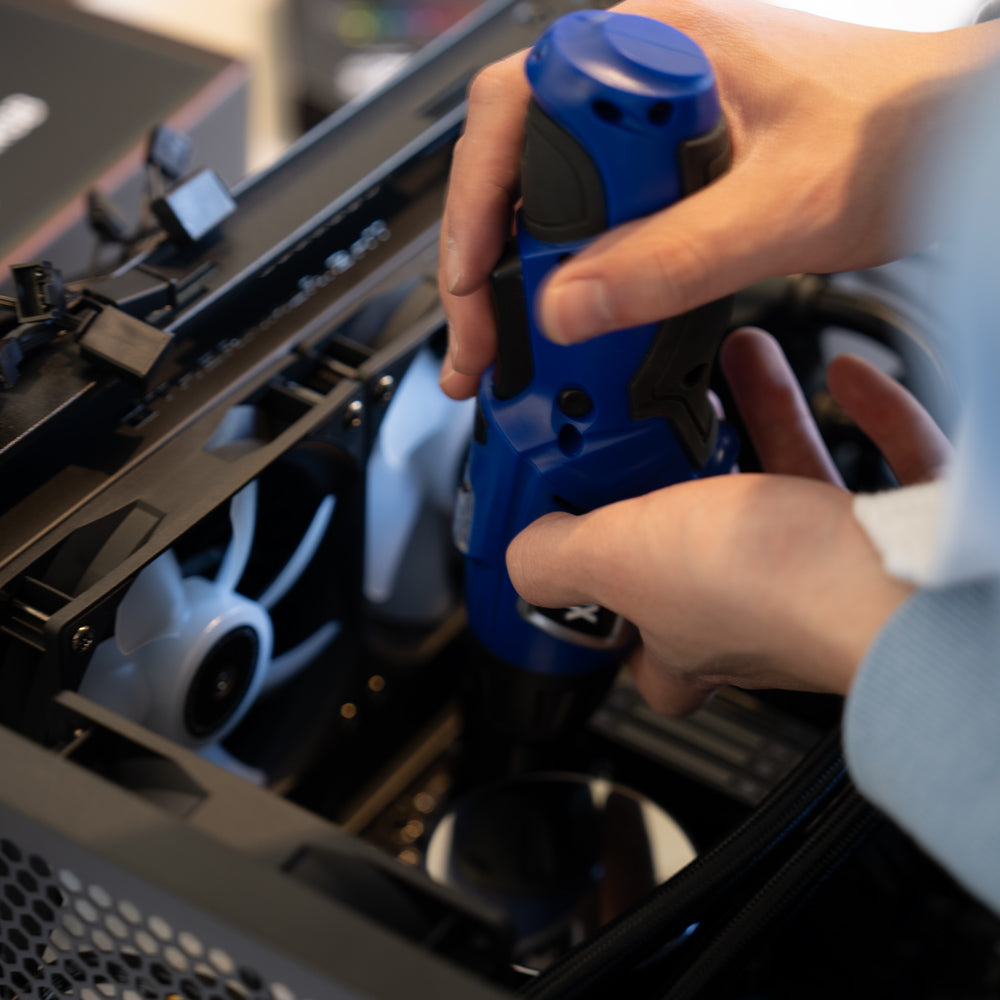
6. Have any Questions?
We're here to help!
Contact us anytime for assistance. With 2 Years warranty support.
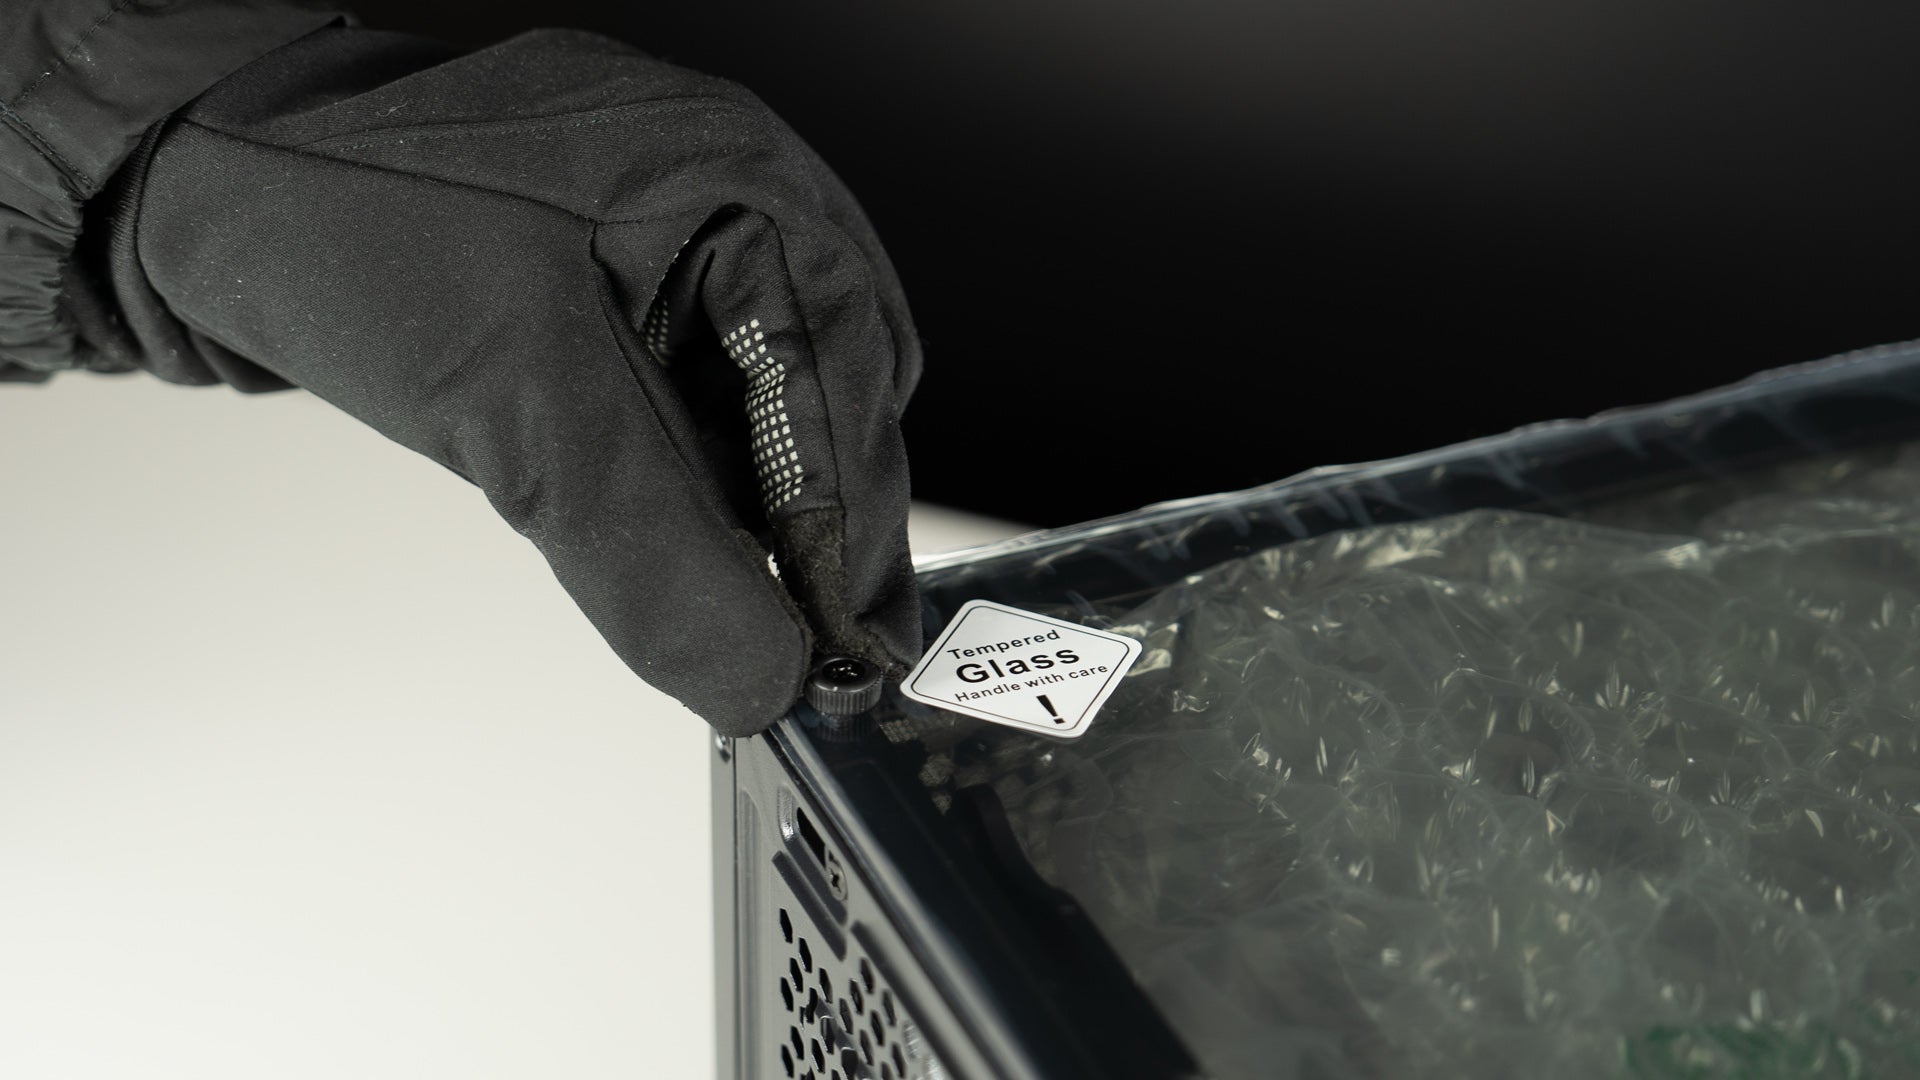
Step 1: Unscrew the Glass Panel
After receiving the computer, unpack the box, place the computer on a flat surface, and unscrew the glass panel screws.
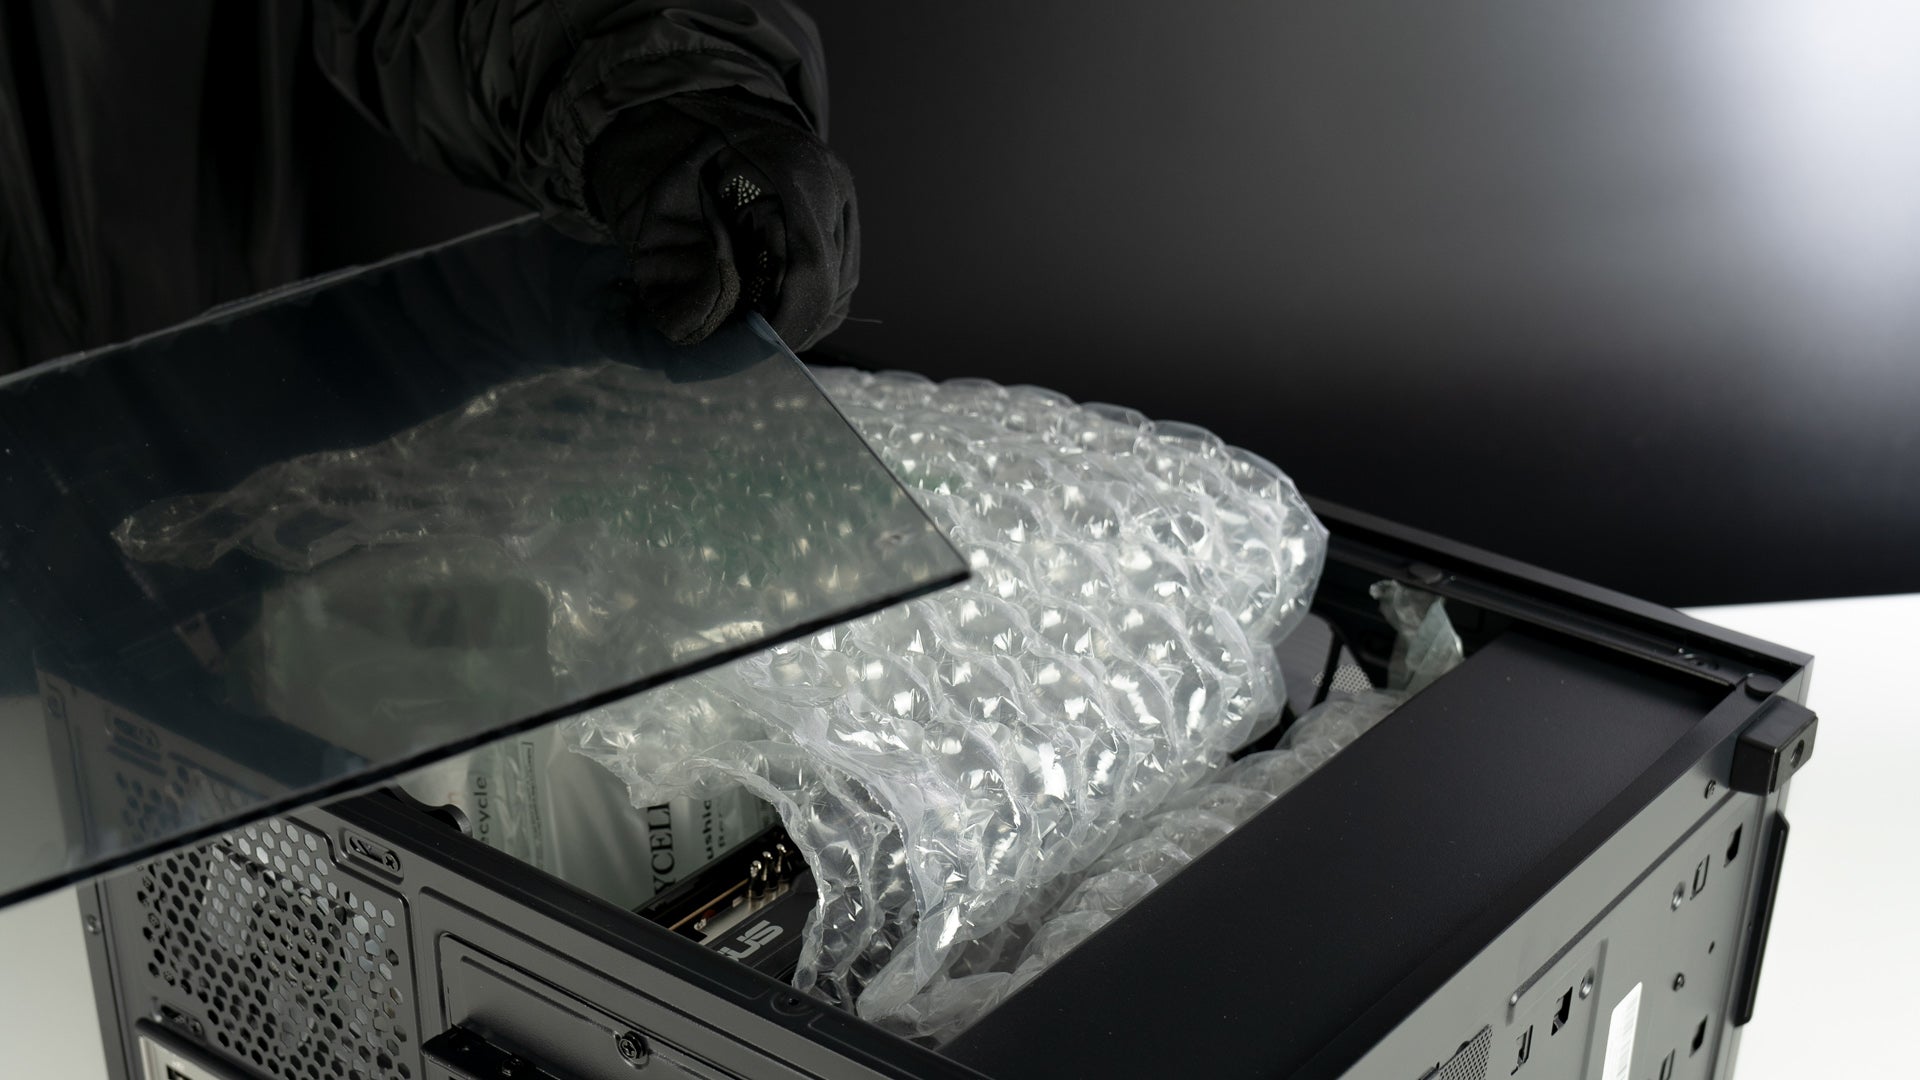
Step 2: Carefully Remove the Glass Panel
Gently lift the glass panel away from the computer case. Hold the panel securely with both hands to avoid any slips or falls.
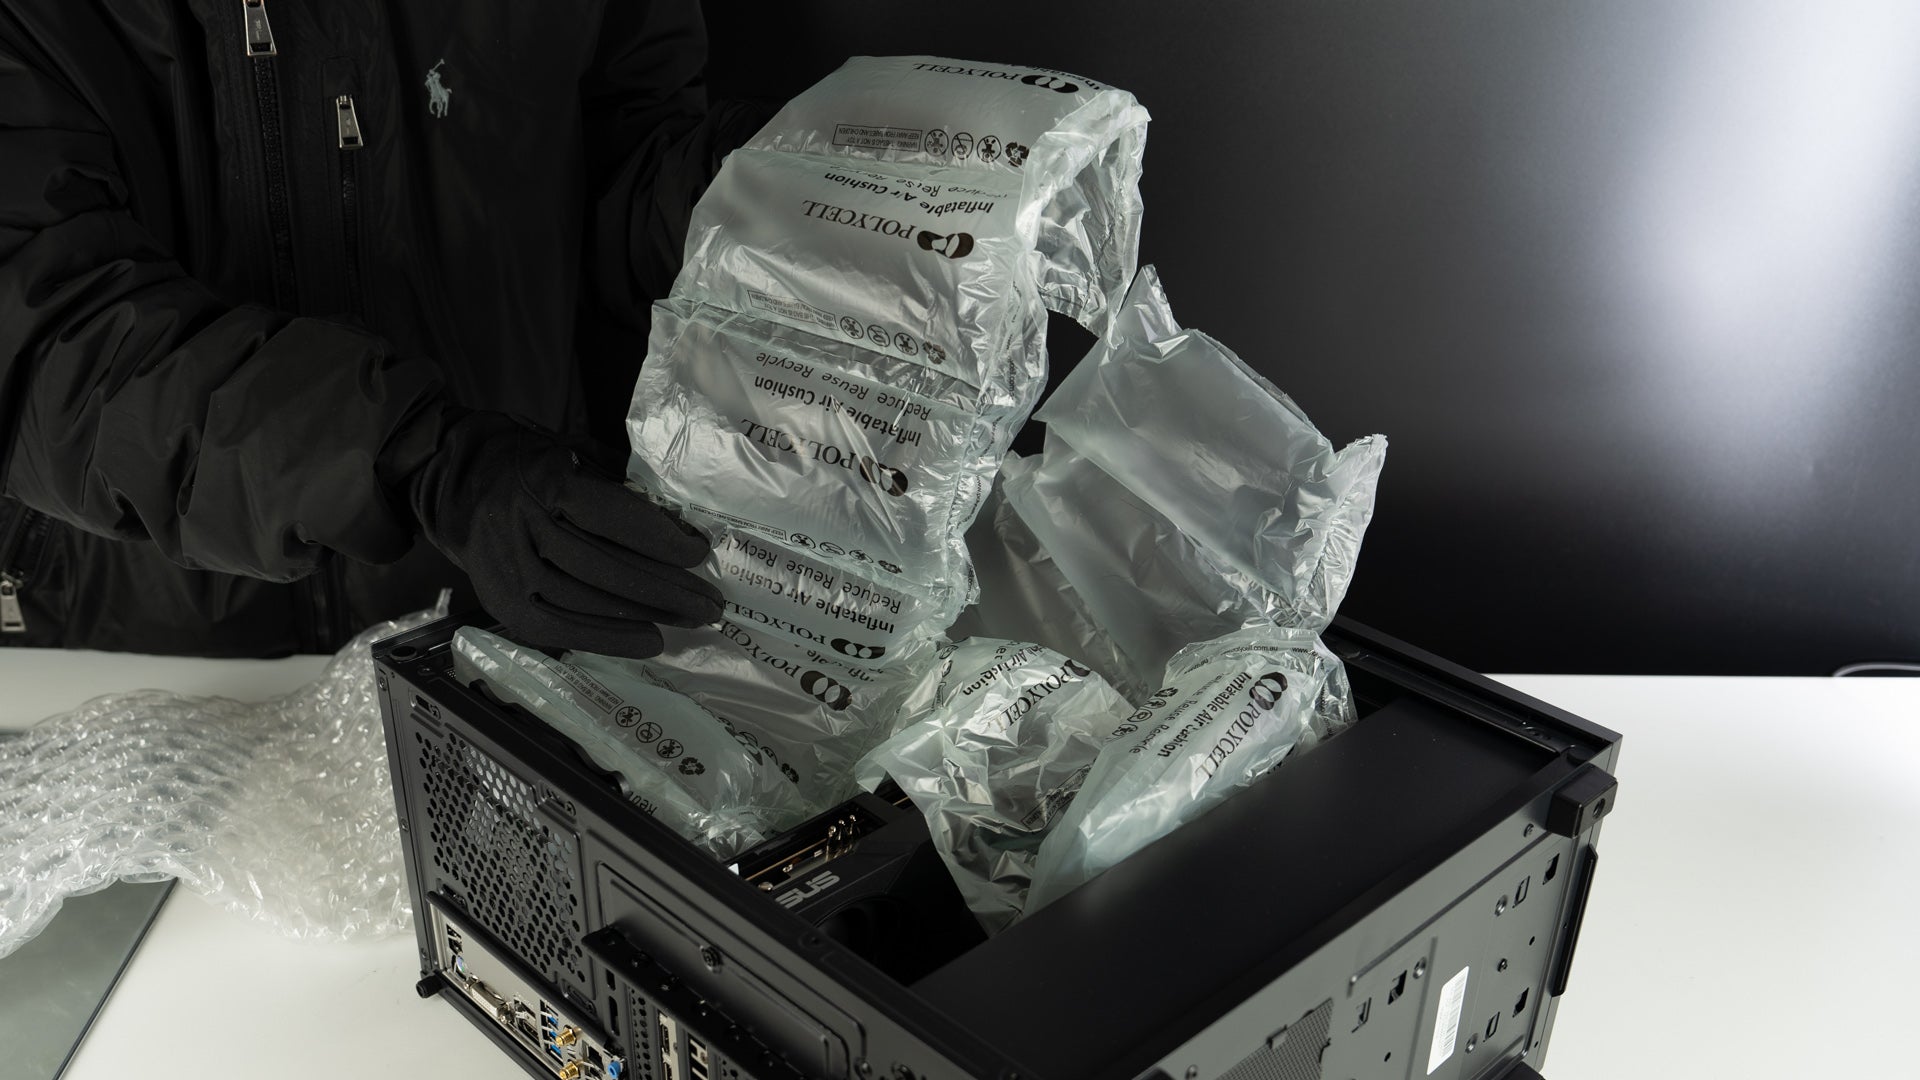
Step 3: Remove the Packing Materials Inside the Case
Carefully take out any foam, plastic, or other packing materials from inside the computer case.
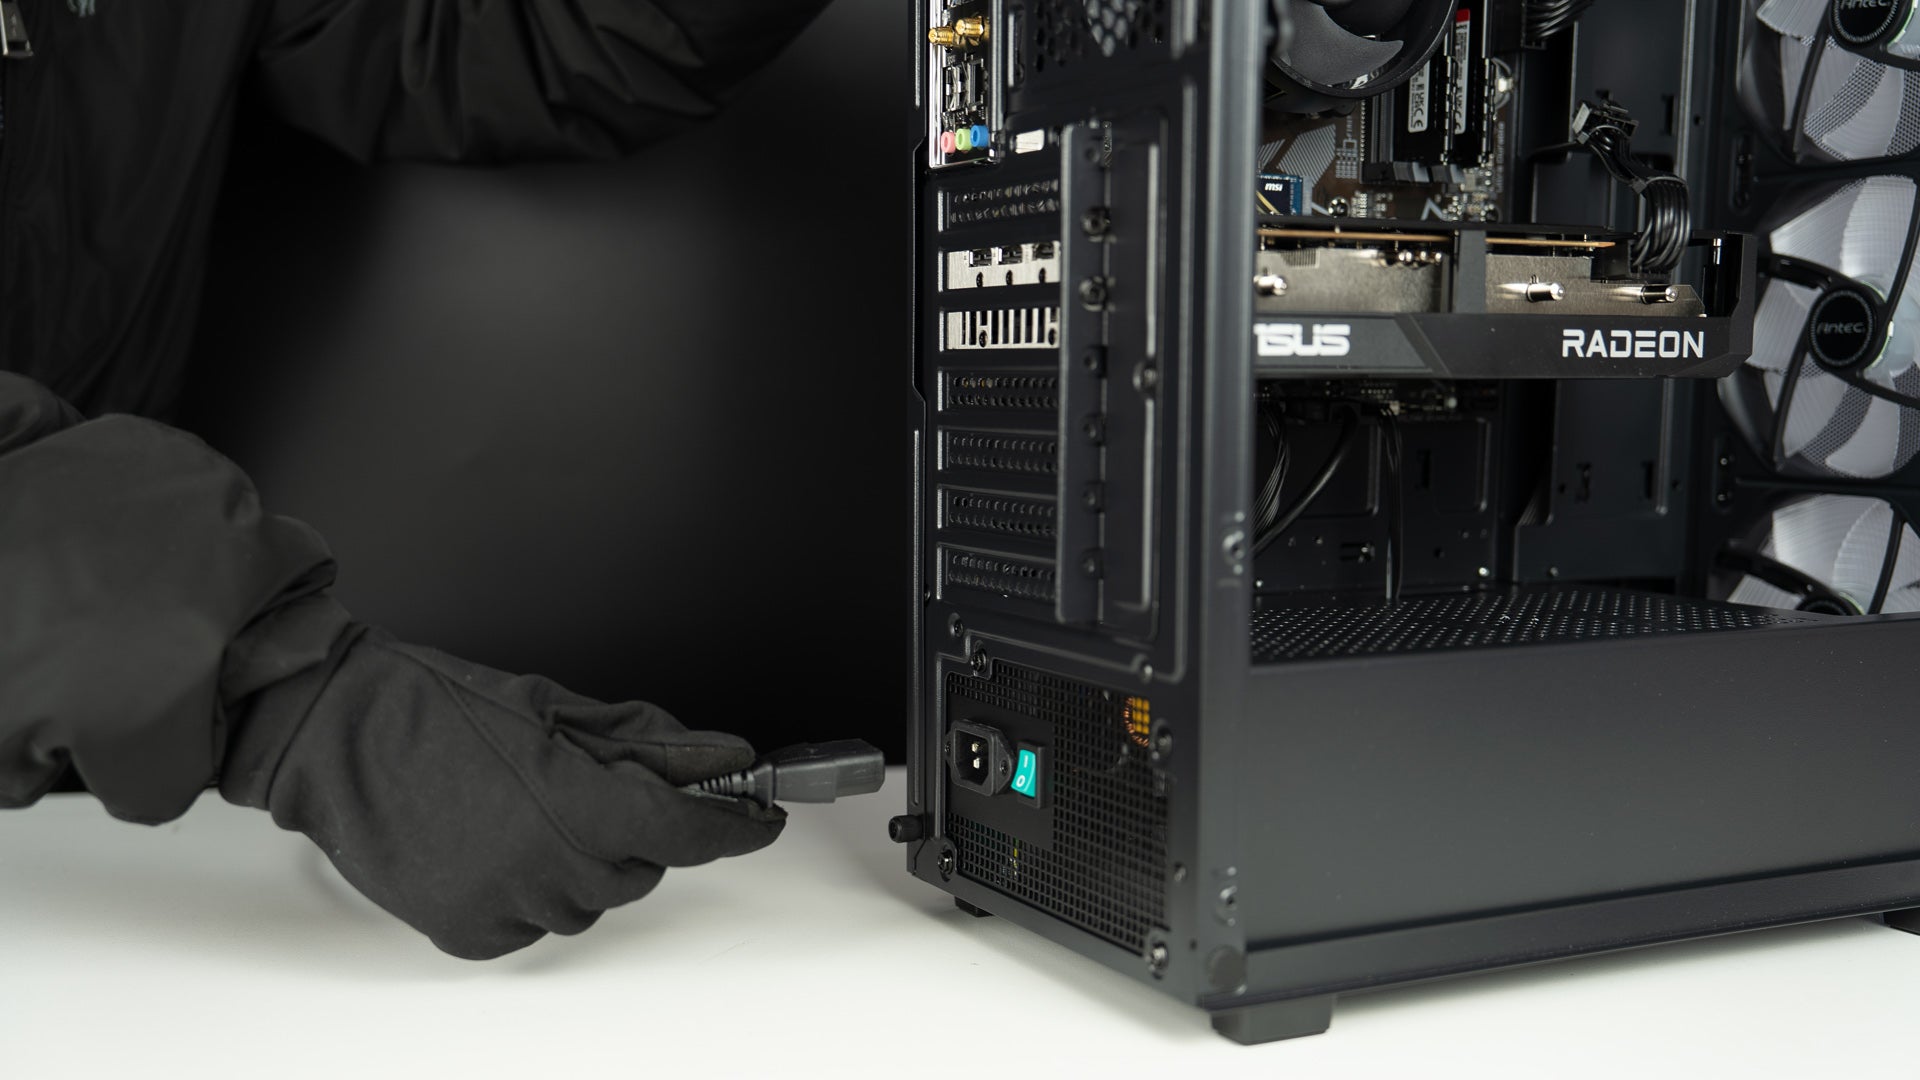
Step 4: Plug in the Power Cable
Insert the power cable into the back of the PC and plug it into a power outlet. Then connect your keyboard, mouse, monitor, and other devices.

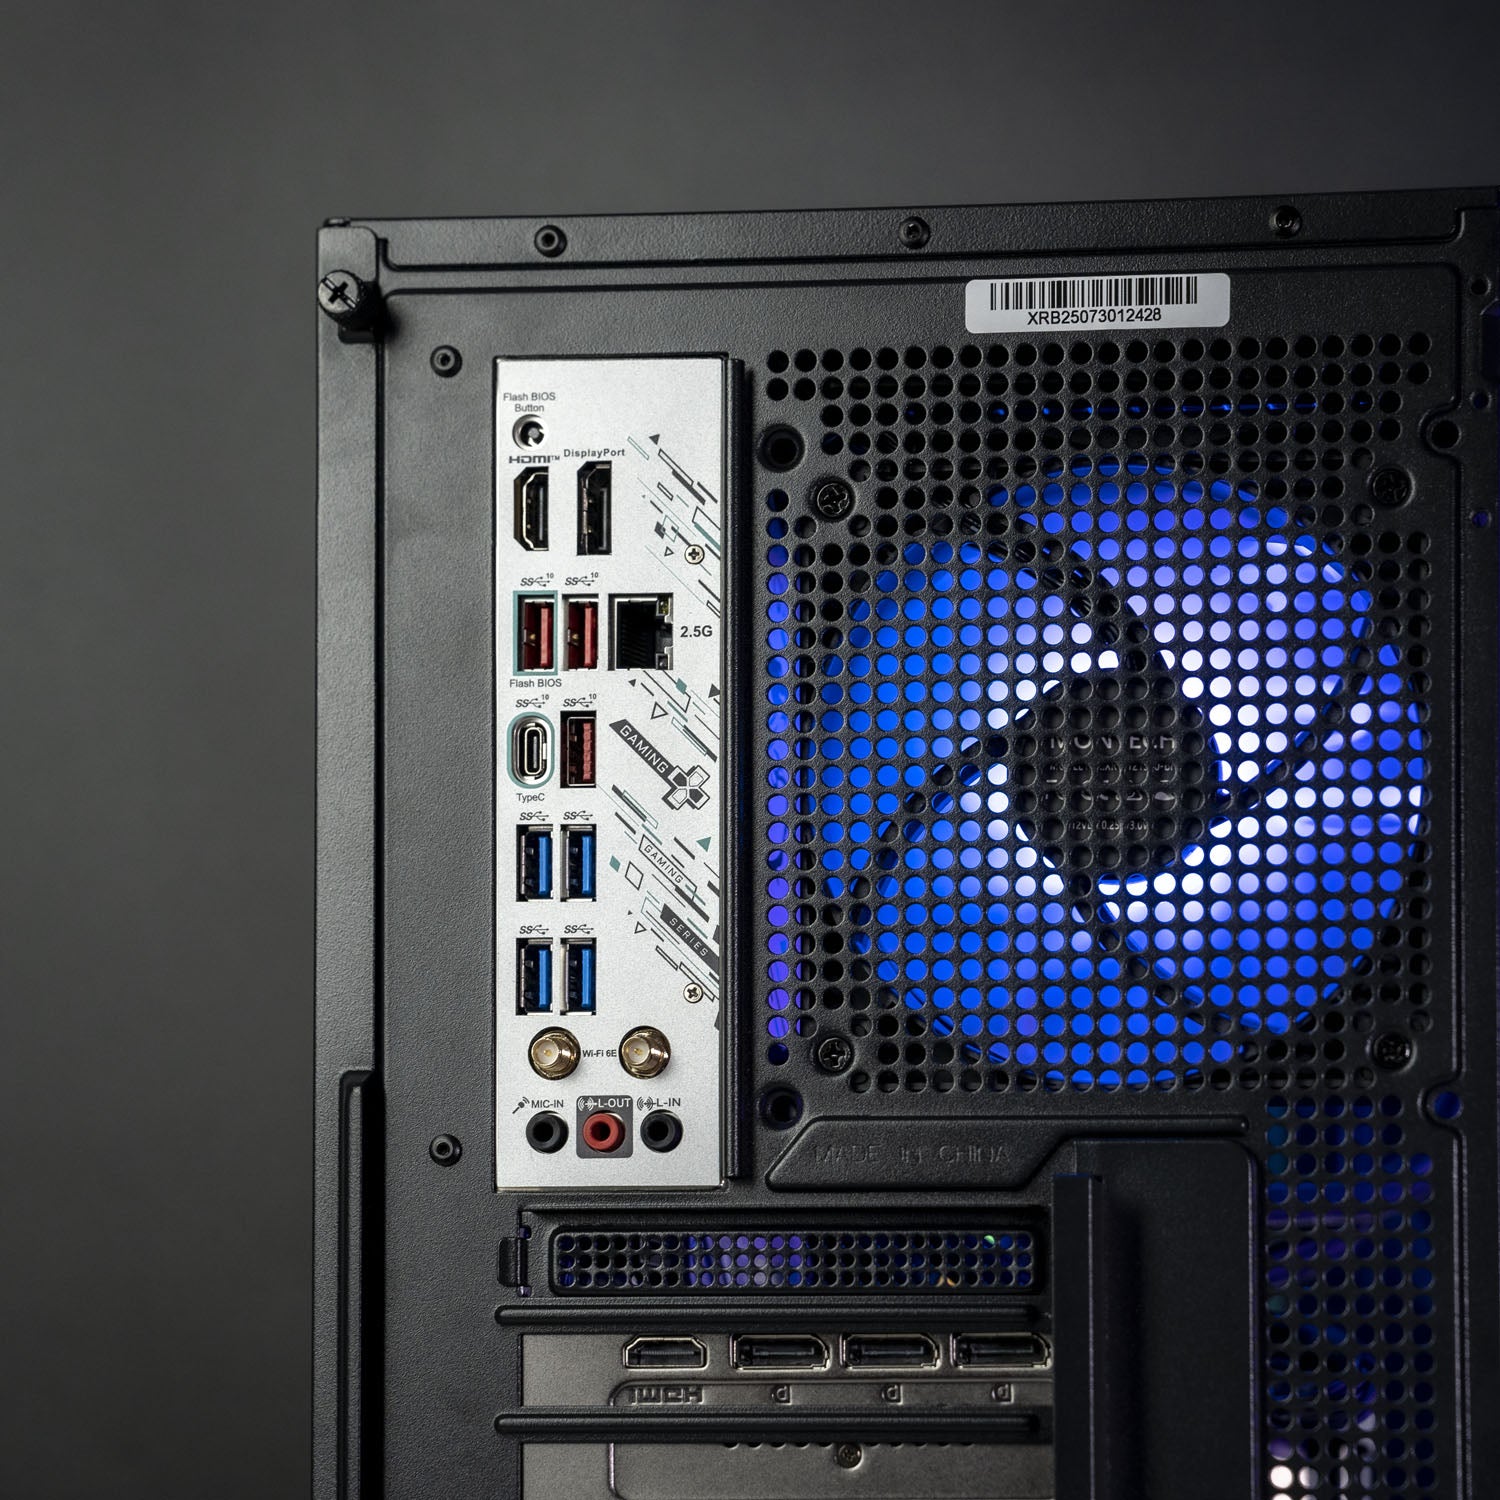
Step 5: Plug Your Monitor Cable into the Graphics Card
Connect your monitor using an HDMI or DisplayPort (DP) cable. Make sure the cable is plugged into the graphics card, not the motherboard.

Step 6: Connect the Wi-Fi Antenna
Attach the Wi-Fi antenna to the Wi-Fi ports on the back of the PC, tighten it gently, and you are good to go.