


BYB Computers
Fractal North Gaming PC | Ryzen 7 7800X3D - RX 7900 XTX 24GB - 32GB DDR5 - 2TB SSD
Fractal North Gaming PC | Ryzen 7 7800X3D - RX 7900 XTX 24GB - 32GB DDR5 - 2TB SSD
Couldn't load pickup availability
Key Specifications:
✅ Processor: AMD Ryzen 7 7800X3D AM5 Gaming Processor
✅ Memory: Corsair Vengeance RGB 32GB DDR5 6000mhz C36
✅ Graphics Card: Asus TUF Gaming Radeon RX 7900 XTX OC 24G
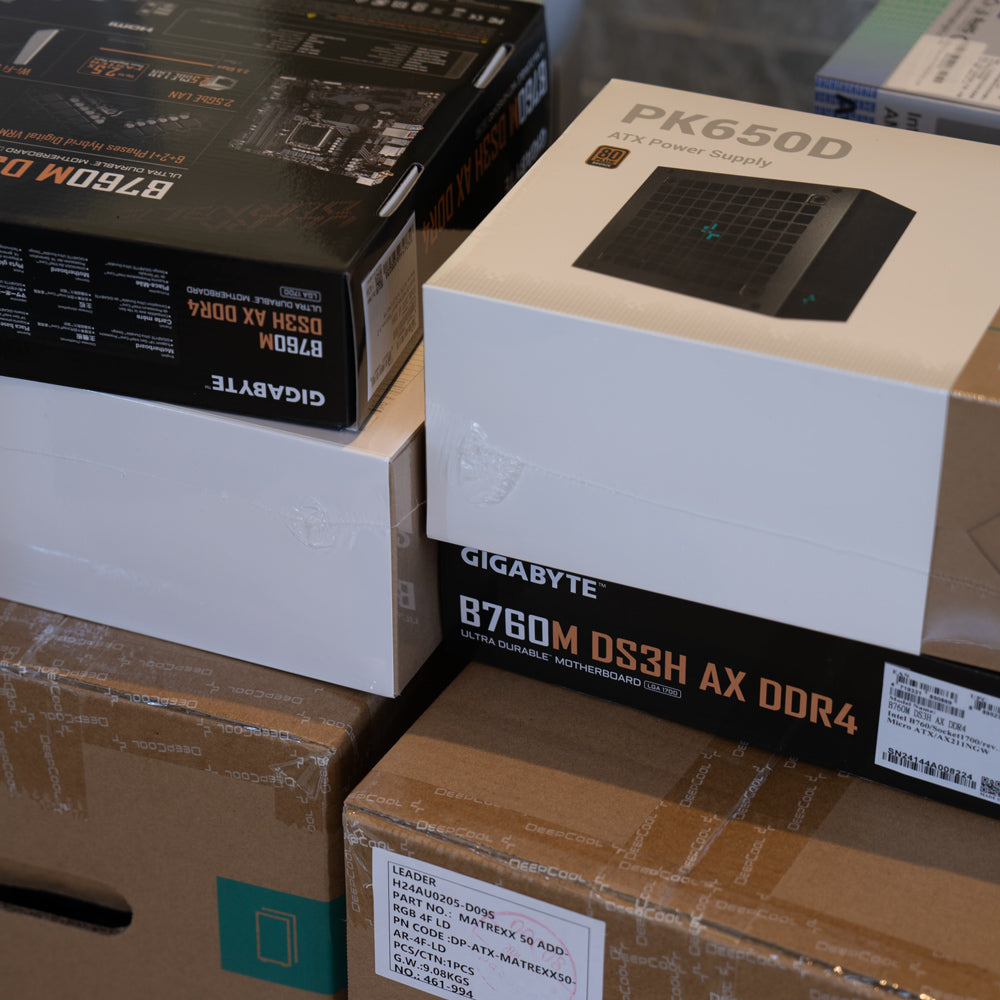
✅ Motherboard: Gigabyte B650 Eagle AX AM5
✅ Storage: Samsung 990 Pro 2TB Gen4 NVME SSD
✅ Case: Fractal Design North - Charcoal Black Tempered Glass (Mesh Available on Request)
✅ Power Supply: Corsair RM850e 80+ Gold Fully Modular ATX 3.0
✅ Cooling: Deepcool LS520 Premium 2400mm Liquid Cooler
✅ Connectivity: WiFi 6E and Bluetooth V5.3
✅ Support for up to 4 Monitors (1 x HDMI 2.1, 3 x DisplayPort)
✅ Windows 11 Professional
This gaming titan isn't just about performance; it finds its haven in the coveted Fractal Design North case. Its modern elegance seamlessly complements contemporary gaming setups or even a minimalist Ikea desk arrangement.
Experience gaming like never before with this incredible system, which comes with a 24-month warranty.


Before you place the order
-
Choose your gaming rig
Not sure which gaming PC is right for you?
Give us a buzz and our team will help you out.
-
Place your order
In-stock ready-to-go PCs will be despatched within 24 hours.
Custom PCs will be despatched in 3-4 business days.
-

Packaging
We securely package your gaming PC to ensure it arrives without any damage.
-

Shipping
Your PC Order will arrive in a few business days (Longer transit time for regional areas)
-
Plug-And-Play
Carefully unpack your new PC, connect everything properly and enjoy!
-
Have any Questions?
We're here to help!
Contact us anytime for assistance. With 2 Years warranty support.


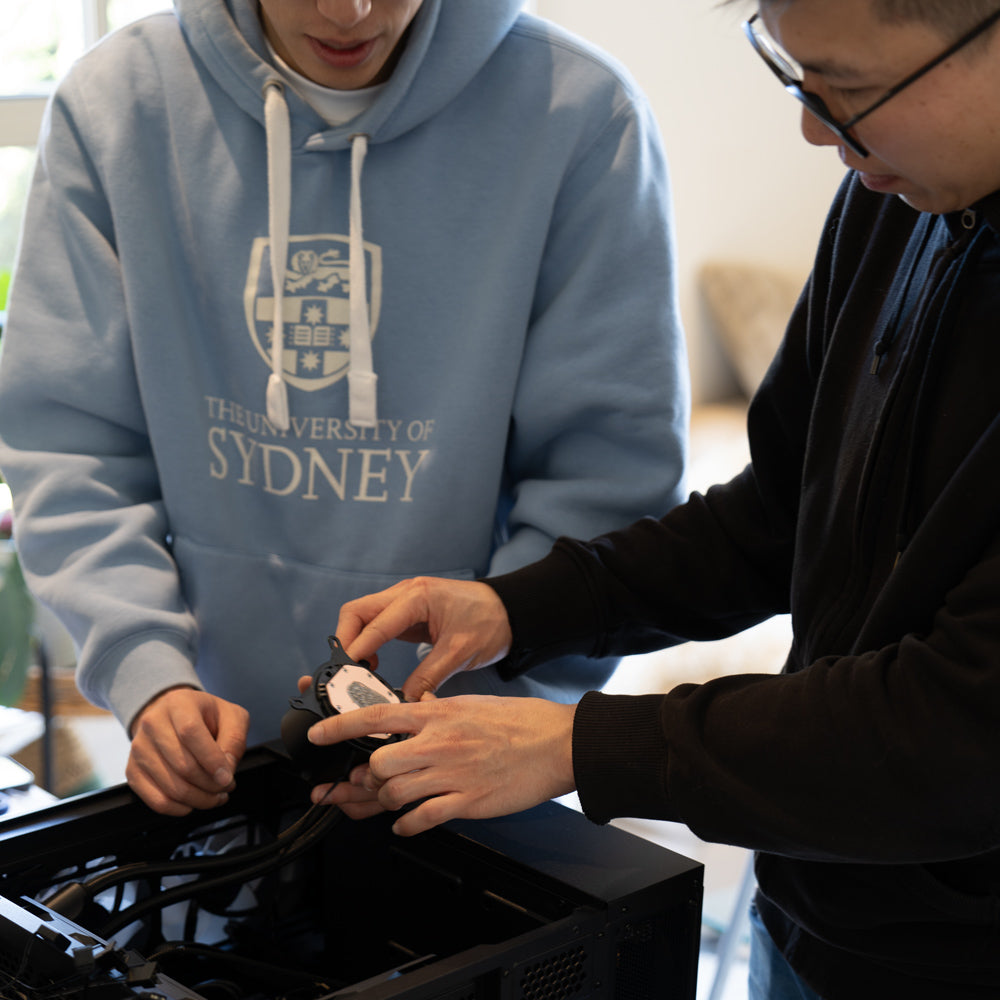
HOW TO UNBOX YOUR RIG?
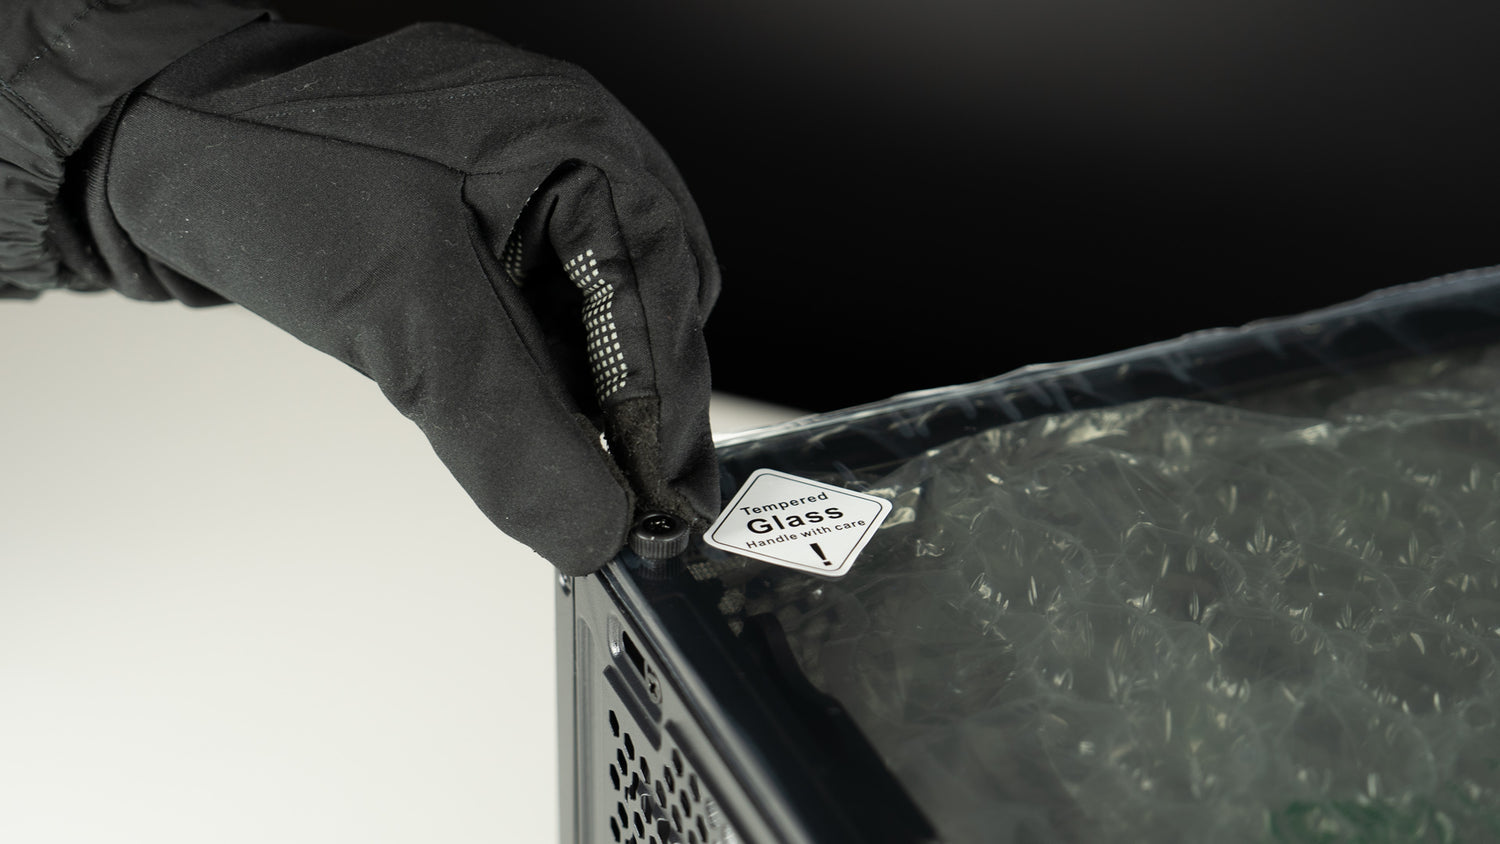
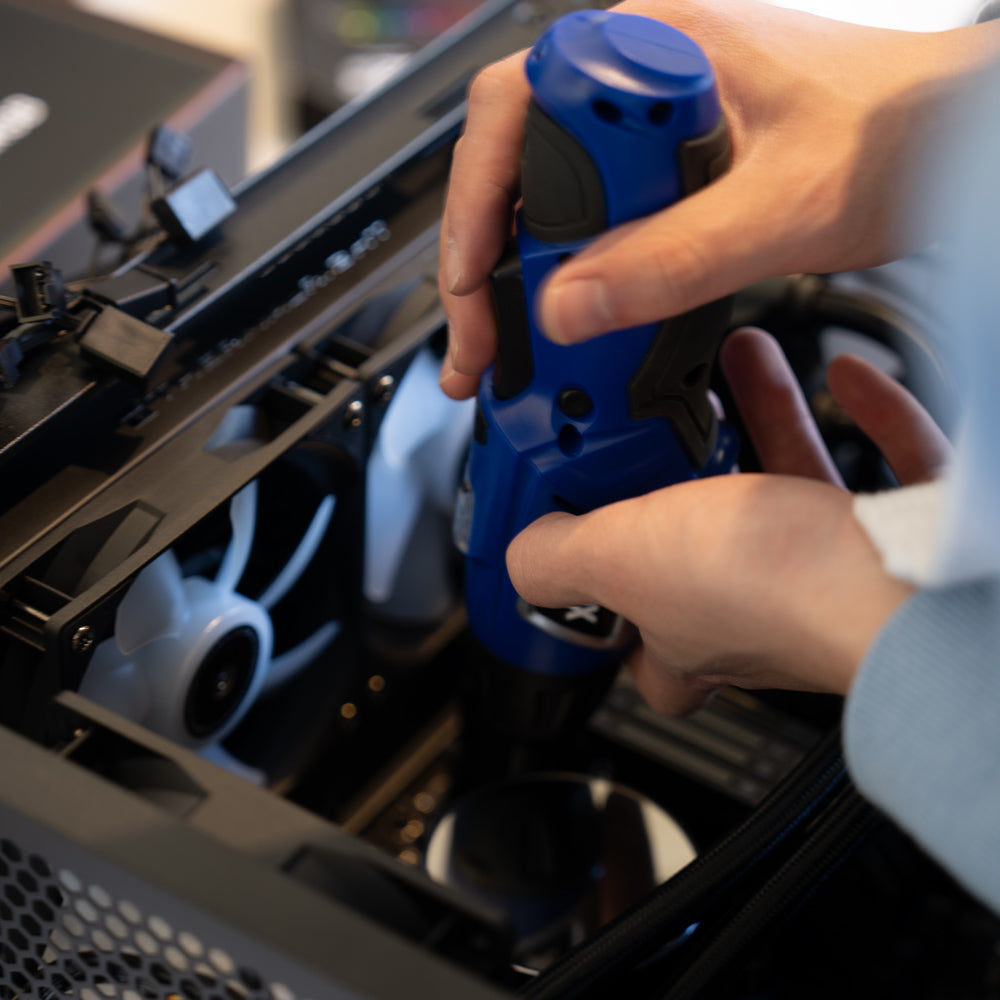
Step 1: Unscrew the Glass Panel
After receiving the computer, unpack the box, place the computer on a flat surface, and unscrew the glass panel screws.
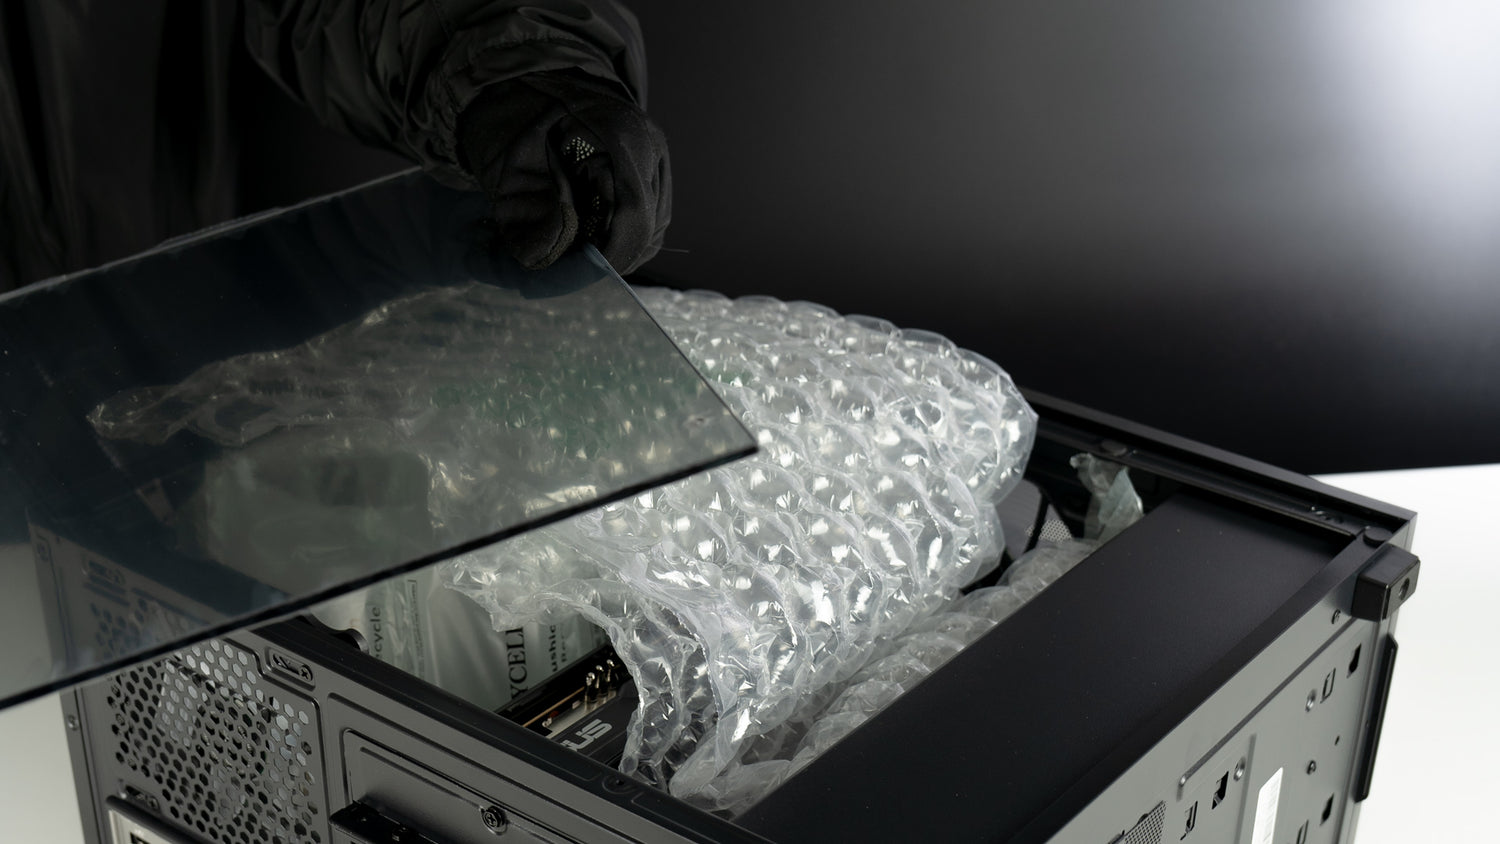
Step 2: Carefully Remove the Glass Panel
Gently lift the glass panel away from the computer case. Hold the panel securely with both hands to avoid any slips or falls.
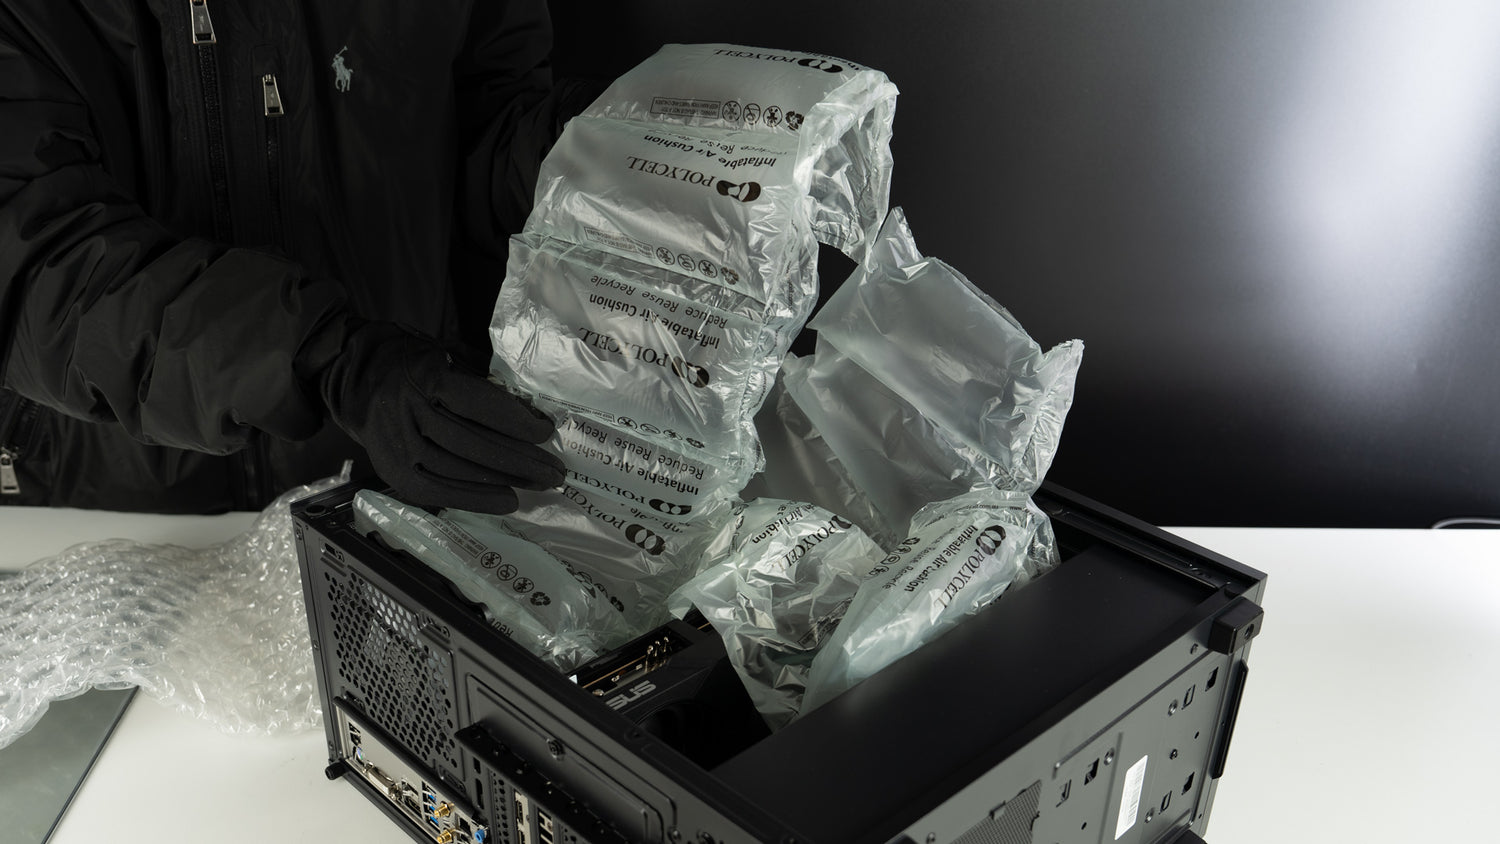
Step 3: Remove the Packing Materials Inside the Case
Carefully take out any foam, plastic, or other packing materials from inside the computer case.
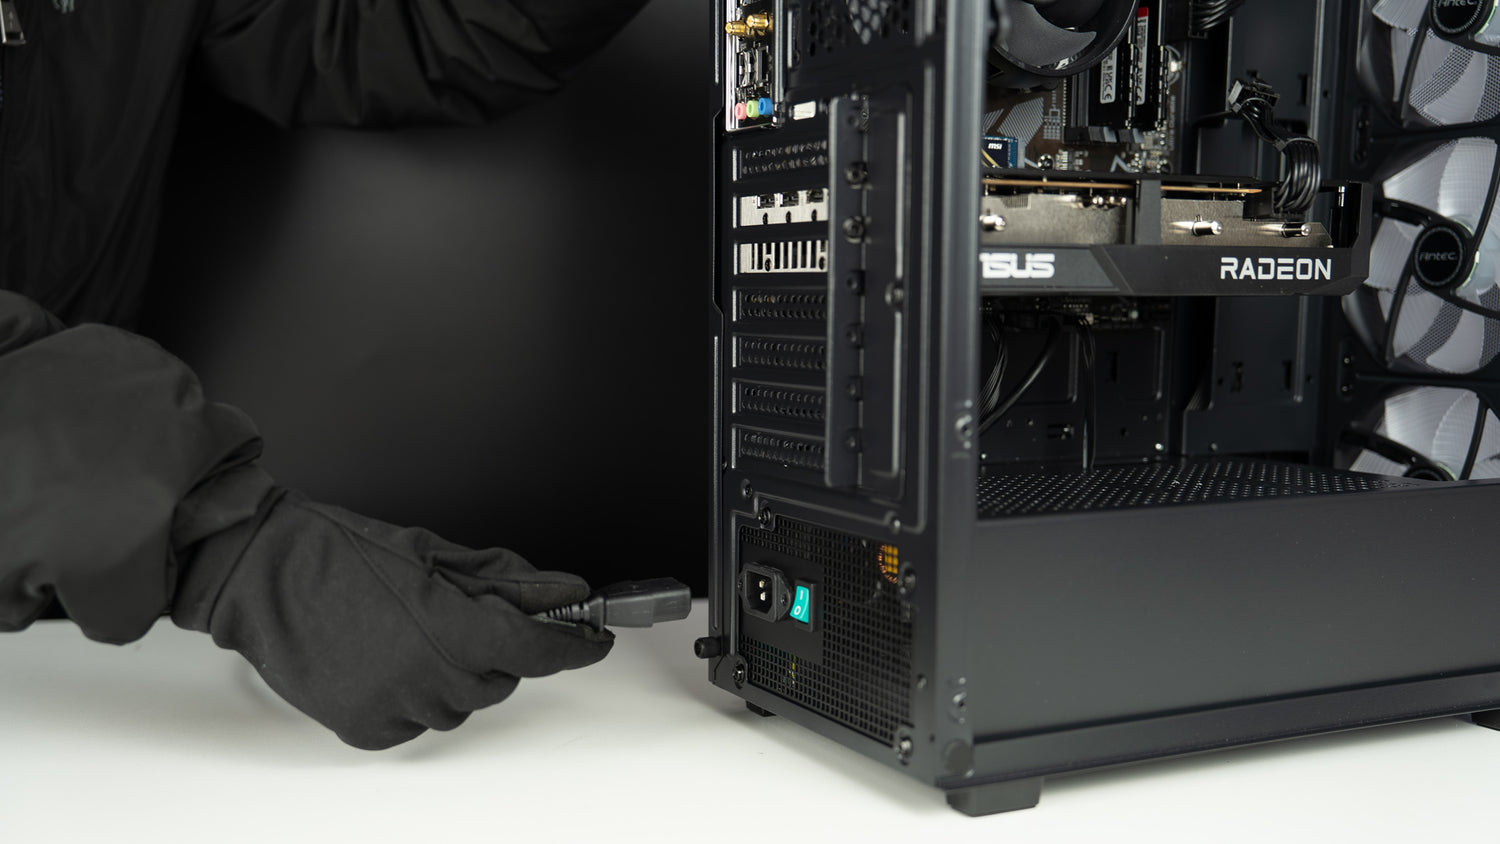
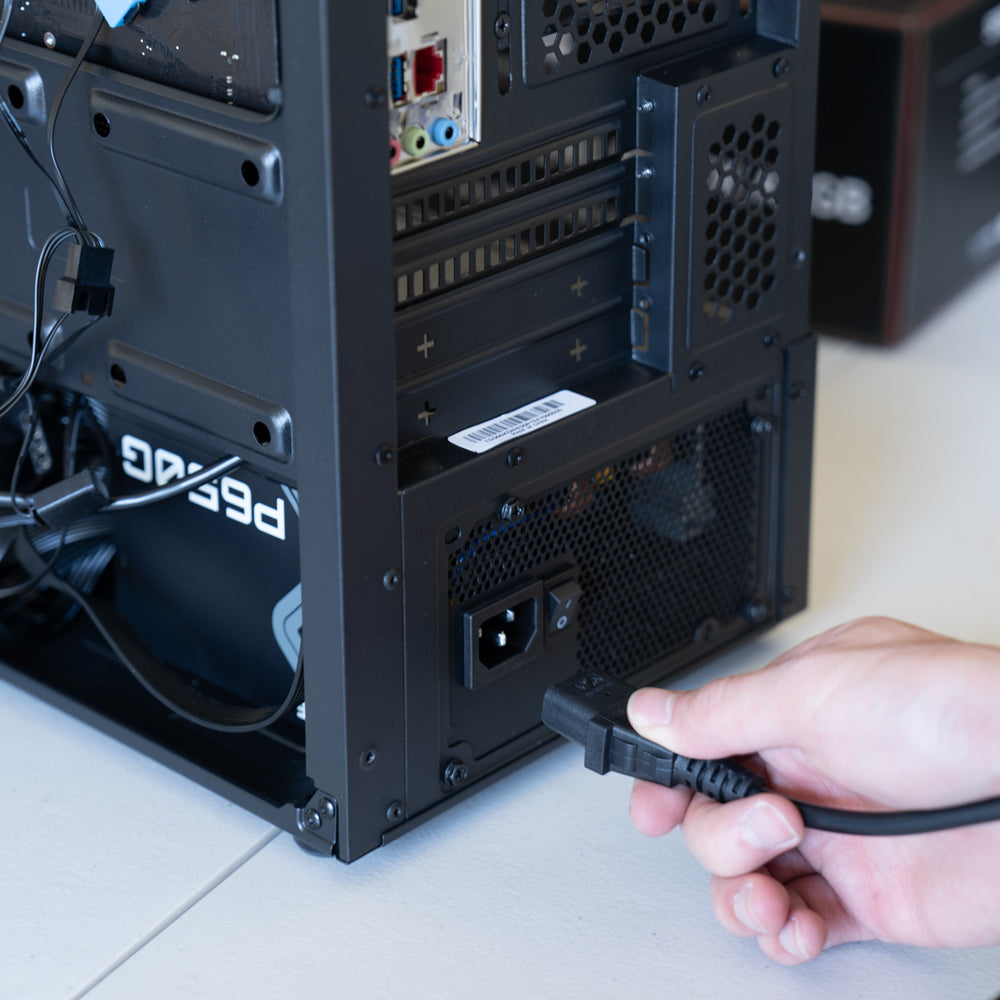
Step 4 : Plug and Play
Connect the power cable to the computer and plug it into a power outlet. Attach any necessary peripherals such as the monitor, keyboard, and mouse.