
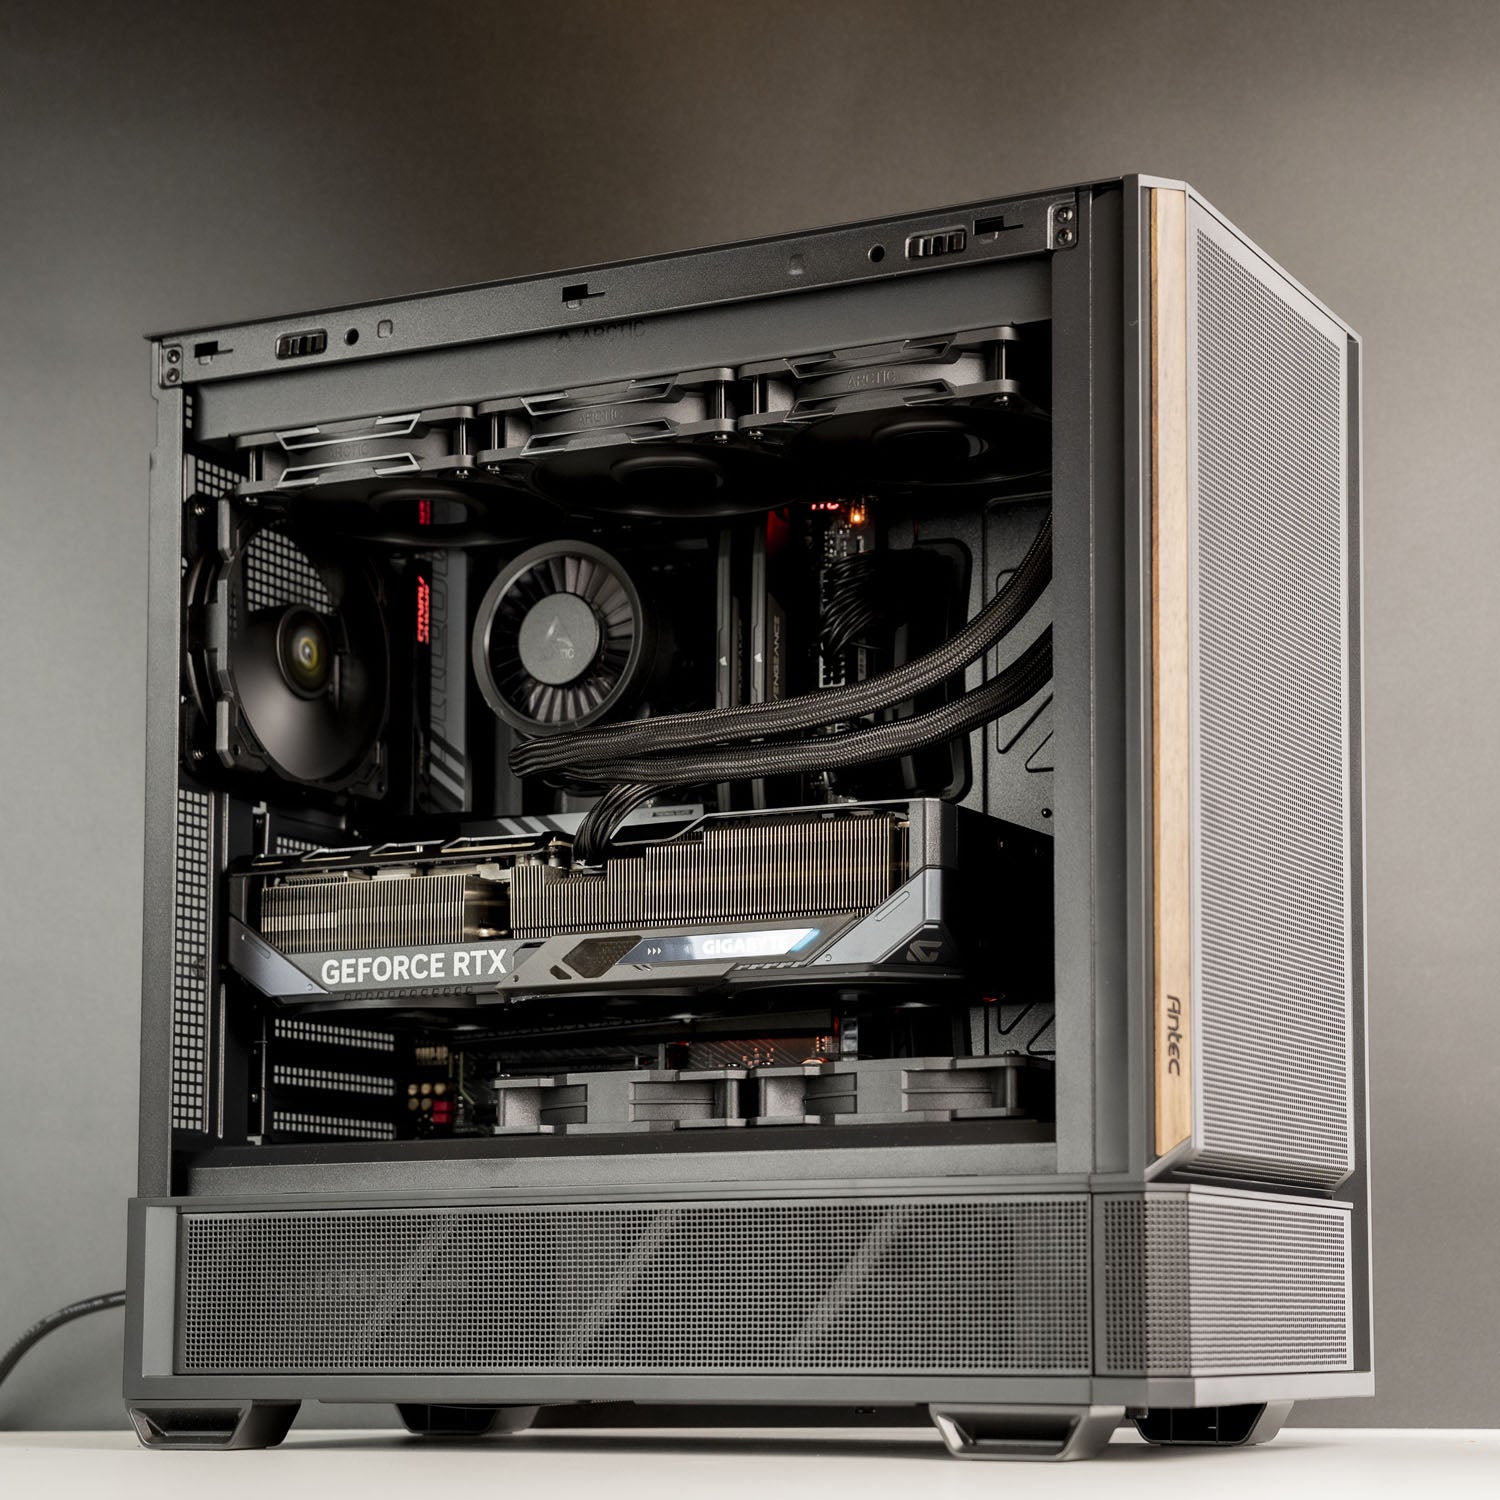
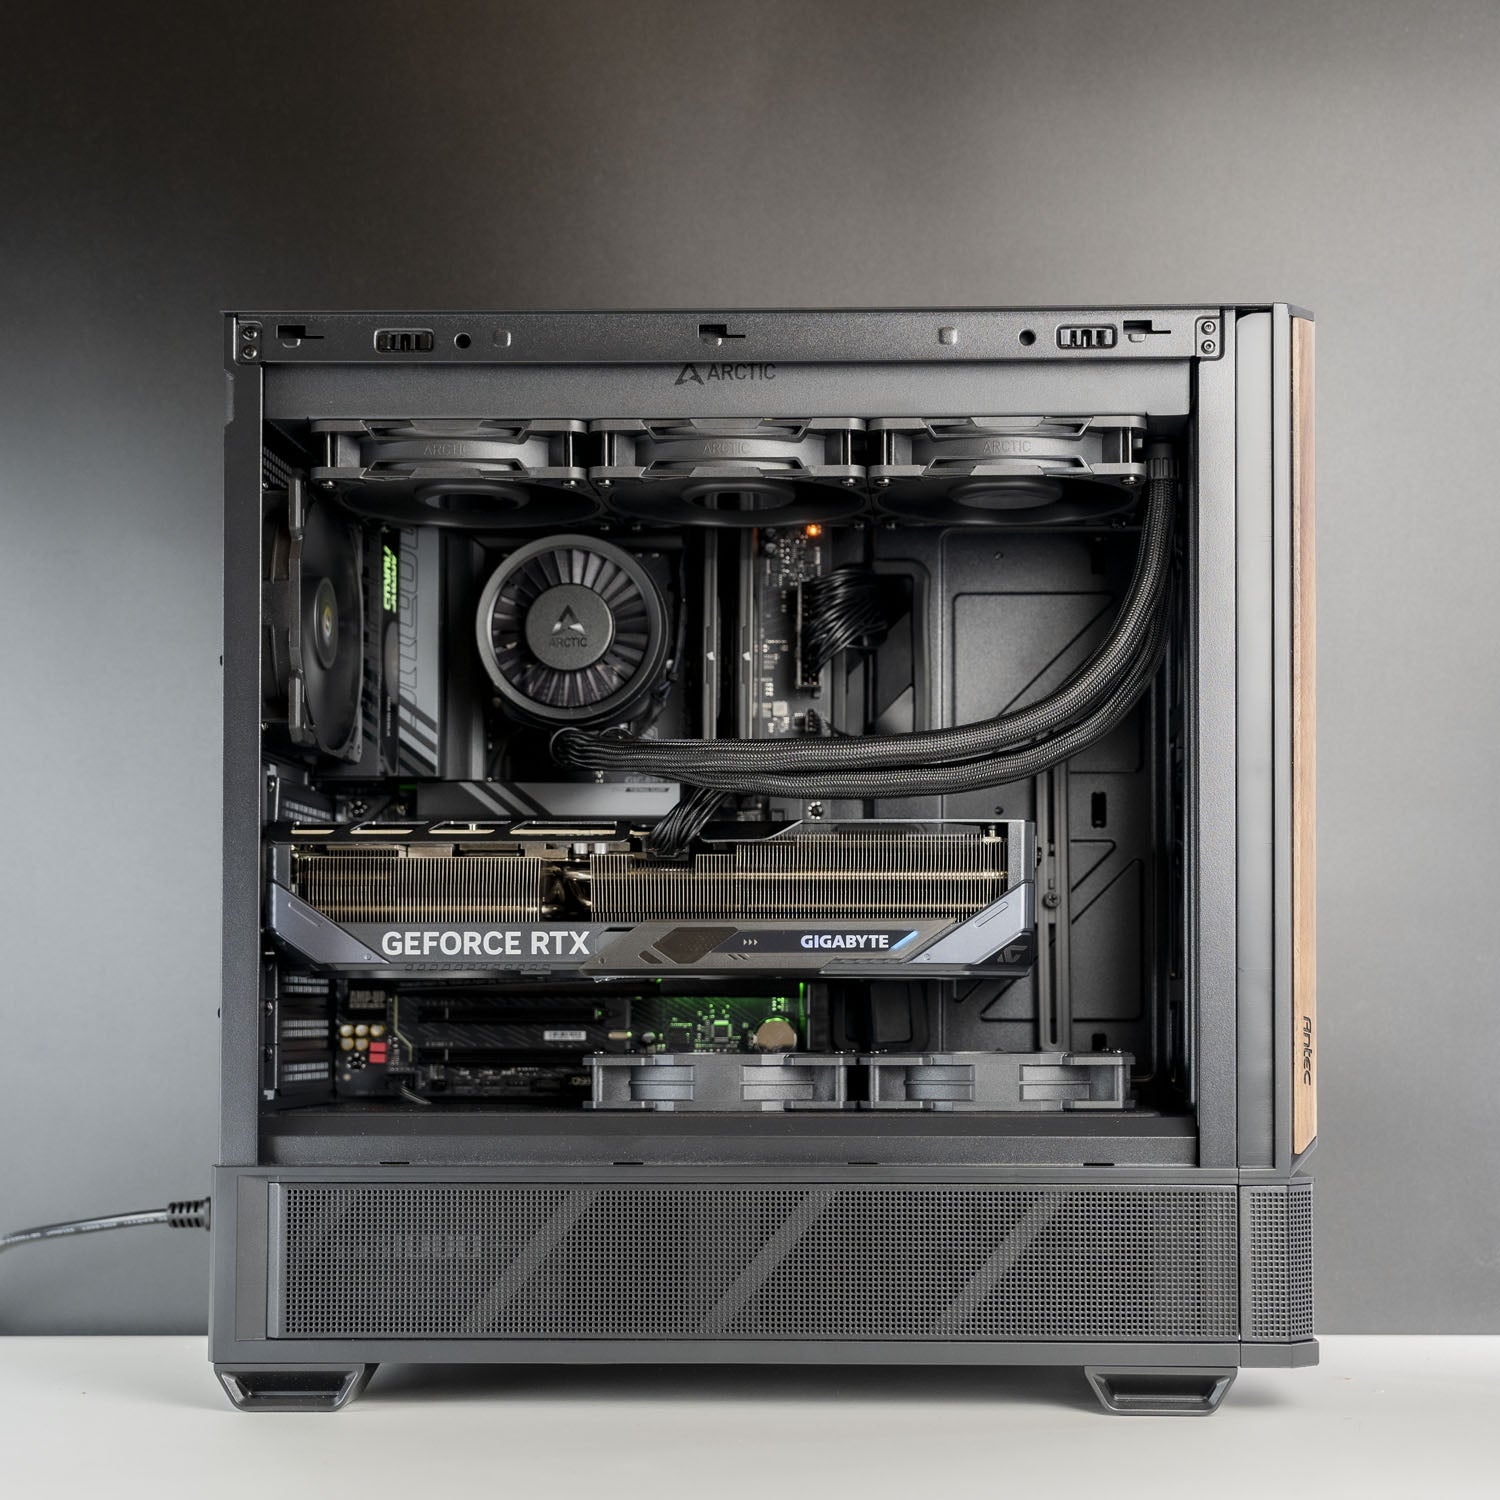
Intel WorkStation | Ultra 7 270K Plus | RTX 5080 16GB | 64GB DDR5 | 2TB SSD | Antec P30 Air
Intel WorkStation | Ultra 7 270K Plus | RTX 5080 16GB | 64GB DDR5 | 2TB SSD | Antec P30 Air
Sydney Workshop
Kulgoa Avenue
Ryde NSW 2112
Australia
Sydney Workshop - Ready-To-Go Prebuild PCs
Kulgoa Avenue
Ryde NSW 2112
Australia
✅ Processor: Intel Core Ultra 7 270K Plus – 24 Cores (8P + 16E)
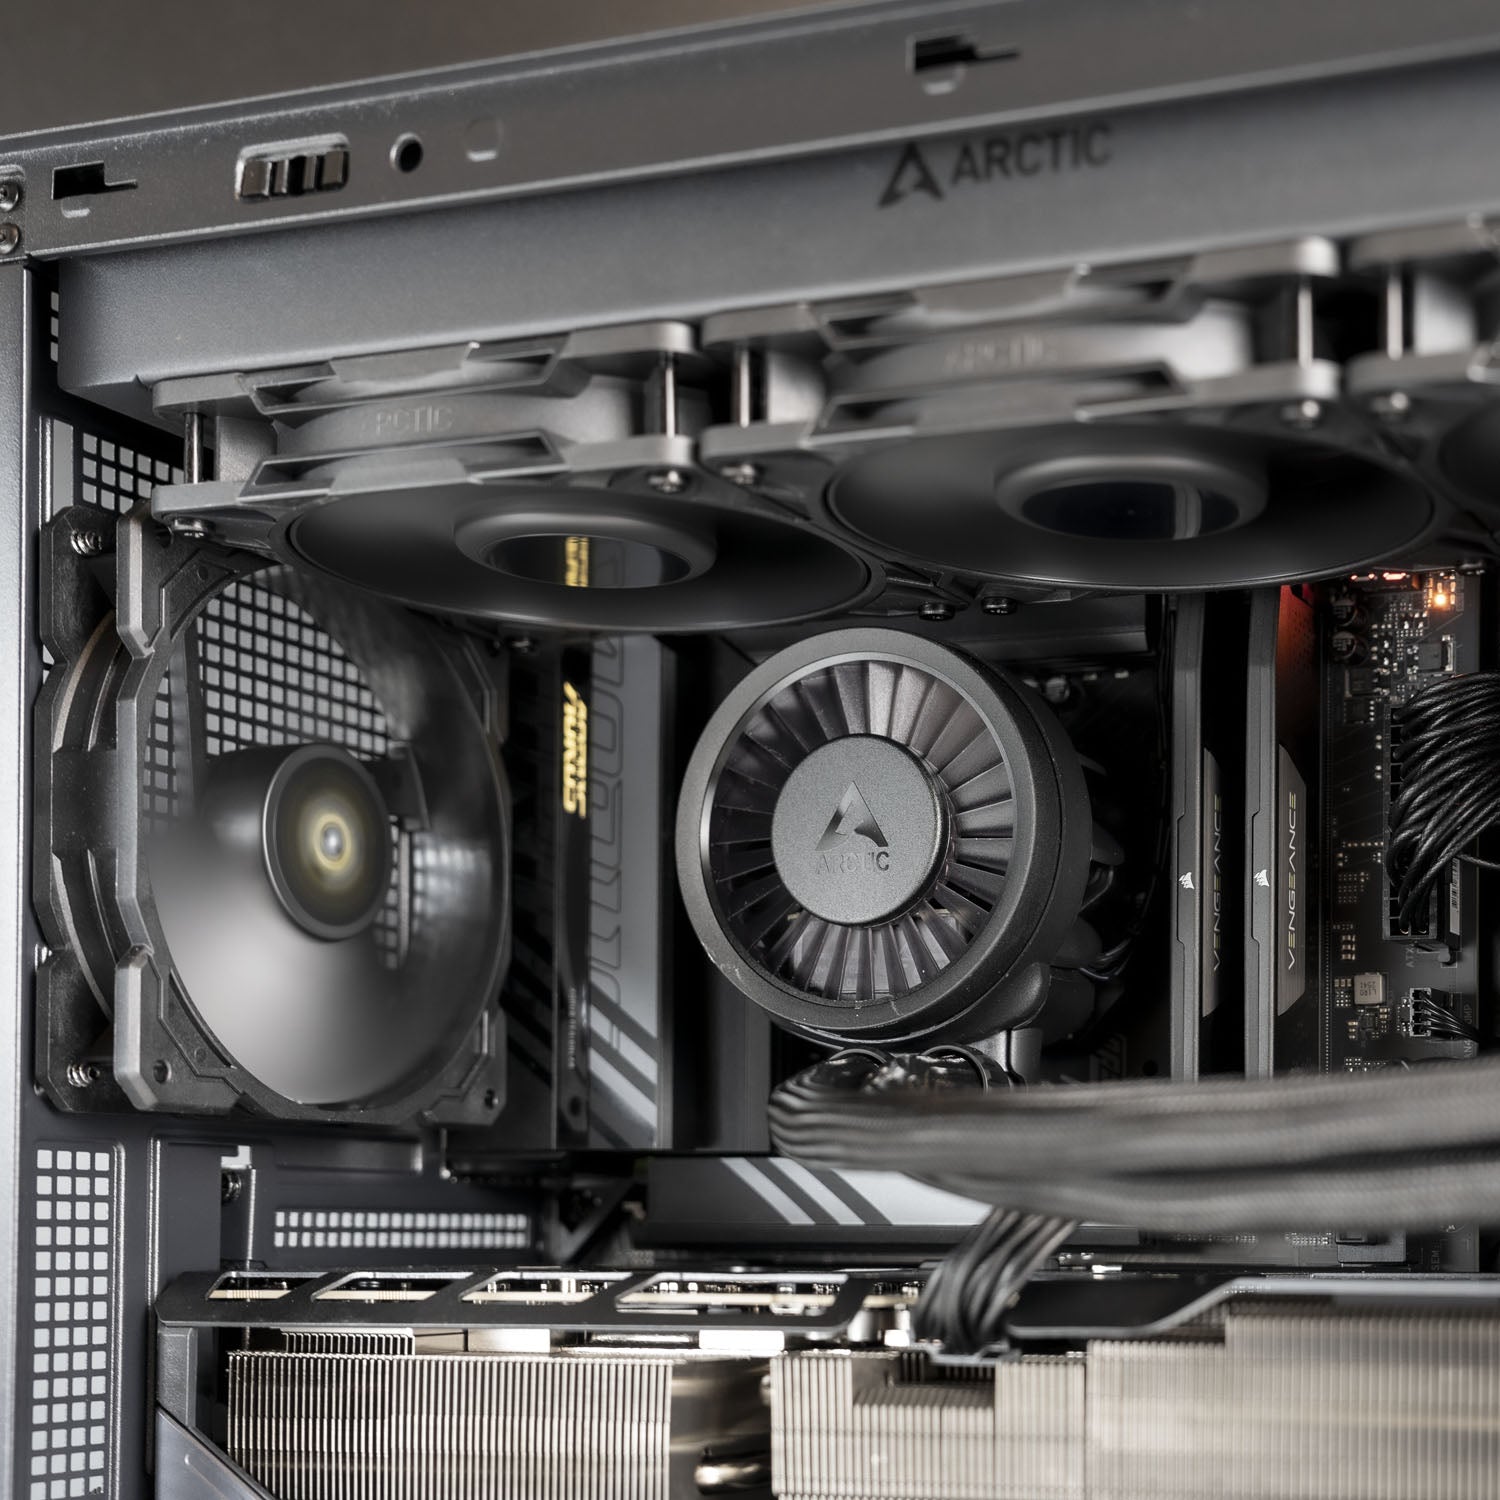
✅ Memory: Corsair Vengeance 64GB (2x32GB) DDR5 6000 CL40
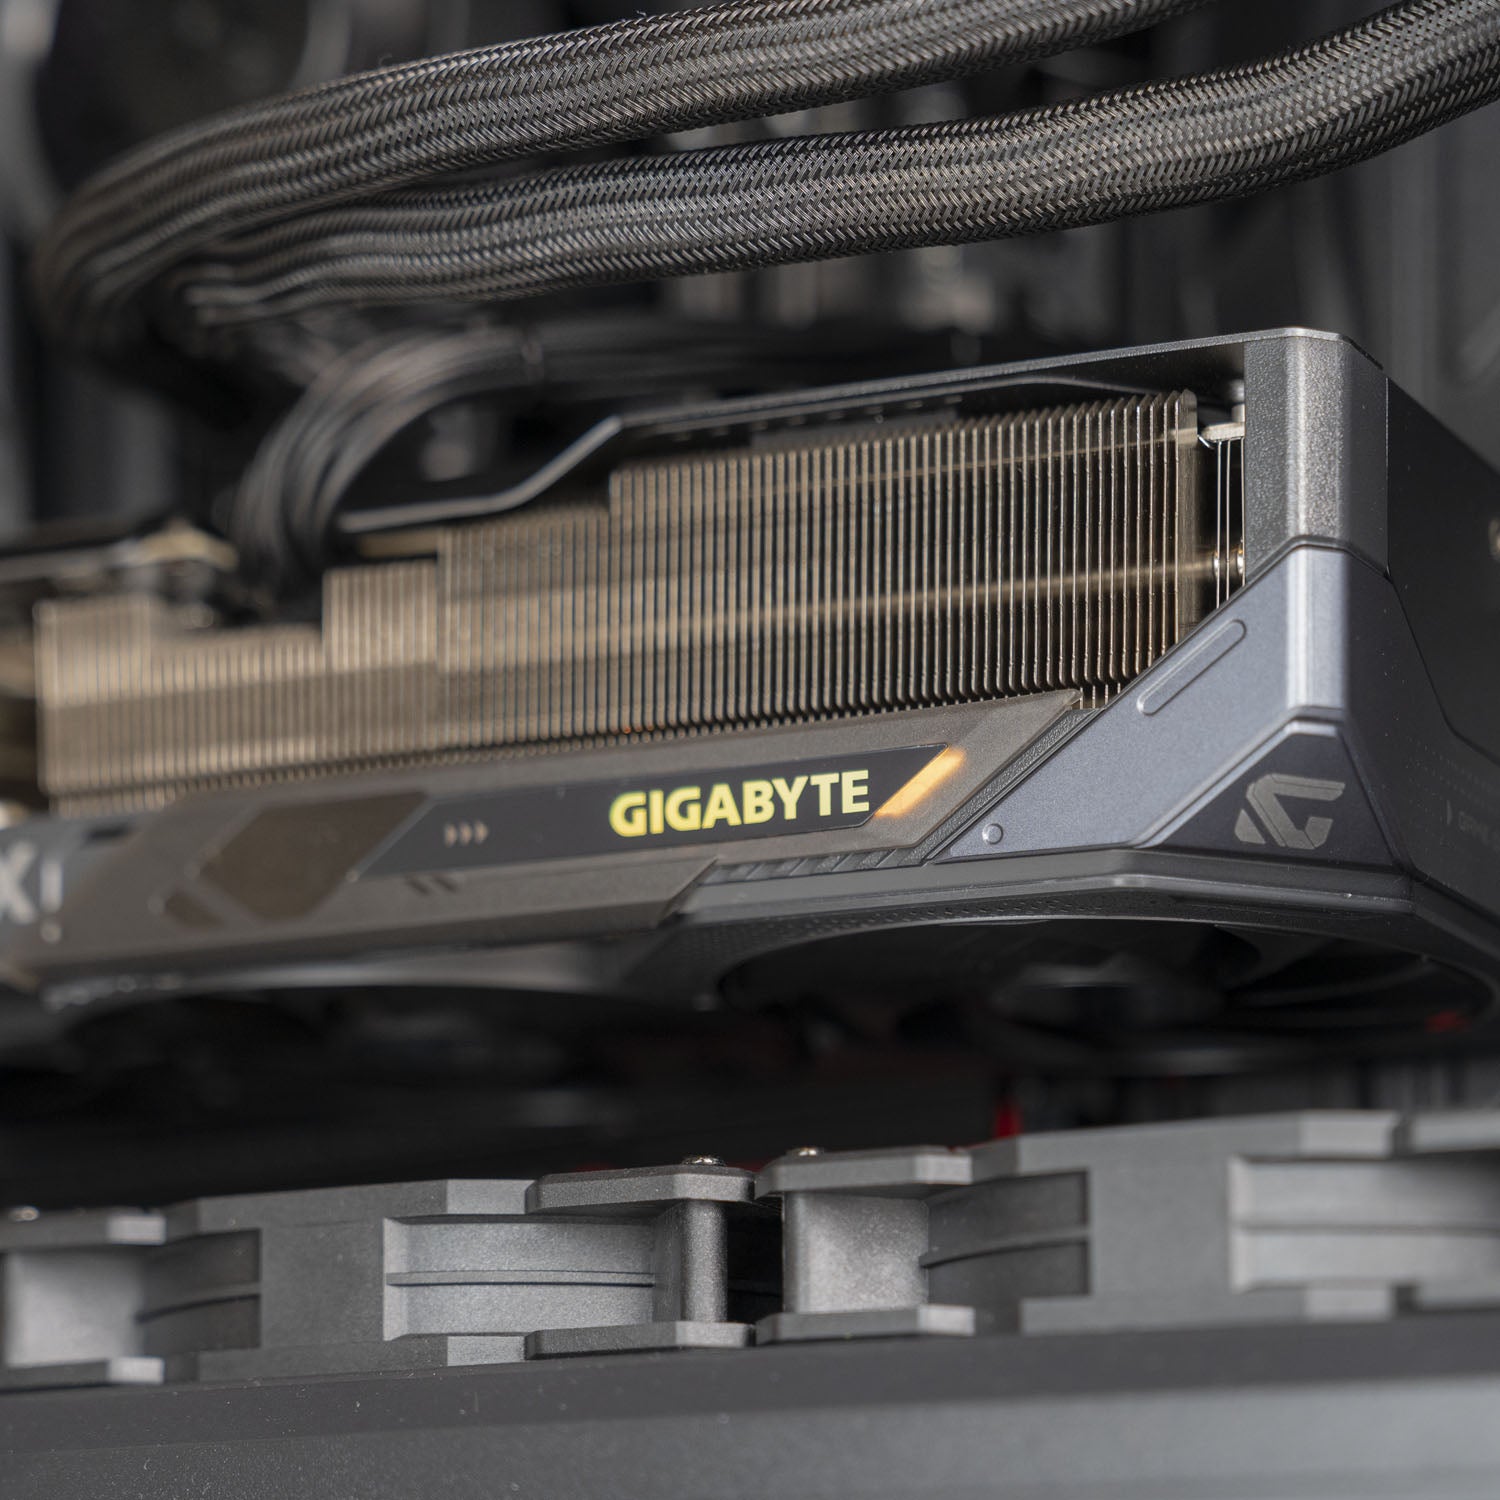
✅ Graphics Card: Gigabyte RTX 5080 Gaming OC 16GB
✅ Motherboard: Gigabyte Z890 AORUS ELITE WIFI7
✅ Storage: Crucial T710 2TB Gen5 NVMe SSD
✅ Case: Antec P30 AIR Mid-Tower ATX
✅ Power Supply: Cooler Master 1000W Elite 80+ Gold
✅ Cooling: ARCTIC Liquid Freezer III Pro 360 AIO – Black
✅ Connectivity: WiFi 7, Bluetooth 5.4
✅ OS: Windows 11 Pro OEM – 64-bit
Built for serious workloads: Intel's Core Ultra 7 270K Plus (24 cores) and 64GB of DDR5-6000 memory give this rig the horsepower for content creation, rendering, CAD, and heavy multitasking.
The ARCTIC Liquid Freezer III Pro 360 keeps the 270K Plus cool under sustained full-load work, in the airflow-optimised Antec P30 AIR case with WiFi 7 and Bluetooth 5.4 built in.
Backed by a 24-month warranty and fast Australia-wide shipping.
FPS Performance

Results based on High settings — performance may vary depending on game version, map, or resolution.
BEFORE YOU PLACE THE ORDER
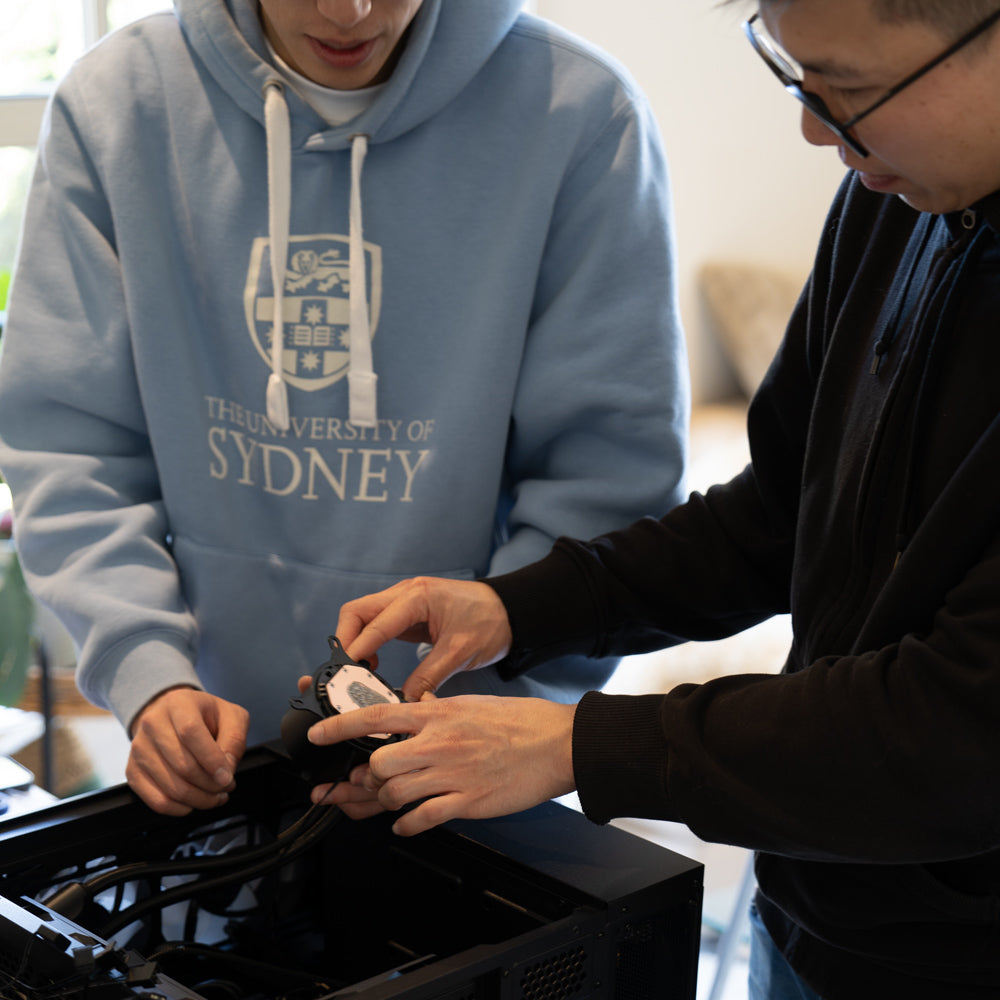
1. Choose your gaming rig
Not sure which gaming PC is right for you?
Give us a buzz and our team will help you out.
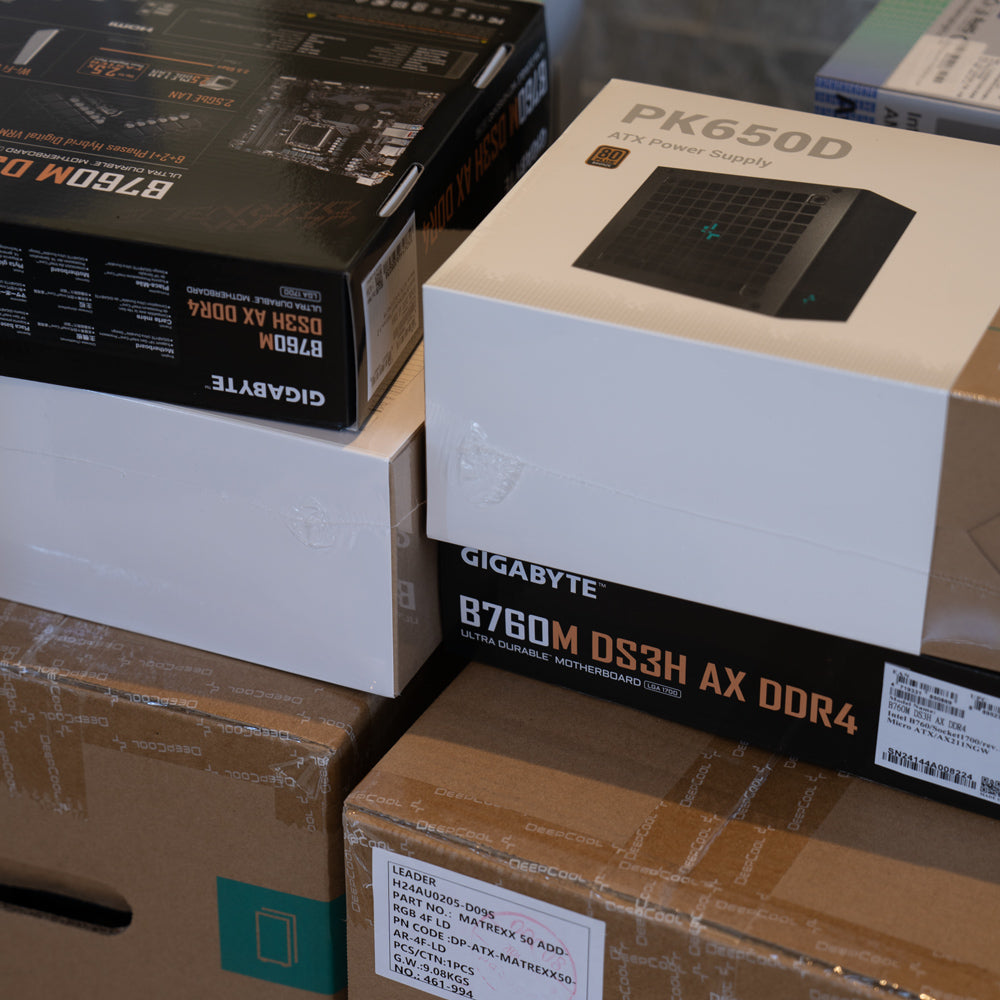
2. Place your order
In-stock ready-to-go PCs will be despatched within 24 hours.
Custom PCs will be despatched in 3-4 business days.
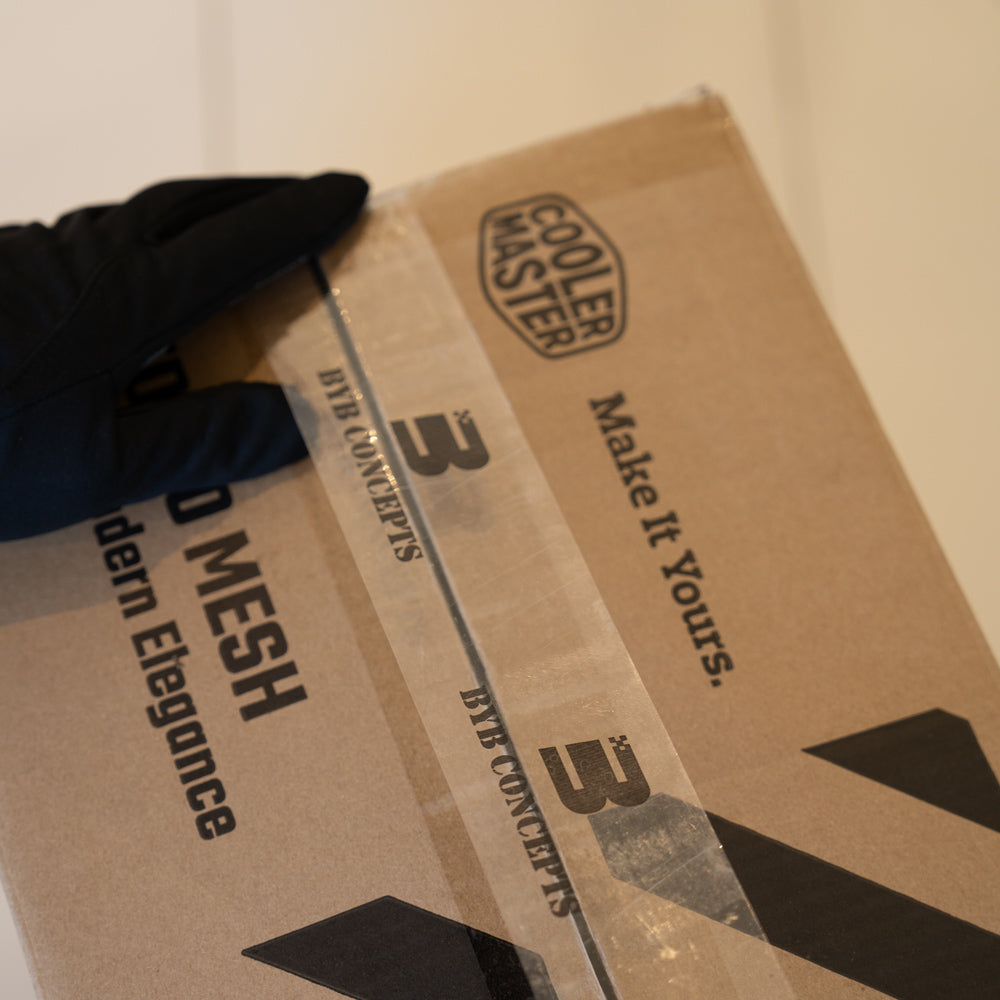
3. Packaging
We securely package your gaming PC to ensure it arrives without any damage.
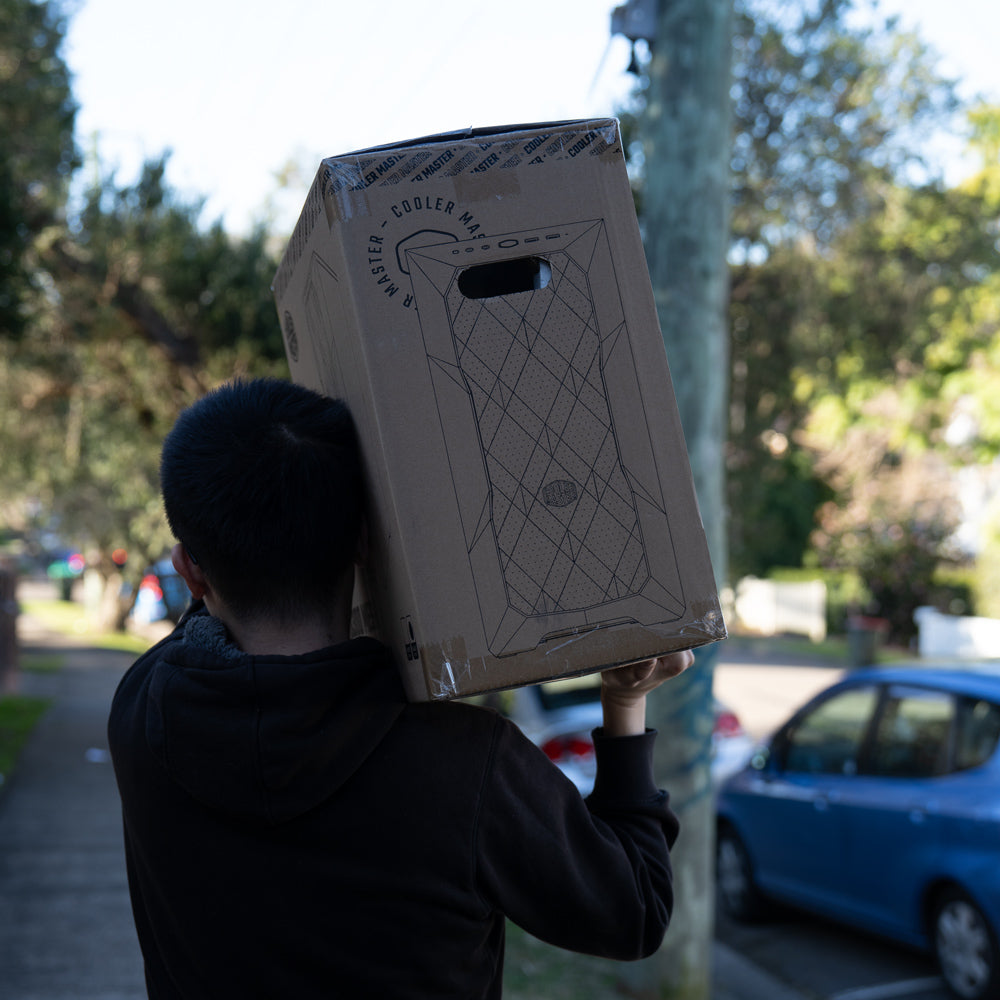
4. Shipping
Your PC Order will arrive in a few business days (Longer transit time for regional areas)
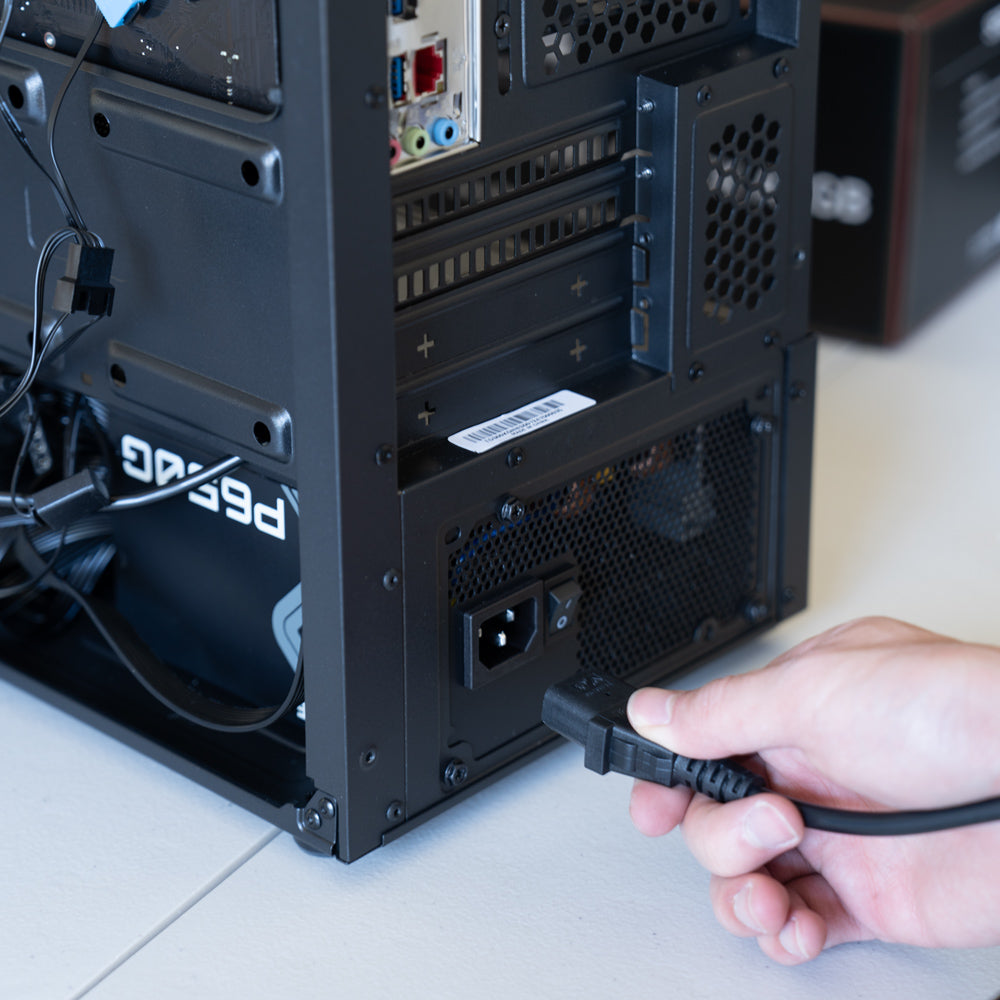
5. Plug-And-Play
Carefully unpack your new PC, connect everything properly and enjoy!
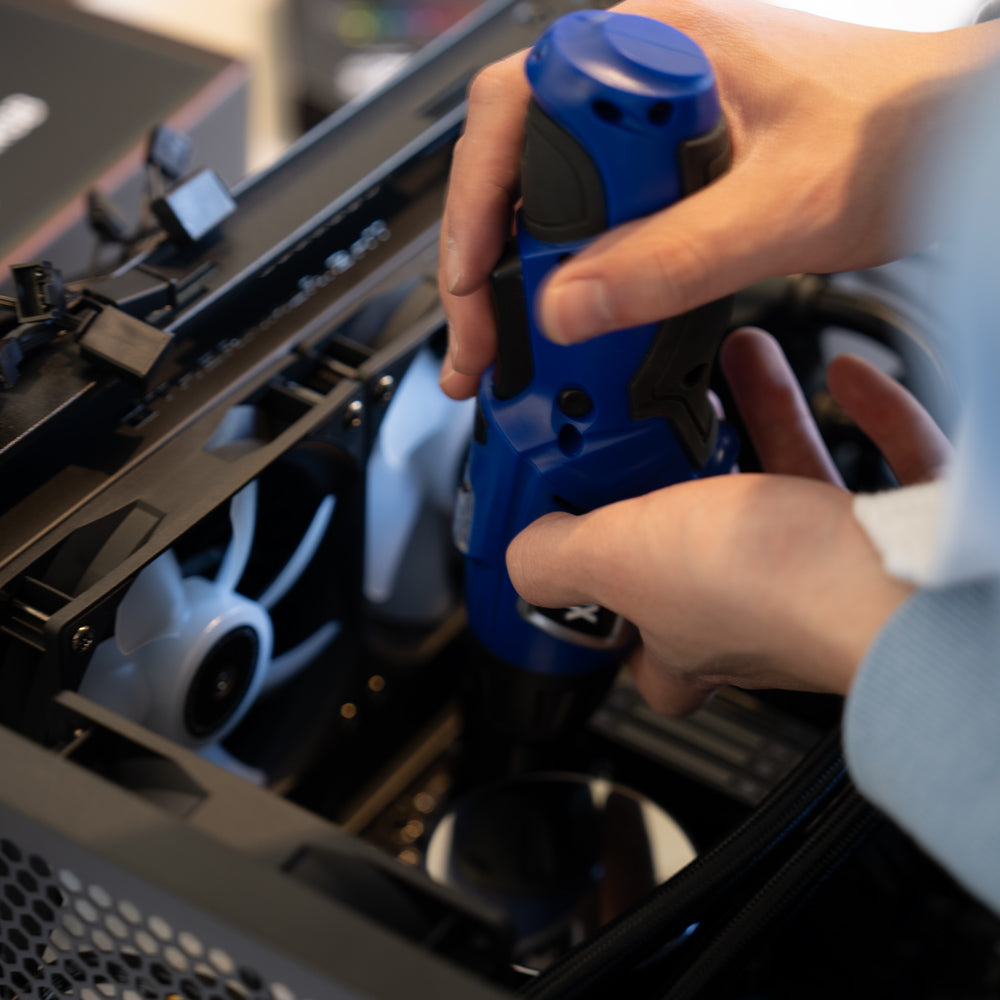
6. Have any Questions?
We're here to help!
Contact us anytime for assistance. With 2 Years warranty support.
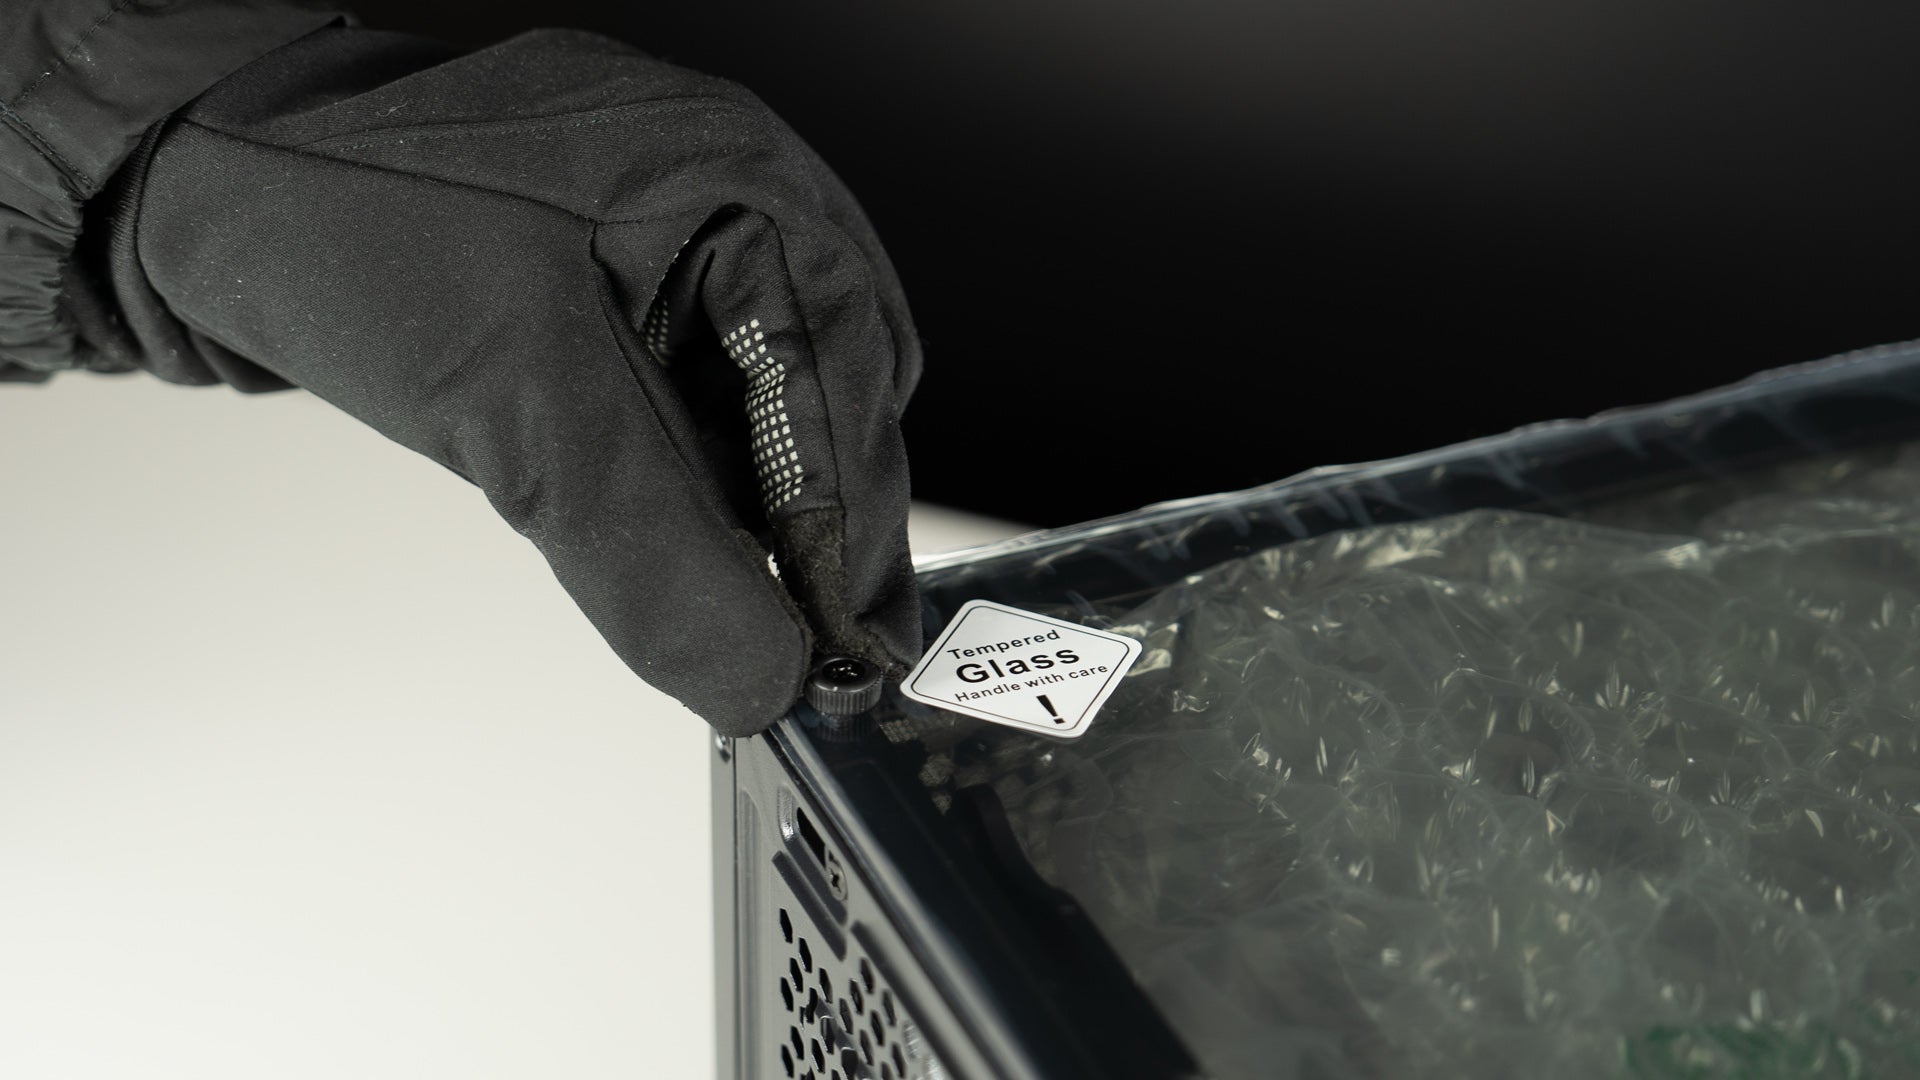
Step 1: Unscrew the Glass Panel
After receiving the computer, unpack the box, place the computer on a flat surface, and unscrew the glass panel screws.
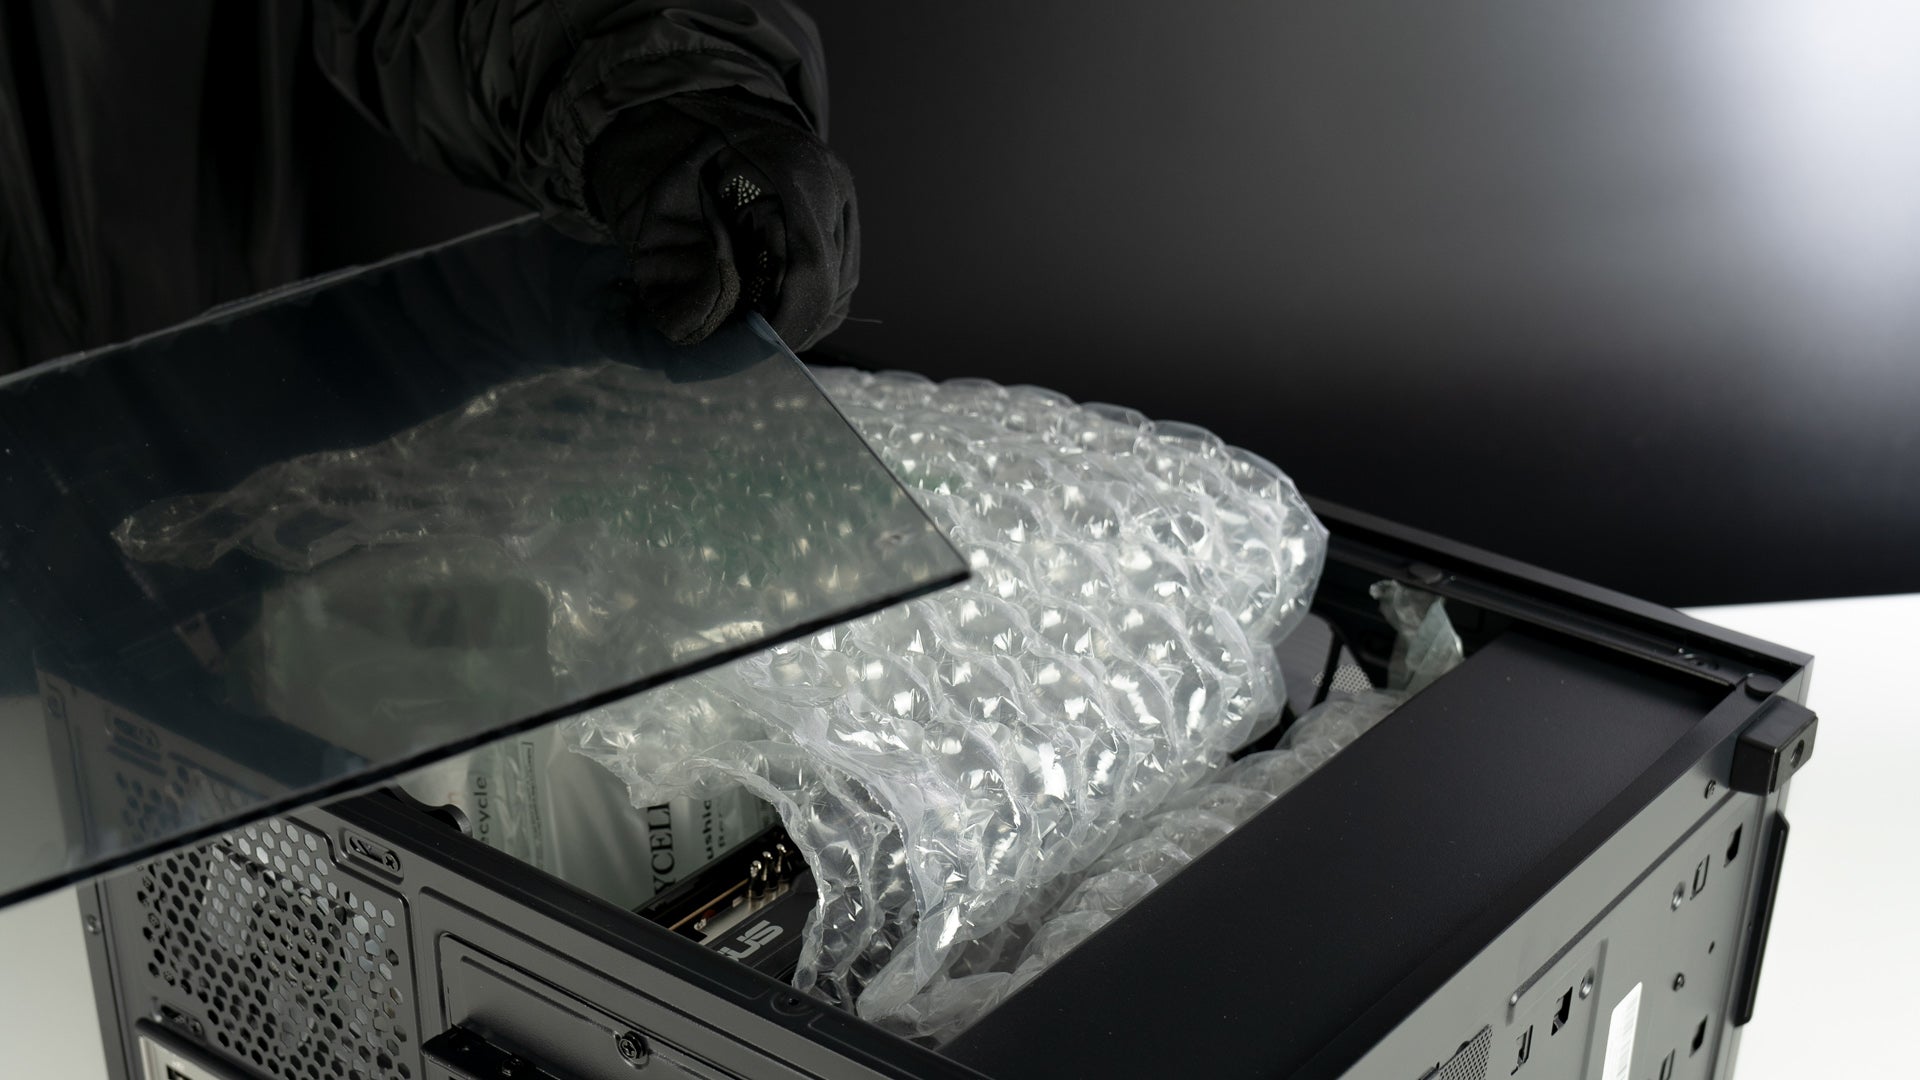
Step 2: Carefully Remove the Glass Panel
Gently lift the glass panel away from the computer case. Hold the panel securely with both hands to avoid any slips or falls.
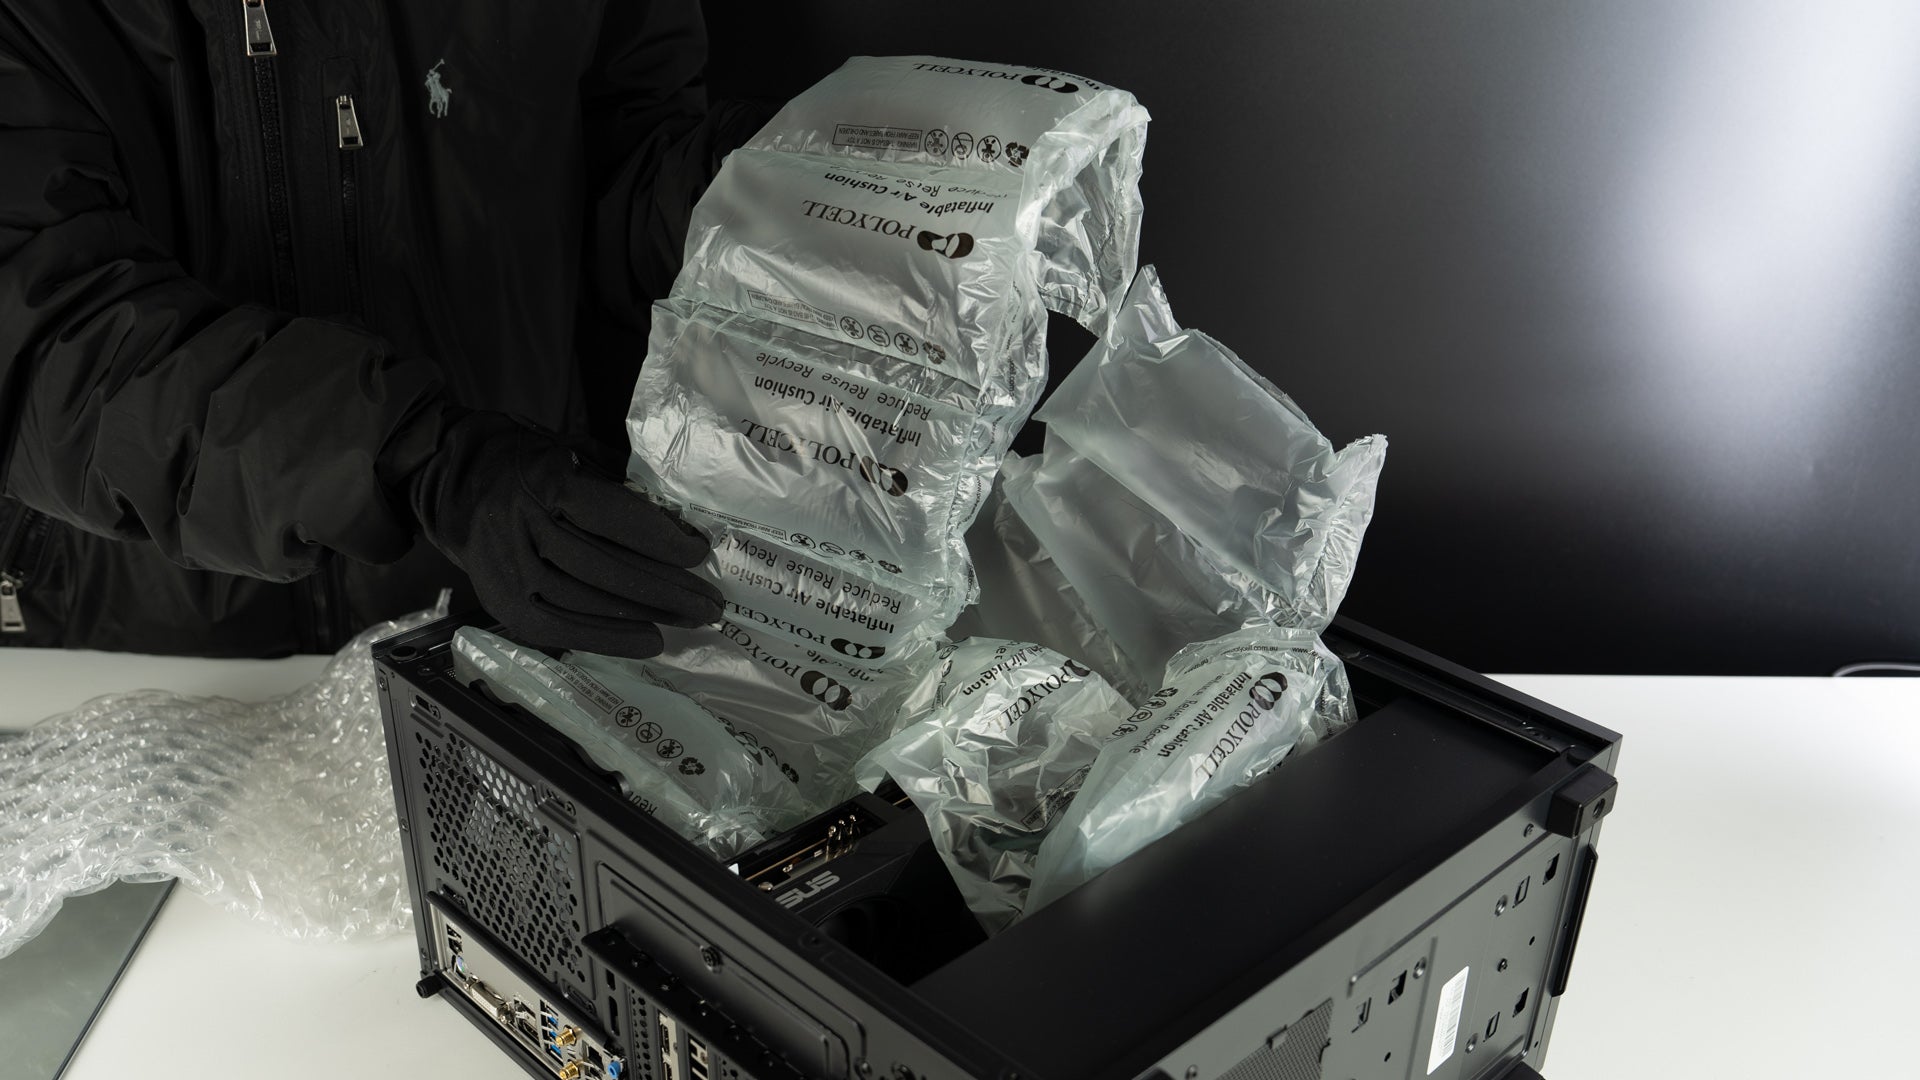
Step 3: Remove the Packing Materials Inside the Case
Carefully take out any foam, plastic, or other packing materials from inside the computer case.
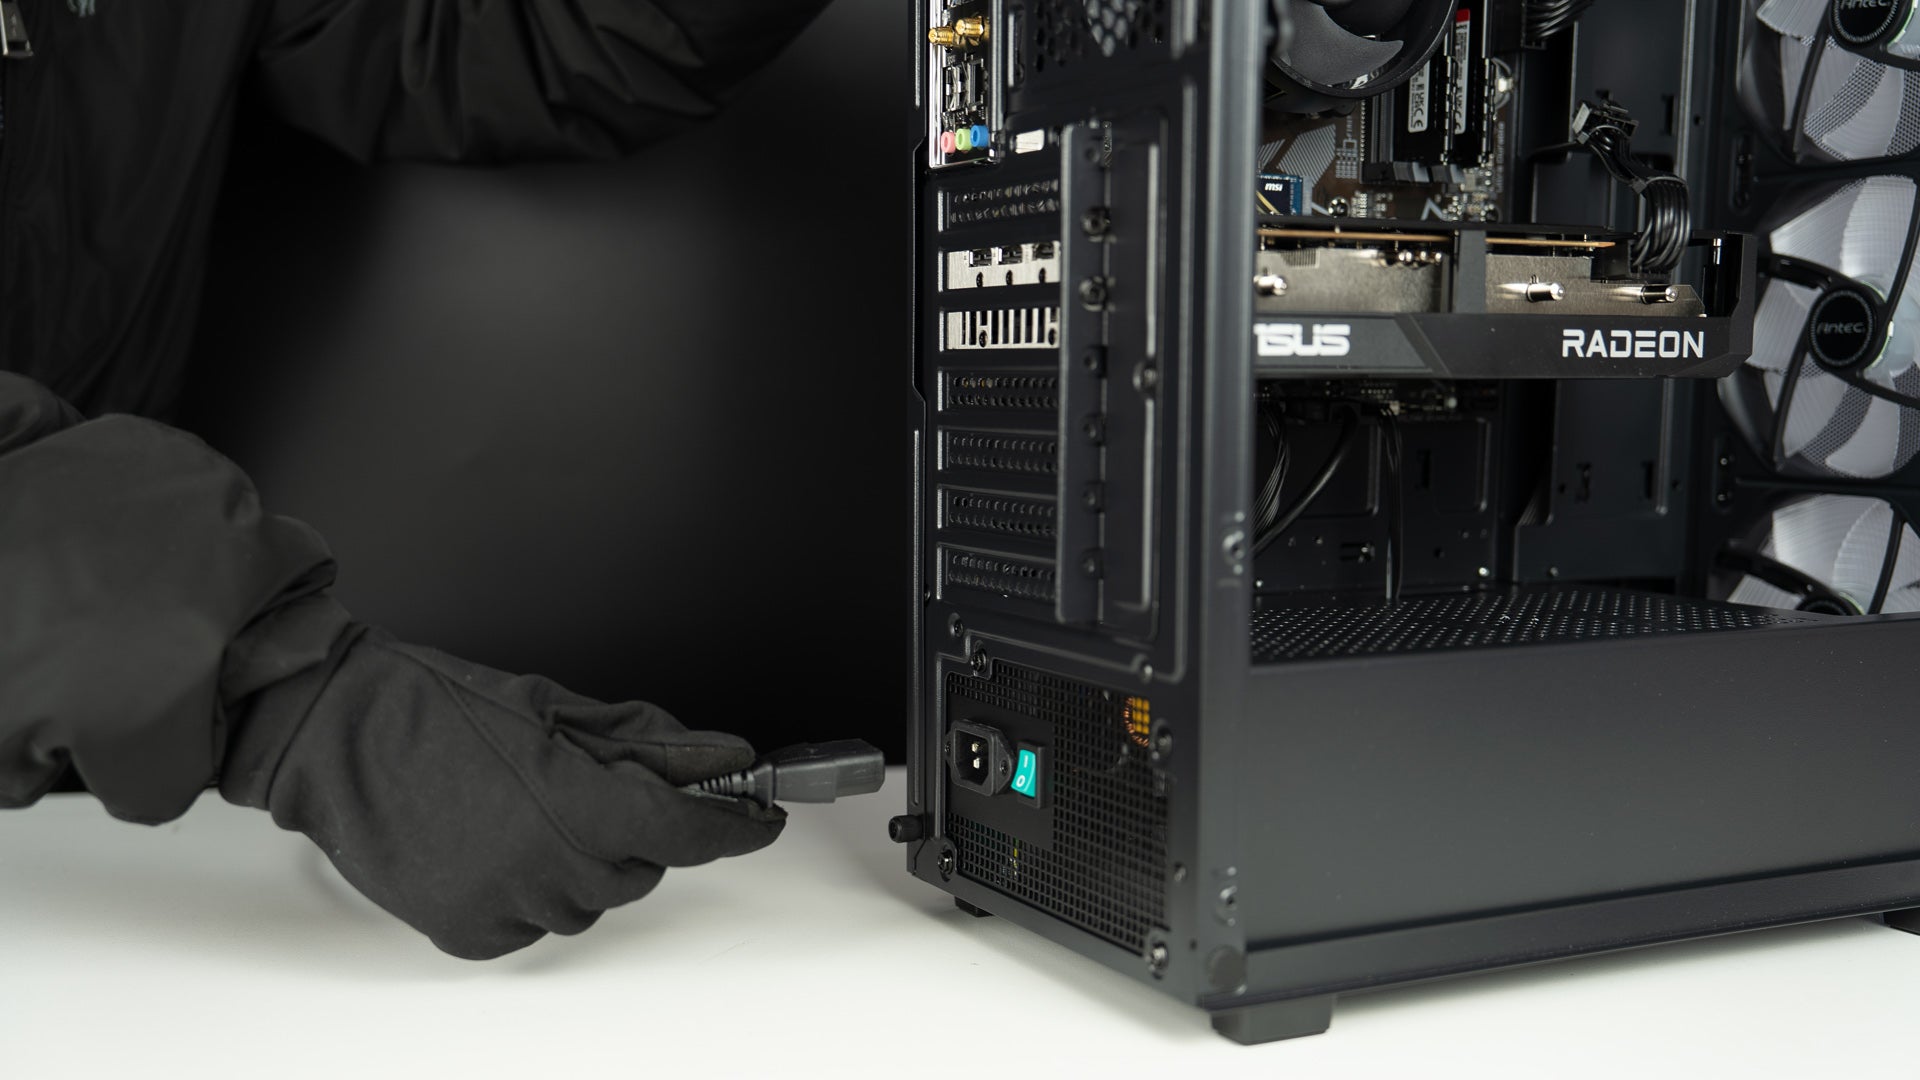
Step 4: Plug in the Power Cable
Insert the power cable into the back of the PC and plug it into a power outlet. Then connect your keyboard, mouse, monitor, and other devices.

Step 5: Plug Your Monitor Cable into the Graphics Card
Connect your monitor using an HDMI or DisplayPort (DP) cable. Make sure the cable is plugged into the graphics card, not the motherboard.

Step 6: Connect the Wi-Fi Antenna
Attach the Wi-Fi antenna to the Wi-Fi ports on the back of the PC, tighten it gently, and you are good to go.